

🌿 Mow, Dethatch, Thrive! Elevate your lawn game effortlessly.
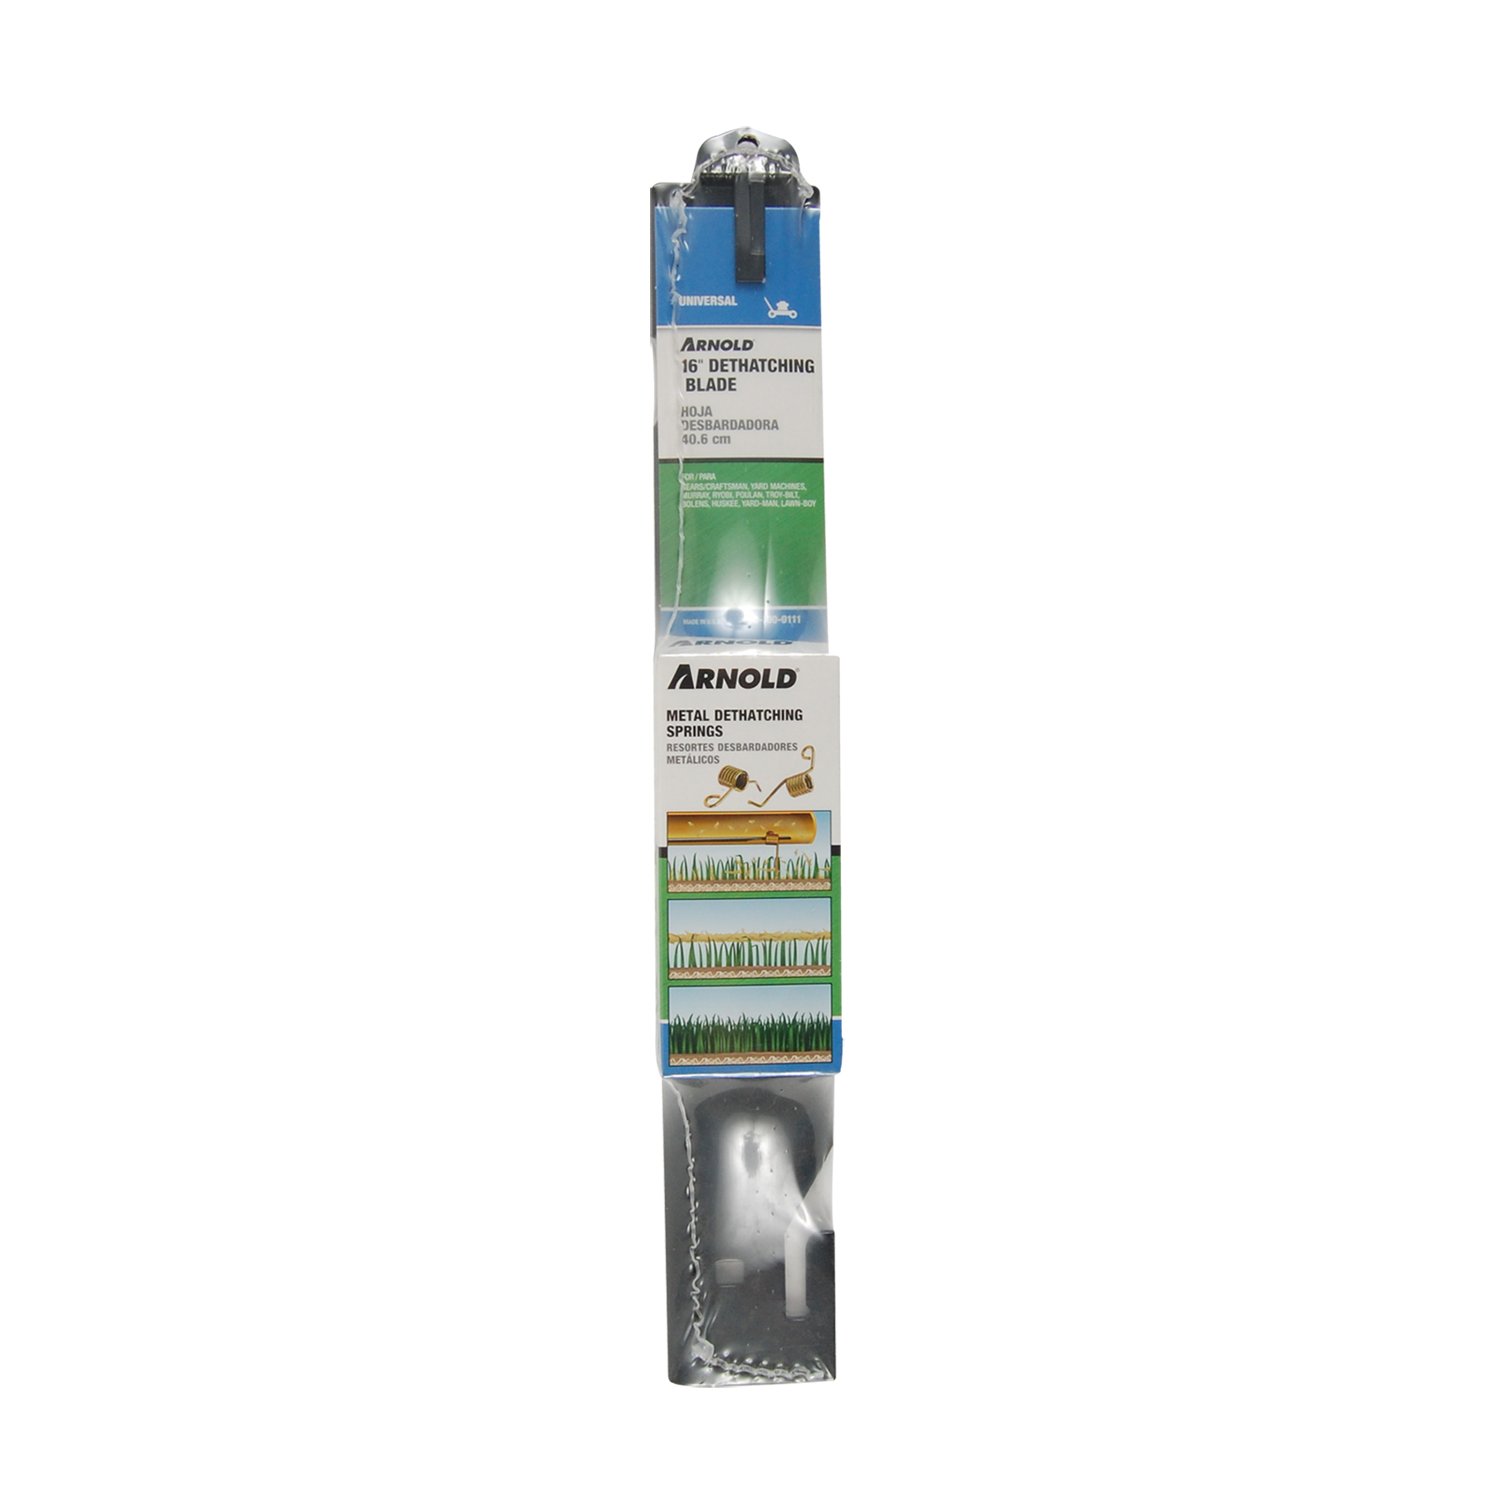
The Arnold 490-100-0111 16-Inch Detaching Replacement Mower Blade is designed for various walk-behind mowers, providing a versatile solution for dethatching, raking, mulching, and cutting. With a universal fit for different center hole sizes and factory-tested durability, this blade enhances lawn health by improving water and fertilizer absorption, making lawn care easier and more efficient.
F**Y
Alright for the price but not as good as an actual machine
First, I do not recommend using this on nice healthy green grass. It is very hard on the lawn and will burn it. Rent an actual dethatching machine. Use this only on brown or dormant grass. That being said, this blade actually worked alright. It didn’t pull up 100% of the thatch but it got a lot loose which allowed me to rake it up. I could have probably gone slower or made a 2nd pass if I wanted to get more up. I was originally going to get the maxpower blade but that has a circular hole. If your mower uses the bow tie / 4-point / star bolt pattern blade attachment/adapter, spend the extra few dollars and get this one. It fit perfectly. I also bought extra springs but I didn’t have any problems with the included ones breaking over 2000sq ft. I also have a 21" mower and this worked just fine.
L**H
Don't buy the springs.
I needed to dethatch my yard in Justin, TX so I ordered this blade on Amazon. Blade delivered on time and was easy to attach...however it did not work well for my lawn. I did not lower the blade more than a 2 level so it may have worked if I had lowered it more but was afraid it would tear up my yard more than help it. So the product itself may be fine but in the description (third or fourth point) says it does not include the springs but it does come with them. Based on description I ordered the springs. Now I have to pay shipping (a bit north of $3.00) to return them....
S**T
It works as described
Prop mower up partially on its side carburetor toward ground & disconnect spark plug wire. Wedge 2x4 to prevent blade from spinning, remove bolt and remove old blade noting which side down toward grass. Wire brush mating surface to ensure new blade sits flush on shaft.Application of installation on a spare 28-year-old Craftsman 3.8HP; the bow tie shaped adapters were not needed. They fit into the blade but protruded and prevented the blade from sitting totally flush and tight on the engine shaft. The two round cylinder-shaped pins on the engine shaft did align into the blade slots with a few taps of a hammer.Reuse the old bolt and washer along with selecting the correct size provided additional washer with correct center hole diameter and tighten thoroughly.Adjust wheels down on pavement so spring ends are slightly above ground or touching the ground. It will take a few tries to get your adjustment correct after testing, try both low and high engine RPMs. Stop and verify blade if still secure. This blade will bag or discharge.I used it to scarify in a few sections to remove dry dead weeds to prepare for reseeding.The spring tines did noticeably wear down a bit after 20 minutes of use, but it did the job well. ** Be sure to wear eye protection! **
D**S
Works Okay on Cub Cadet SRC 621
I got this product because I rent a house and didn't want to spend the money on a power dethatcher. The yard isn't technically my responsibility but my landlord only mows about 4 times a year here in central Illinois which basically leaves hay on the ground that never really digests. I had purchased a Cub Cadet walk-behind mower to mulch and bag leaves (not his responsibility at all) so I thought I would give this a shot as a compromise. I got mixed results.Installation and use: Very easy to install on my Cub Cadet SRC 621 walk-behind mower. Did not have to use any of the adapter washers. For this to work best, you have to walk very, very, VERY slowly. Its more like slowly inching your way across the yard. However long it takes to mow your yard, with this blade it should take 4x to 8x longer to dethatch well. Because it only has two tines, if you go too fast, it will miss spots. Mower was very slightly harder to push.I'll start by saying that my yard isn't very flat so I didn't expect tremendous results to begin with. There is a problem with this design and it is that the tines aren't angled down far enough. I had to set the mower so low that it took my green grass almost down to the bare dirt. It didn't rip it out, it just cut it so low that I'm afraid it might die now. If the tines were angled down more that wouldn't have happened. Maybe another company makes some differently design tines that are angled lower (further from the blade)?After I used this, I put my regular blade back on to collect all the trimmings which revealed that I had about 2/3rds thatch and 1/3 green grass. I also used this to try to remove some ground moss in a couple of spots on my yard and again, it worked okay for that as well. Maybe removing between 1/2 and 2/3 of the ground moss.Conclusion: While this did remove a good deal of thatch (probably 60-70% from my uneven lawn), it was so detrimental to the actual green grass that I probably won't use it again. Although if I just mow/mulch the lawn regularly, I hope to never have to use this again. If I do decide to dethatch this rented yard any more, I will most likely buy the power rake with the plastic tines because it looks like they stick down further from the blade (has anyone used both that can confirm or deny that?). The plastic tines might also be able to dig into the lower spots of my uneven yard and pull out more thatch while not harming the greenery as much. If I do buy and use that blade, I will update this review when posting my review for that one. Also, I will now only dethatch at a time when the grass isn't "in bloom" yet to further reduce the risk of killing viable grass.
U**U
Takes a lot of experimentation to get it to fit. Plastic threads stripped out on first use.
Ultimately, I got this to work with my grill, but it took quite a few tries. The main issue is with the spit rod bracket. It is angled, so the thumb screw from the collar will rub against it, if you put it together like the illustration in the instructions. I ended up mounting the bracket inside the grill. Also, note the counter weight spins with the spit rod outside of the fire box, so make sure there is no interference from the bracket mounting screws or your side table. You might have to set the counterweight closer to the centerline than you would like. Finally, using the counterweight requires that you crank down on the plastic handle, and that strips out the threads. They should have put a metal threaded insert in the handle. I found a nut to hold the counterweight in place, but I can't use the plastic handle with the nut in place. The spit gets very hot in use, and my leather gloves are not insulated enough to handle the spit hot off the grill without the handle. I would not load the rotisserie with more than two small chickens. We'll see how durable the motor is. Overall, I had to tinker a lot with the setup, but I'm enjoying the results of the cooks.
Trustpilot
2 weeks ago
3 weeks ago