


🏡 Your outdoor oasis awaits! Secure it with style!
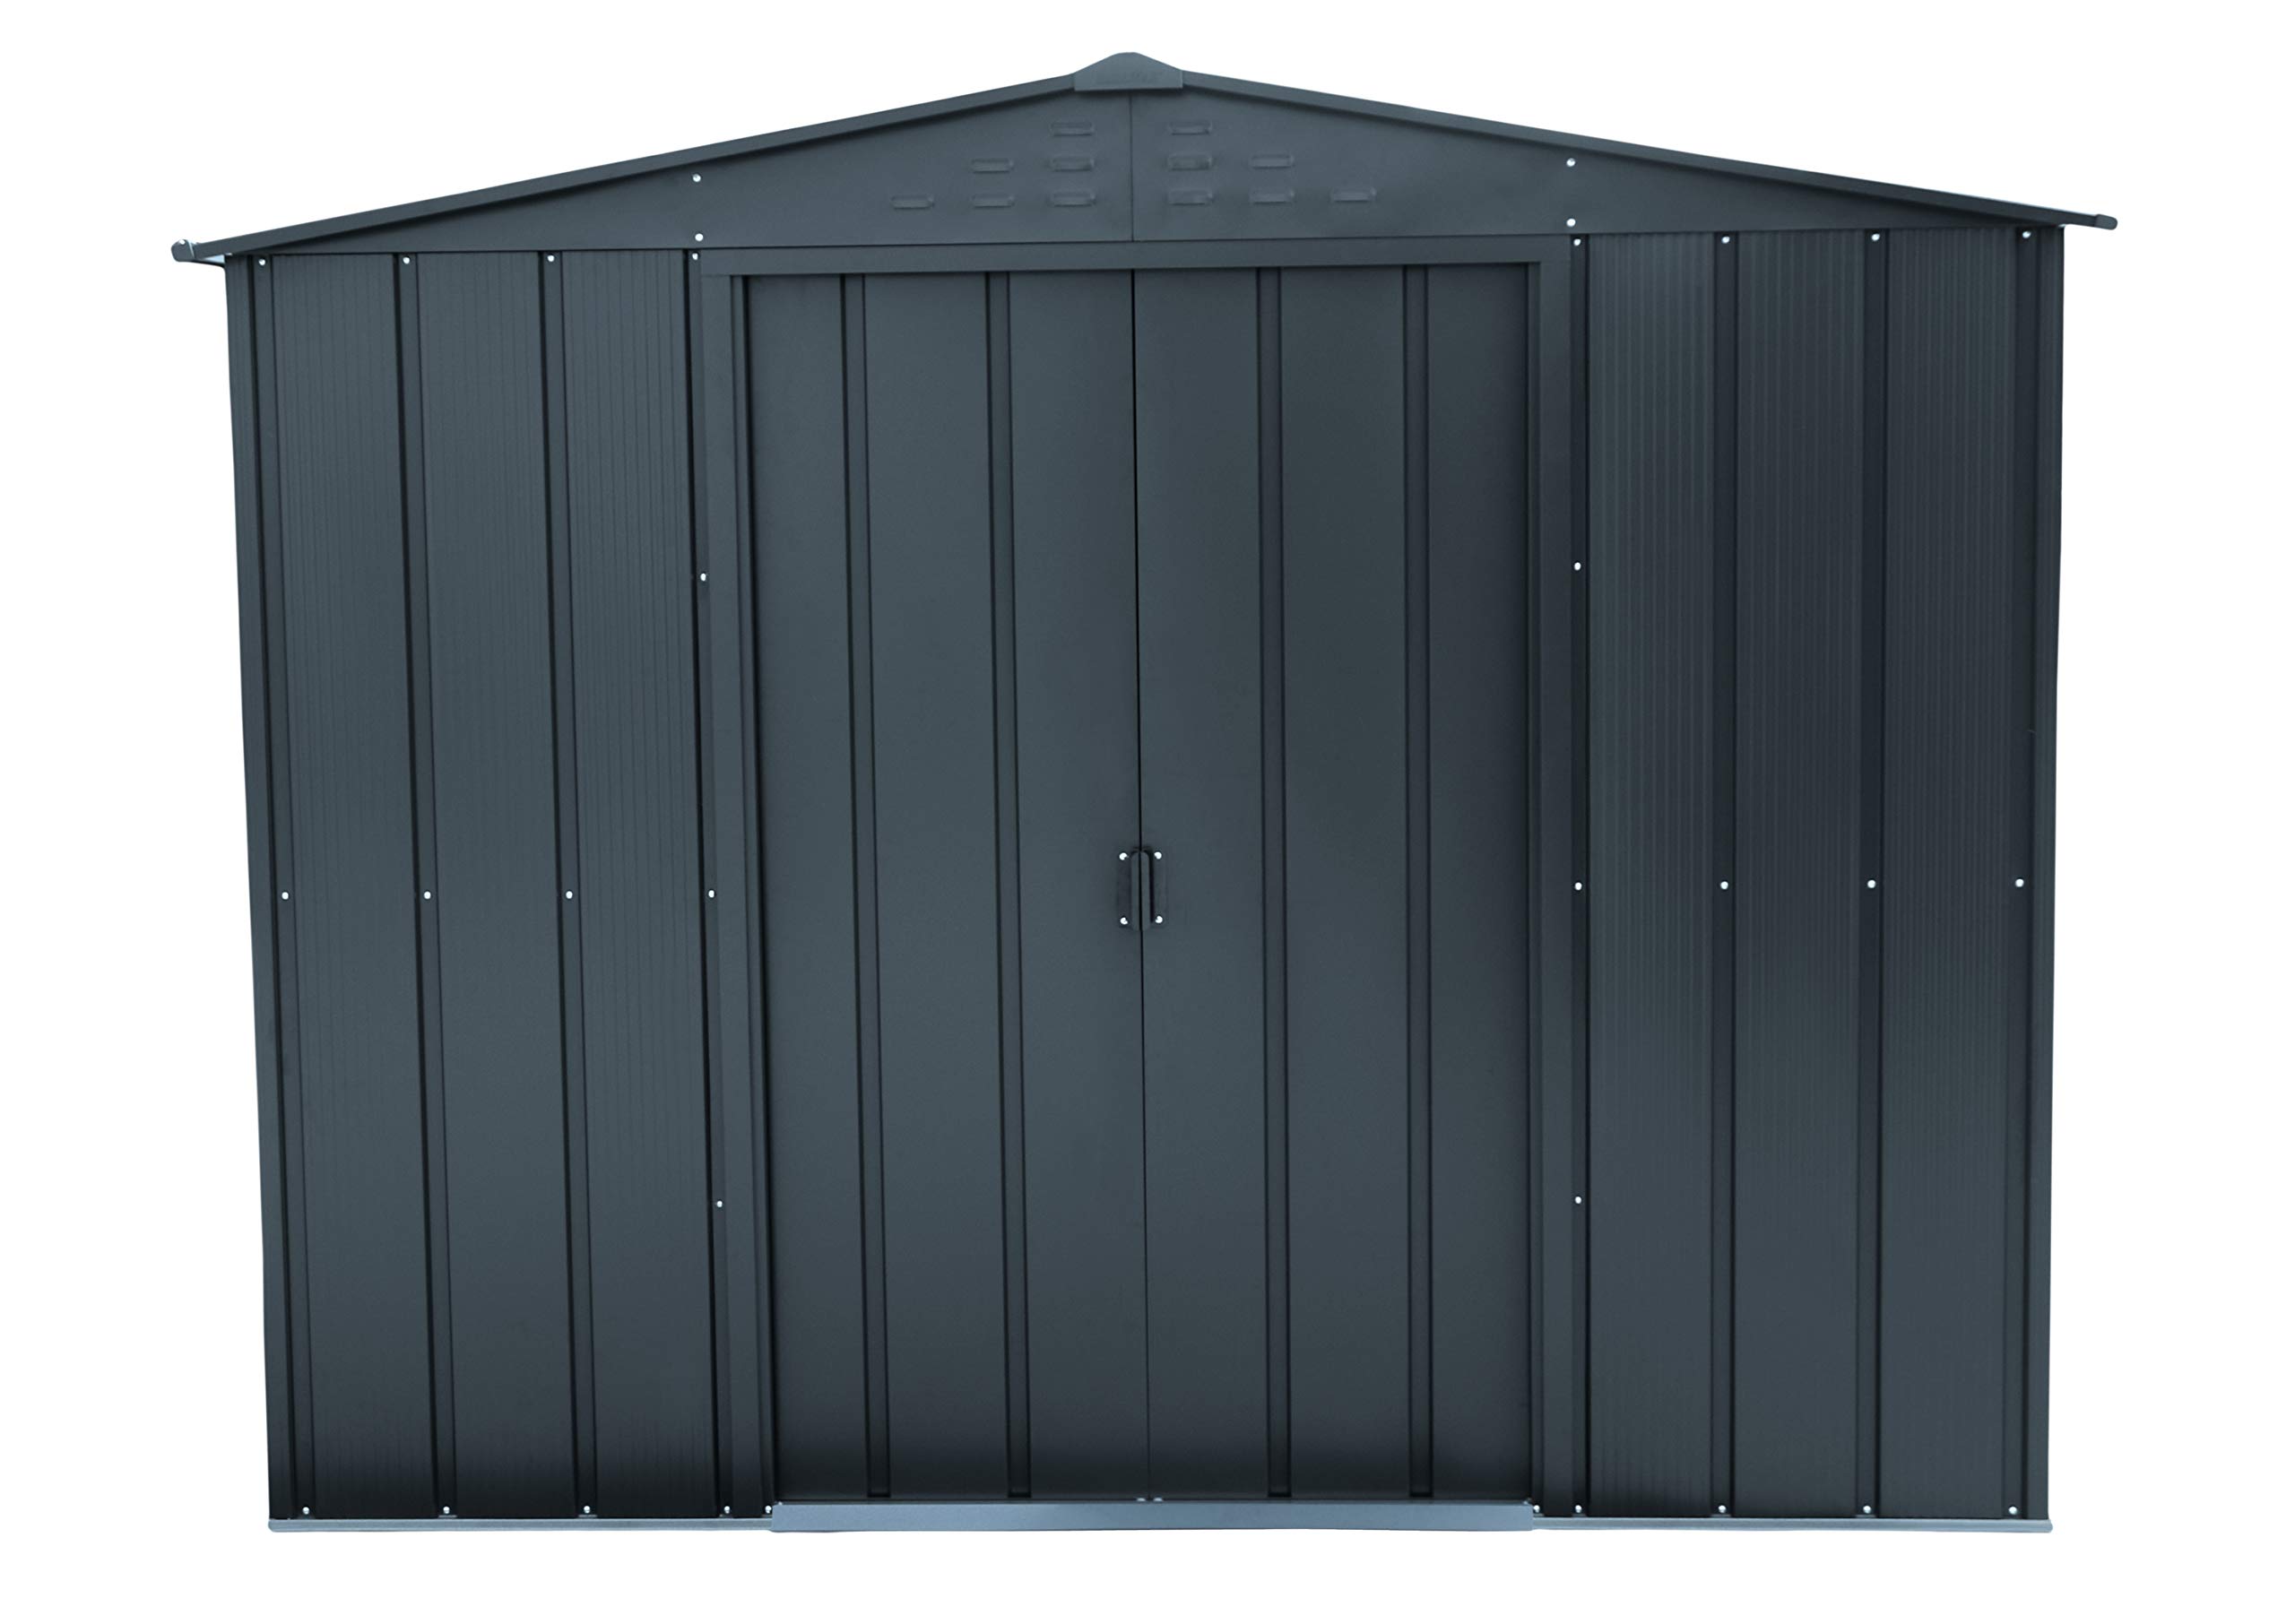
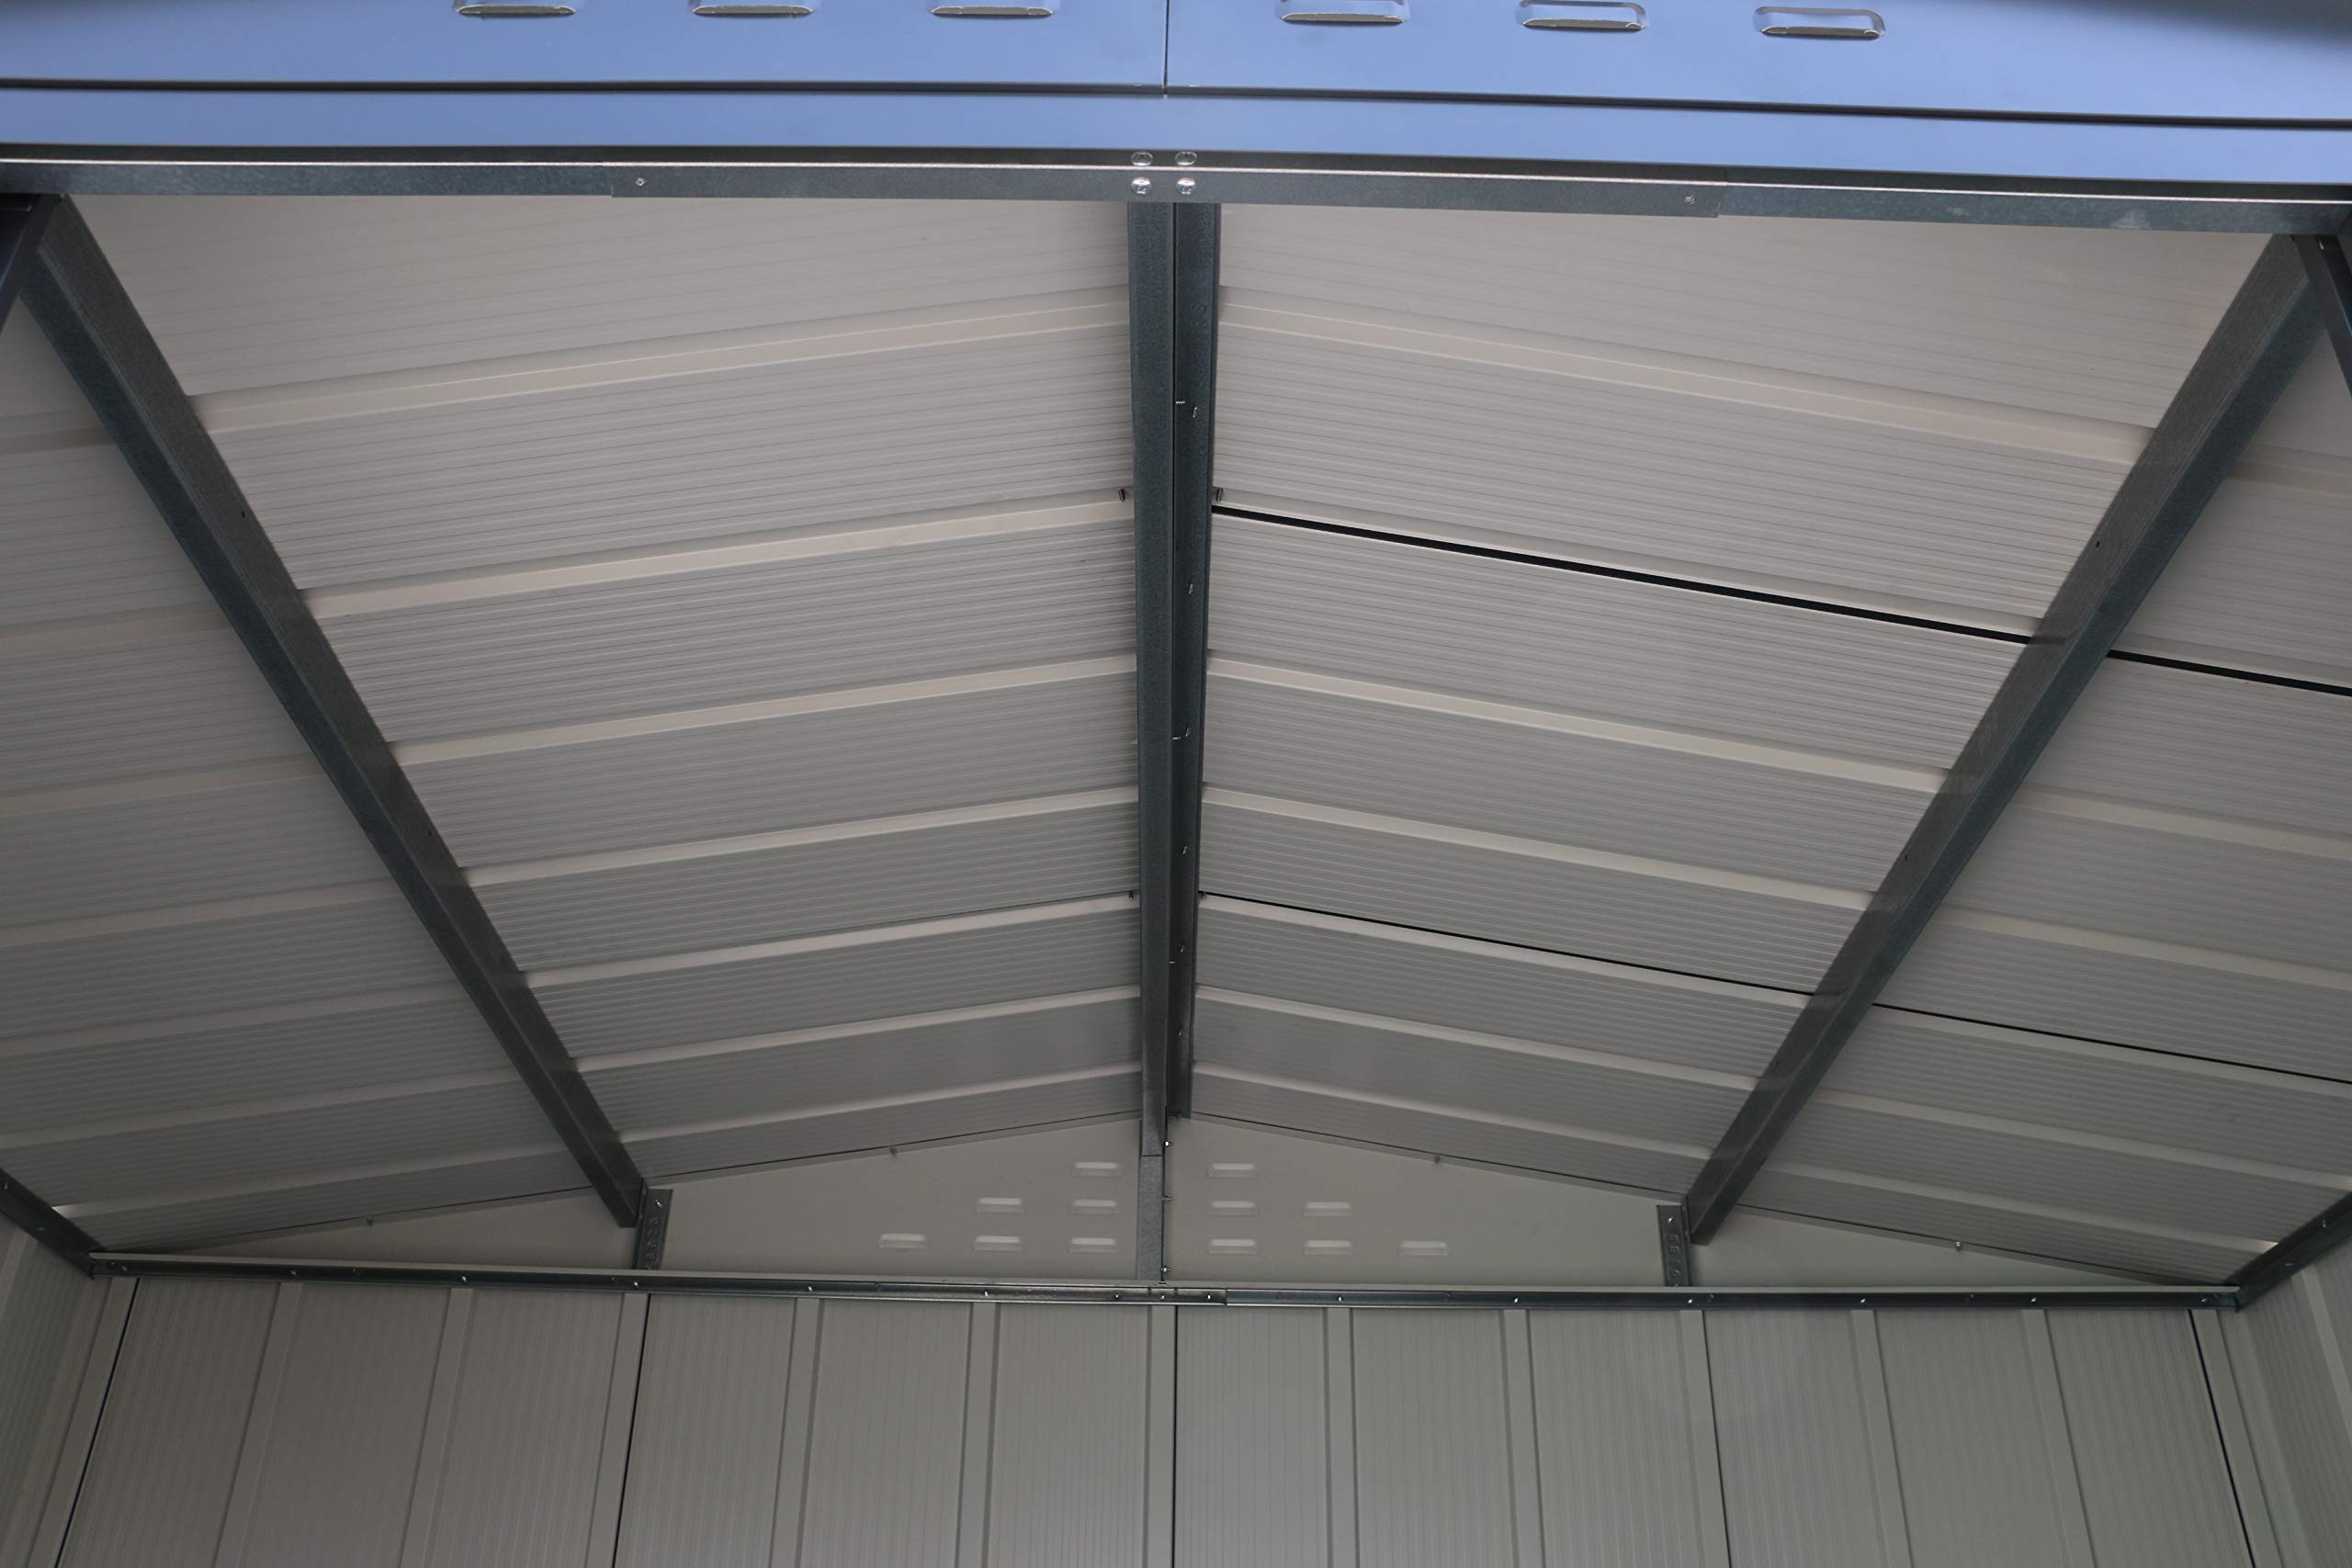
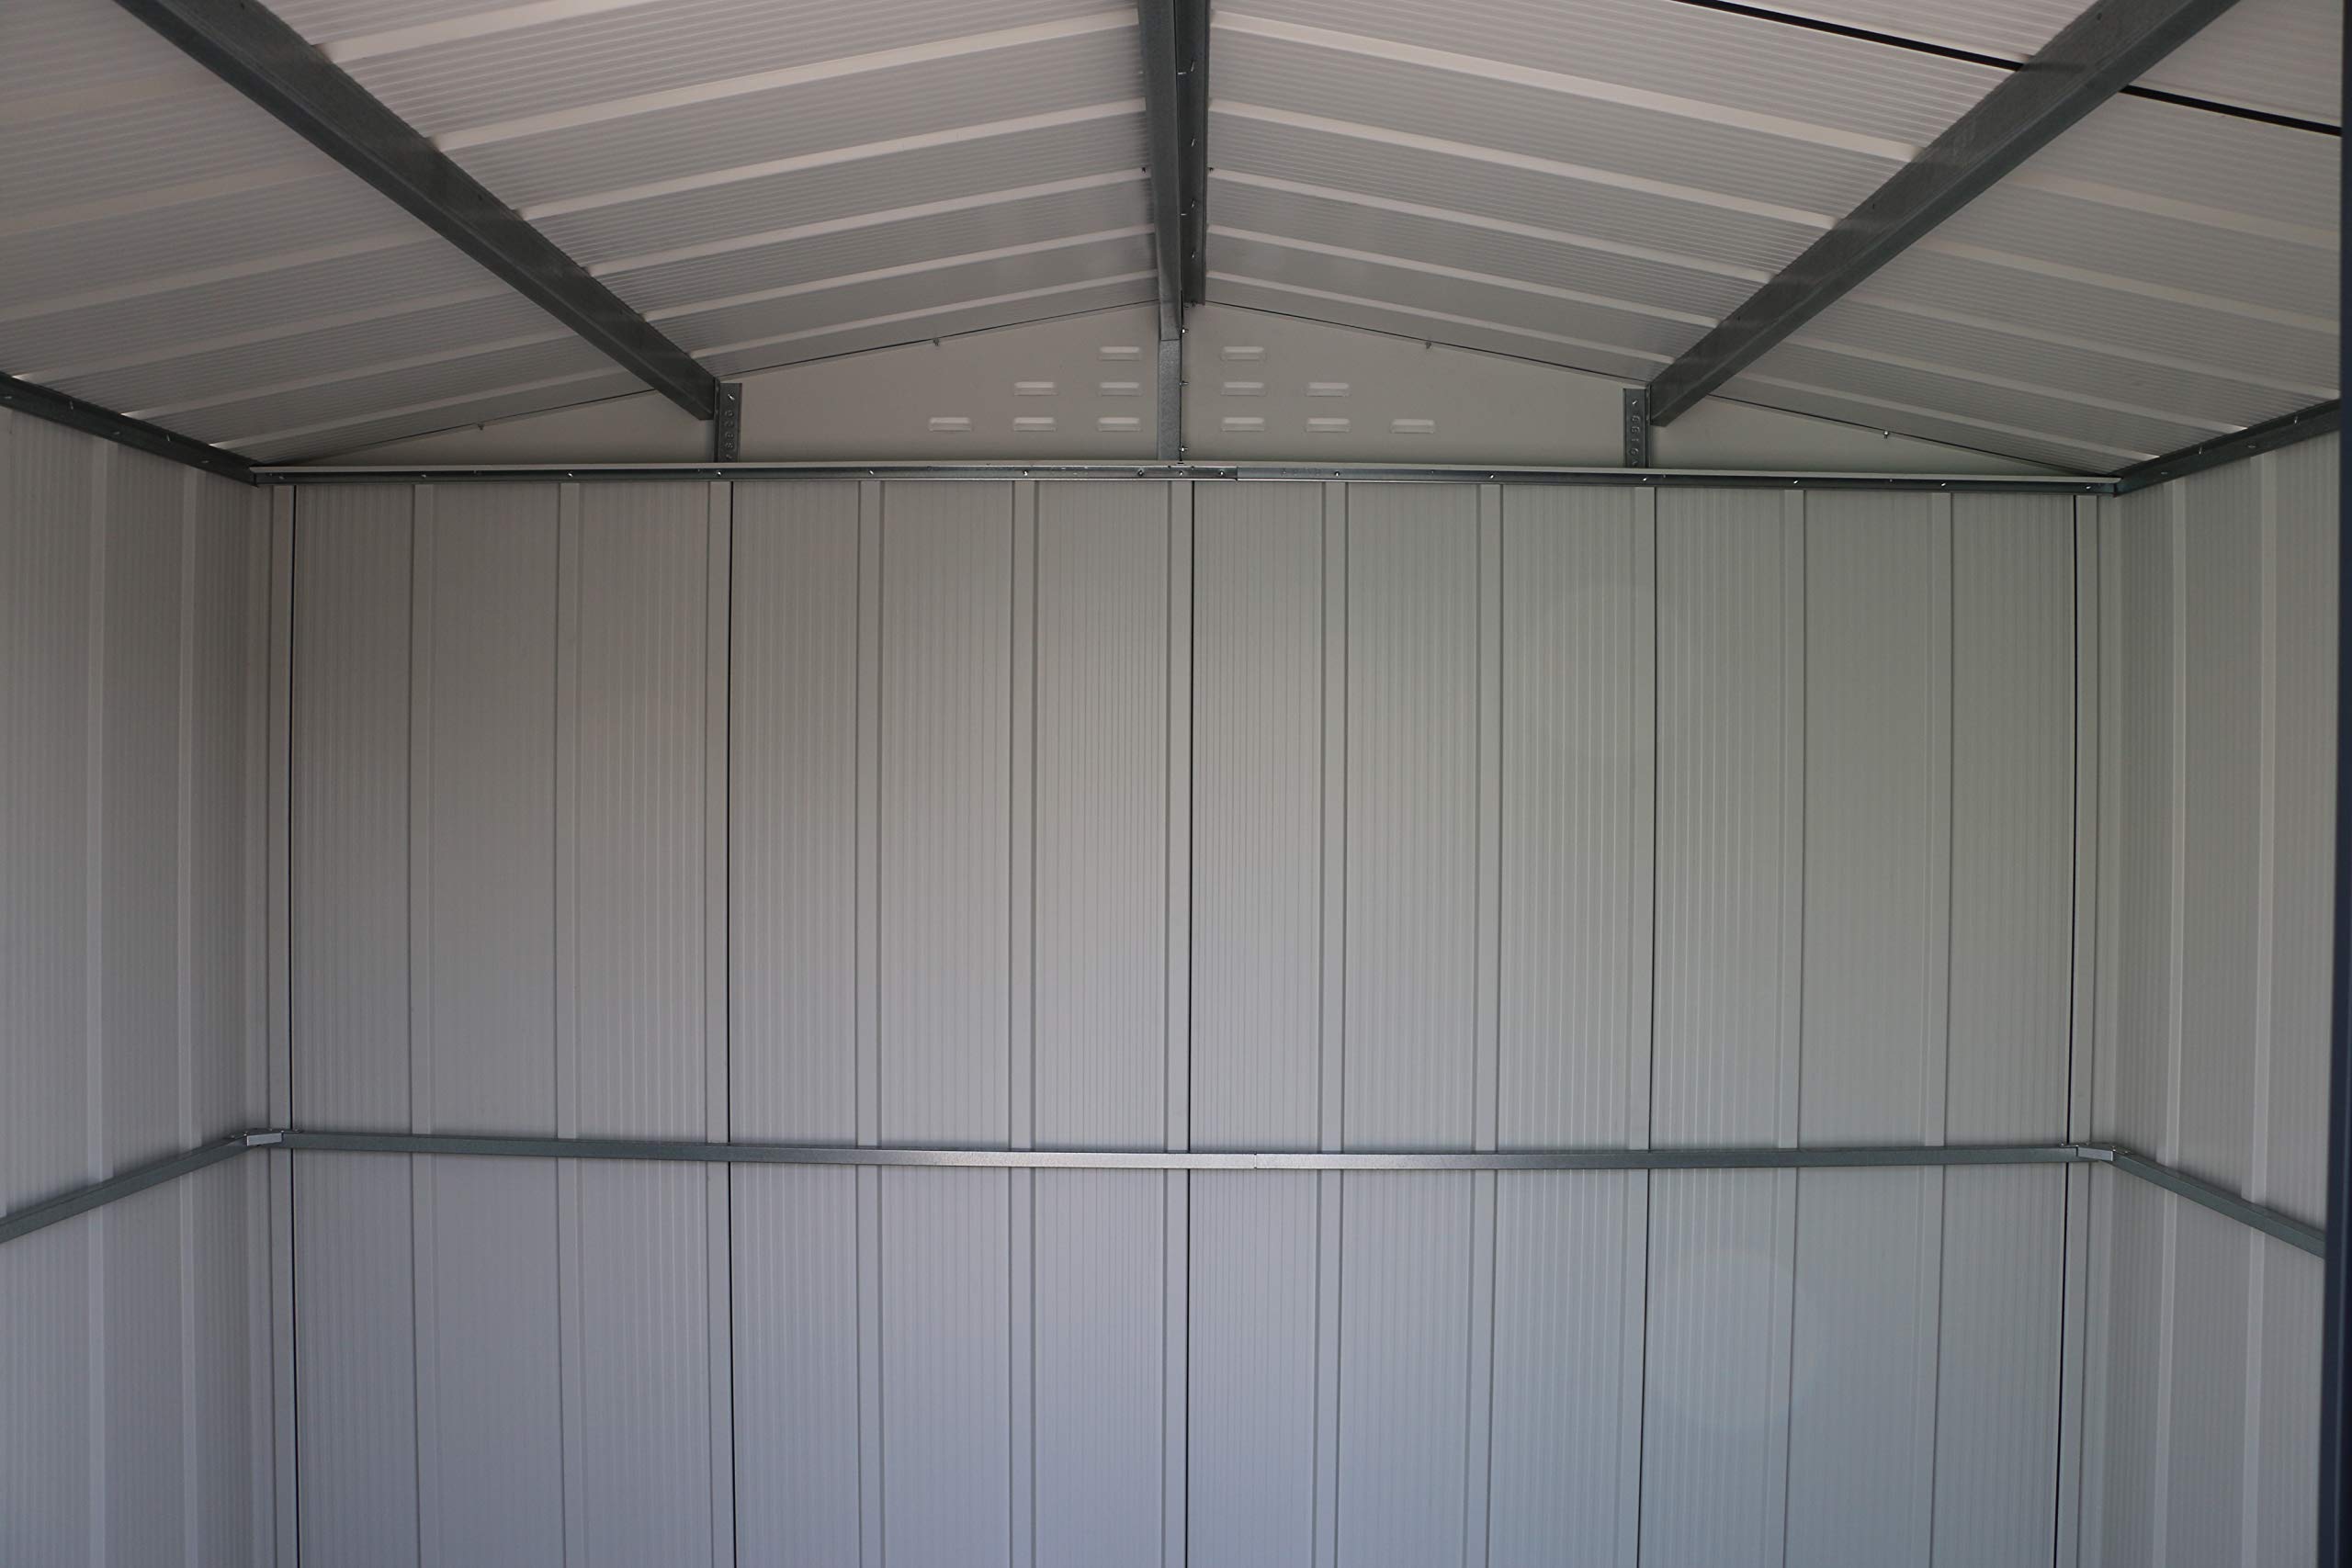
The Duramax TOP Shed 8 x 6 is a robust metal garden storage solution made from hot-dipped galvanized steel. Designed to withstand harsh weather conditions, it features a reinforced roof structure capable of supporting heavy snow loads. This maintenance-free shed is perfect for storing gardening tools, bikes, and more, ensuring your belongings remain dry and secure. With a 25-year warranty, it promises durability and peace of mind for years to come.
R**O
Excellent metal shed
I’m totally blown away by this shed. Was a bit dubious about buying a “flimsy” metal shed from Amazon. I mean sheds should be wood right? And come from a garden shed company. But read a few of the reviews and decided to take a punt. I couldn’t have been more wrong. I’ve been putting it up bit by bit after work so couldn’t say how long it’s taken from start to finish but I can say that the finished shed is sturdy as hell and of a much better quality than I imagined. And there’s going to be no need to paint it yearly or replace any felt that would have eventually got torn. I’m already considering getting another one to replace my other shed. In my opinion it’s absolutely worth the money.
A**R
So easy
Heard so many bad reviews about metal sheds being hard and awful instructions. This one is literally simple like best instructions everything is labelled . It took about 6 hours 3 being on my own and 3 hours with 2 of us . You will need hand just for the bolts on roof. The only negative thing I can think of is the protective film on the doors is right pig to take off. For the price you can’t fault it. Looks really good sturdy once complete. Bare in mind you need access all the way around when fitting it. I had to keep shuffling it back and forth 😂 but it’s easy enough
P**B
Value for money and sturdy when finished. I had to modify a bit for weatherproofing the top though.
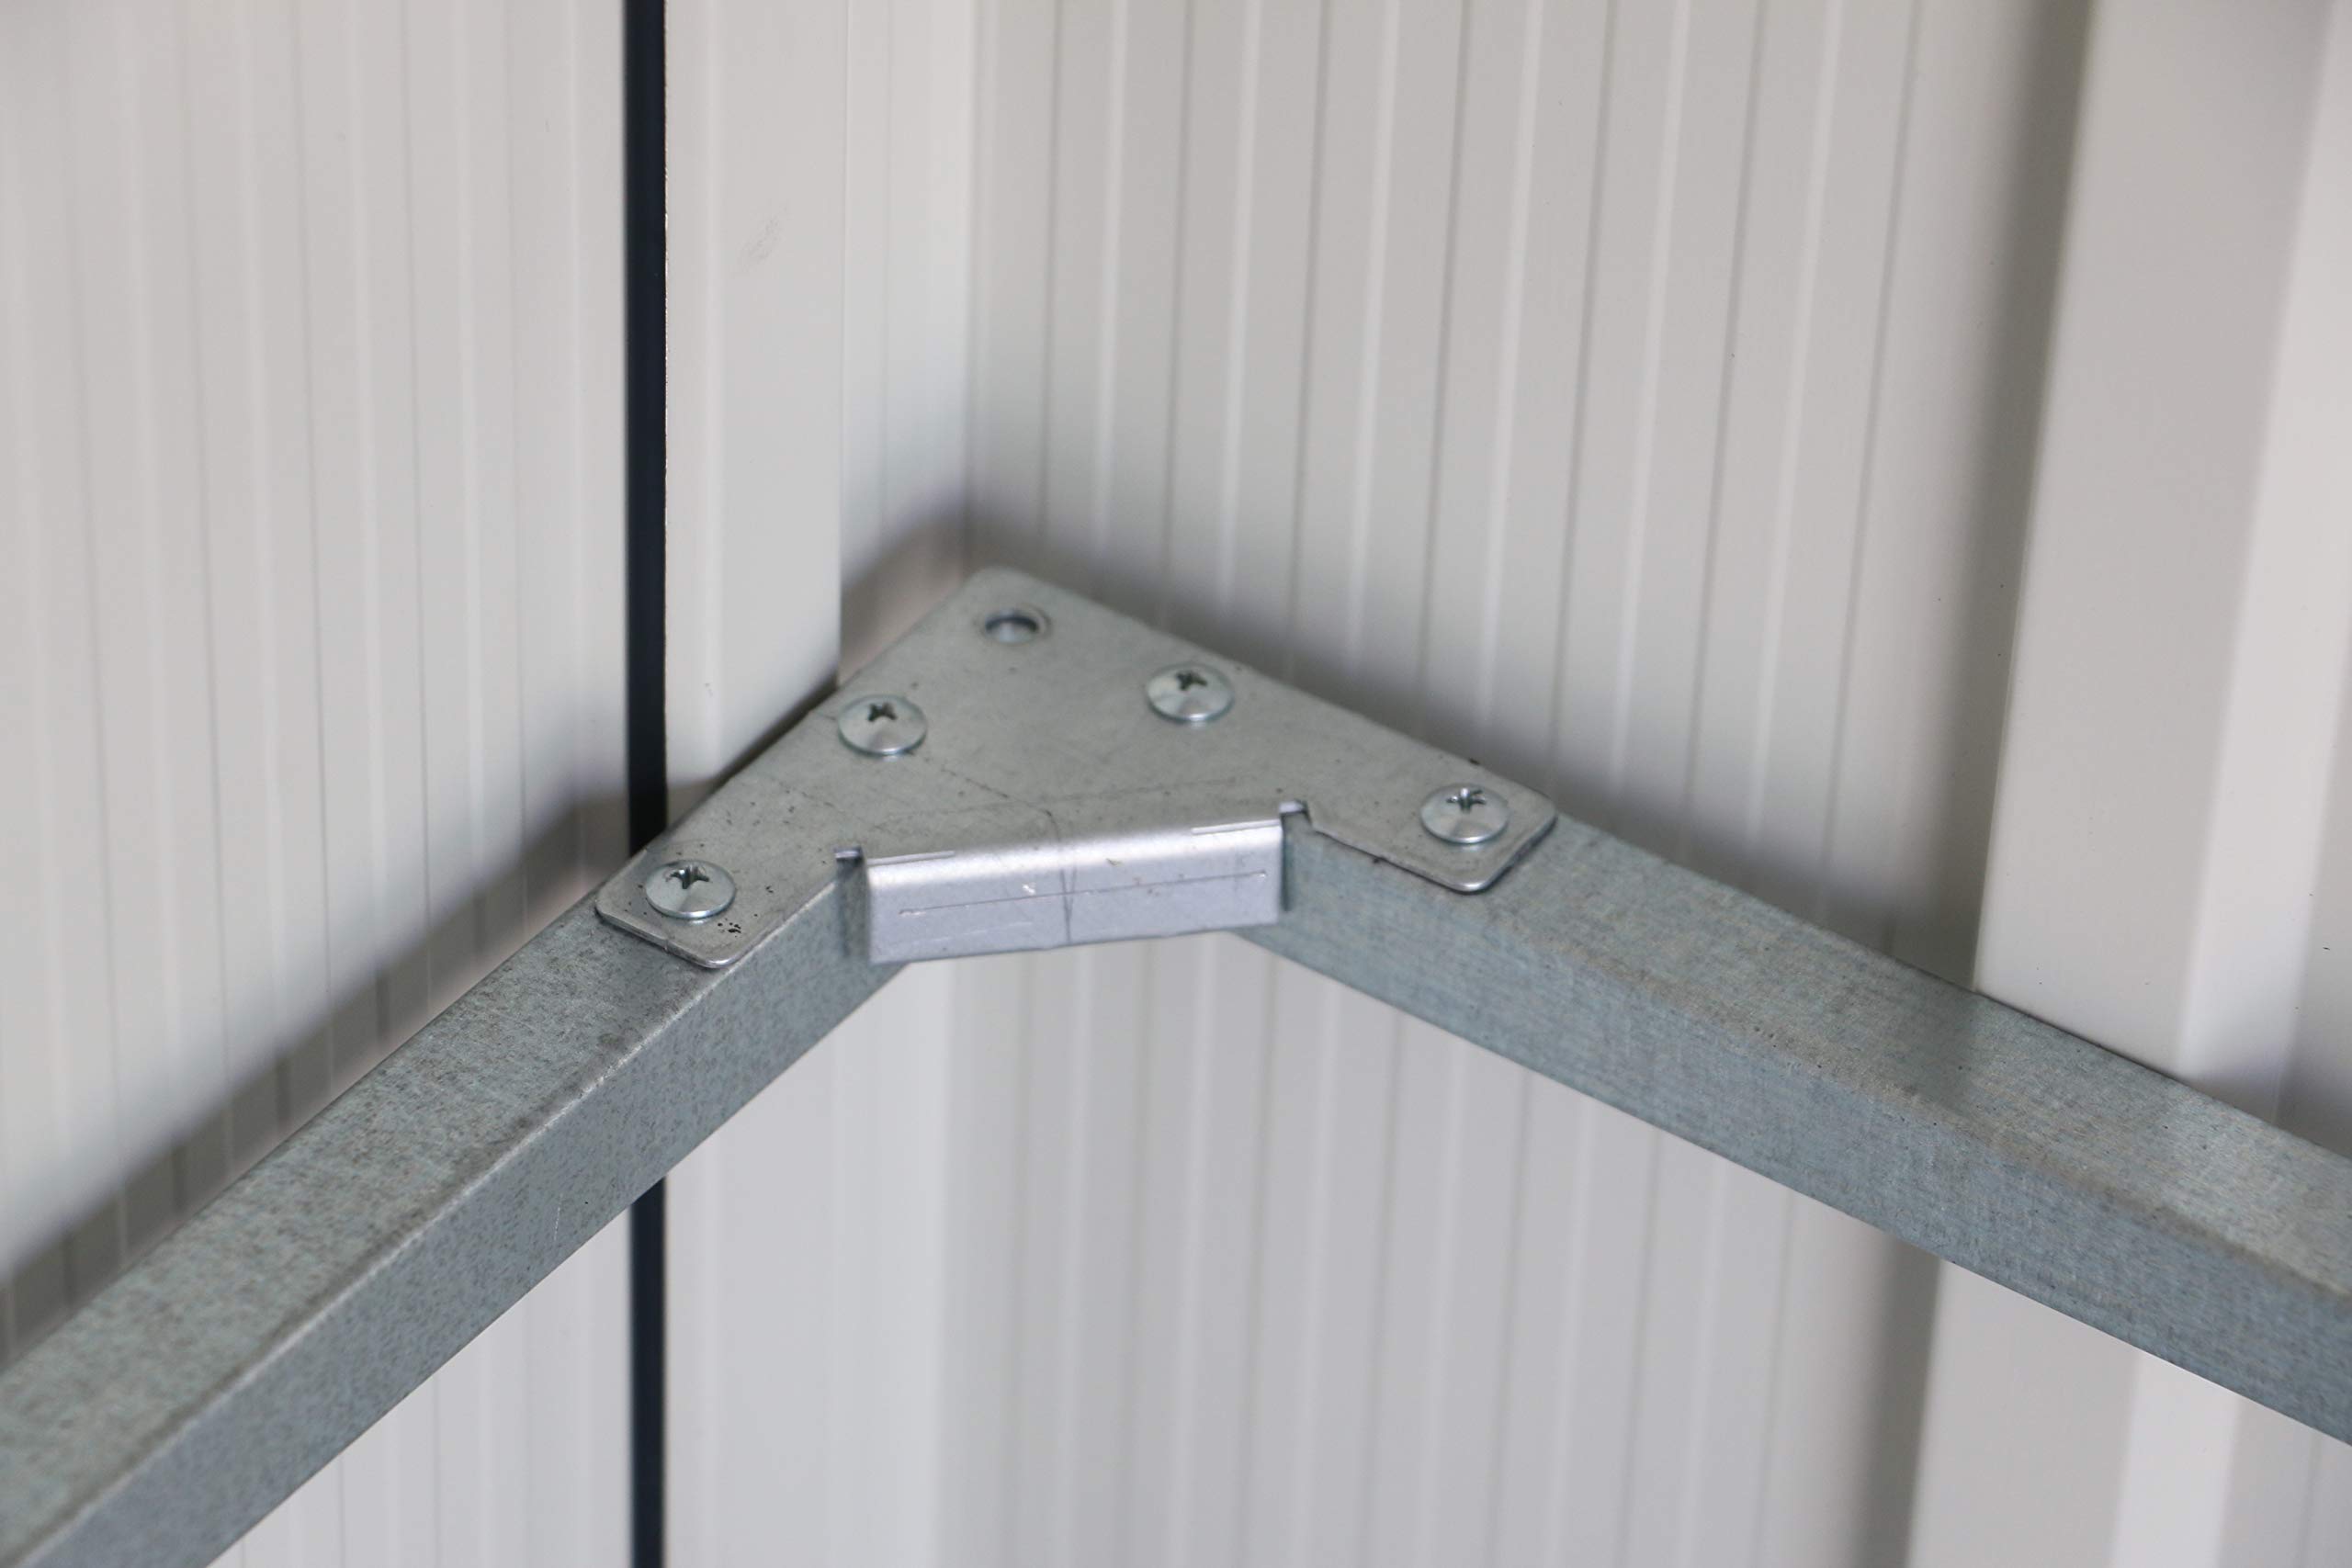
I've got myself a waterproof shed (eventually) that is a real bargain. Follow the instructions closely. Try to do it on a day with no wind of you are alone. Gloves help because there are some sharp edges. There's nothing heavy in any part of the shed.Use a cordless drill/screwdriver, even a really cheapo one will be good enough. Have the torque setting (number on the dial) set low, everybody's tool will be different there, so that the screws bite but don't just spin because this will effect the waterproofing later. Magnetise the bit or buy magnetised tips or bit holders. A magnetiser/demagnetiser is a great item to buy and only costs a few pounds.Make sure every screw or bolt that is on the outside has one of the little fiddly washers. When screwing 2 panels together and the instructions aren't particularly clear always make sure the bigger hole is the one the screw goes through first.Get the ground as level as possible so the doors work properly and look neat. They are generous with the screws, nuts/bolts, washers, end caps etc so not like Ikea here. :)The instructions aren't quite as clear as Ikea BUT backtracking after a mistake/misread is not too hard. Every item is marked, some with a sticker and some are stamped. If you have the space then it saves a lot of time sorting the pieces out by item code. The sticker isn't an indication of which way up you use the panel. I made the mistake of thinking if the writing is the right way up then that's the way to install the item.My build is waterproof the doors close perfectly. I had to slightly bend back some of the edge trim that sits just outside the door, I think I caught these with screwheads or something. It looks extremely smart and is a nice wide doorway, the doors slide very smoothly. The holes for your lock are 1cm circles and they are 9cm apart. I haven't sorted out a lock yet. The only tools I used was my cordless drill with the screwdriver bit, 1 screwdriver a 7mm socket (easier than a spanner) 1 small hammer to tap the point protectors that stop you shredding your hands on the exposed screw tips once the build is complete. I wore gloves for some parts but I'm not good with tiny screws, nuts and bolts with gloves on. The nuts are really fiddly. If you put 2 nuts in the socket and gently spin it then the bolt will easily pick up the nut so you can tighten it, you'll see what I mean with a bit of practice.One huge problem was that the top joint on the roof is only protected by a thin roll of tape. There is a trim above BUT it is so high above that you can easily put your hand between. This is not good enough an that's why I knocked a star off. Luckily I ha a tin or roof repair tar for a different job I need to do on my house. I tarred over the tape with a brush and got a strong waterproof seal that will last for years and years. If you buy that same tin then make sure you mix it really well as the lovely smelling resin floats to the top. ALSO wear gloves and clothes you don't mind getting manky because it's a messy job.Give yourself a day to do it, get another person too. I'd have struggled on my own. The roof is near impossible alone AND I had to go off plan there. I couldn't do it in the order they give. My work platform and ladder were good BUT I'd have had to lean over a crazy amount to do it their way.I also bought a bike shed from the same company and they look great together.
M**
Shed
Metal quite sharp in places, lots and lots of screws but overall happy with shed.
L**S
Good so far
Appears pretty good. Instructions are detailed and pretty clear. I managed to put it together on my own using props to hold sheets, luckily there was no wind or this wouldn’t have been possible. Wear gloves as some of the edges are like knives! Took me a full day after I had made a concrete slab for it to sit on. As I put it in a tight corner I needed to build a different order to the instructions so I was building out in order to secure screws. Only issue is the installation of shelving. No clear way to fix shelving to walls. You would need to sandwich timber and screw through I guess, so probably free standing is the best option. Overall appears a good shed for the money.
A**R
Amazing value for money, sturdy with a really good finish.
Garden shed…..wood, plastic or metal? Cost was a major factor so decided to go metal as this cheapest alternative. Firstly make sure your base is not too tight to a wall or fence as you need assess all around to attach the panels with the fixings. I built a wooden base in my garden and constructed this shed. I’m not a builder but found instructions supplied to be accurate and easily understood. Every stage of construction was really well detailed but you do need a hand of a second person from time to time. 8 hours later and my shed was complete. I cannot be happier with the product and would highly recommend to others who are feeling the pinch and need extra outside storage.
Trustpilot
1 month ago
2 months ago
