


Buy anything from 5,000+ international stores. One checkout price. No surprise fees. Join 2M+ shoppers on Desertcart.
Desertcart purchases this item on your behalf and handles shipping, customs, and support to Vanuatu.
๐ง Upgrade your lighting game with clips that hold strong and install fast!
This 10-pack of retrofit recessed downlight housing C clips includes metal screws and is engineered for 5 to 6 inch recessed cans. Made from thick, zinc-plated steel with a curved design, these clips replace broken or missing torsion clips, ensuring a secure fit and easy installation. Ideal for professionals and DIYers upgrading to retrofit LED lights, they combine durability with practical design to simplify ceiling lighting upgrades.
| ASIN | B01LZQ2IOM |
| Age Range (Description) | All |
| Age Range Description | All |
| Best Sellers Rank | #240,873 in Tools & Home Improvement ( See Top 100 in Tools & Home Improvement ) #758 in Recessed Lighting Housing & Trim Kits |
| Brand | harrrrd |
| Brand Name | harrrrd |
| Color | Silver |
| Customer Reviews | 4.5 out of 5 stars 957 Reviews |
| Hair Type | All |
| Item Shape | Rectangular |
| Item Weight | 1.12 ounces |
| Manufacturer | US Green Lighting |
| Material | Metal |
| Material Type | Metal |
| Number of Items | 10 |
| Number of Pieces | 10 |
| Pattern | Solid |
| Product Style | Metal |
| Style | Metal |
| UPC | 751571992149 |
| Unit Count | 5.0 Count |
A**N
Easy install. Great product. Read for details.
I replaced all the old indoor recessed flood lights in our house with retrofit LED lights that the have metal spring-arm connectors. Our recessed cans were an unusual style without C (torsion) clips, so I purchased these. I was prepared for a tedious job, but I am so pleased that they were very easy to install. For the first light, I drilled the holes too high, so my LED light kept sliding out of the recessed can. I removed and lowered the clips and it worked perfectly. All the rest were very fast. These C clips worked great, and I had no trouble with the screws. They are good quality and did the job I needed. Our metal recessed cans have a removable cone-shaped metal insert in them. I was able to install these C-clips onto that removable metal cone, which allowed me to avoid working over my head in the ceiling (which I was grateful for). I made a little paper template with a hole in it and used a Sharpie marker to mark drill holes 1.25โ up from the bottom edge of each metal cone insert (two for each light). That height worked perfectly for my retrofit LED lights. I used a small hammer and a nail to make a dimple on the marks. That dimple kept my drill bit from slipping while I drilled the hole. I have a small drill that came in handy for this. I used a stubby screwdriver to hand-screw the C-clip on. You can attach the C-clips with either edge up; I attached them with the screw hole DOWN and the โCโ part up. Installing with the hole DOWN means that you have to slide your hand (and drill) up into the can a little LESS, which makes the job a little easier than installing it in the other direction. My only complaint is that it seemed a shame to have to pay $20.77 for 20 of these simple clips (10 sets of twoโeach light needs two clips). But that also included the screw for each clip and the shipping, and they are good quality and did the job I needed with no issues at all. And the job that I expected to be very tedious was not tedious at all. That made the $20.77 very worth it. If my review was helpful, please let Amazon know by clicking โhelpfulโ. Thanks.
W**R
Work great, difficult to install
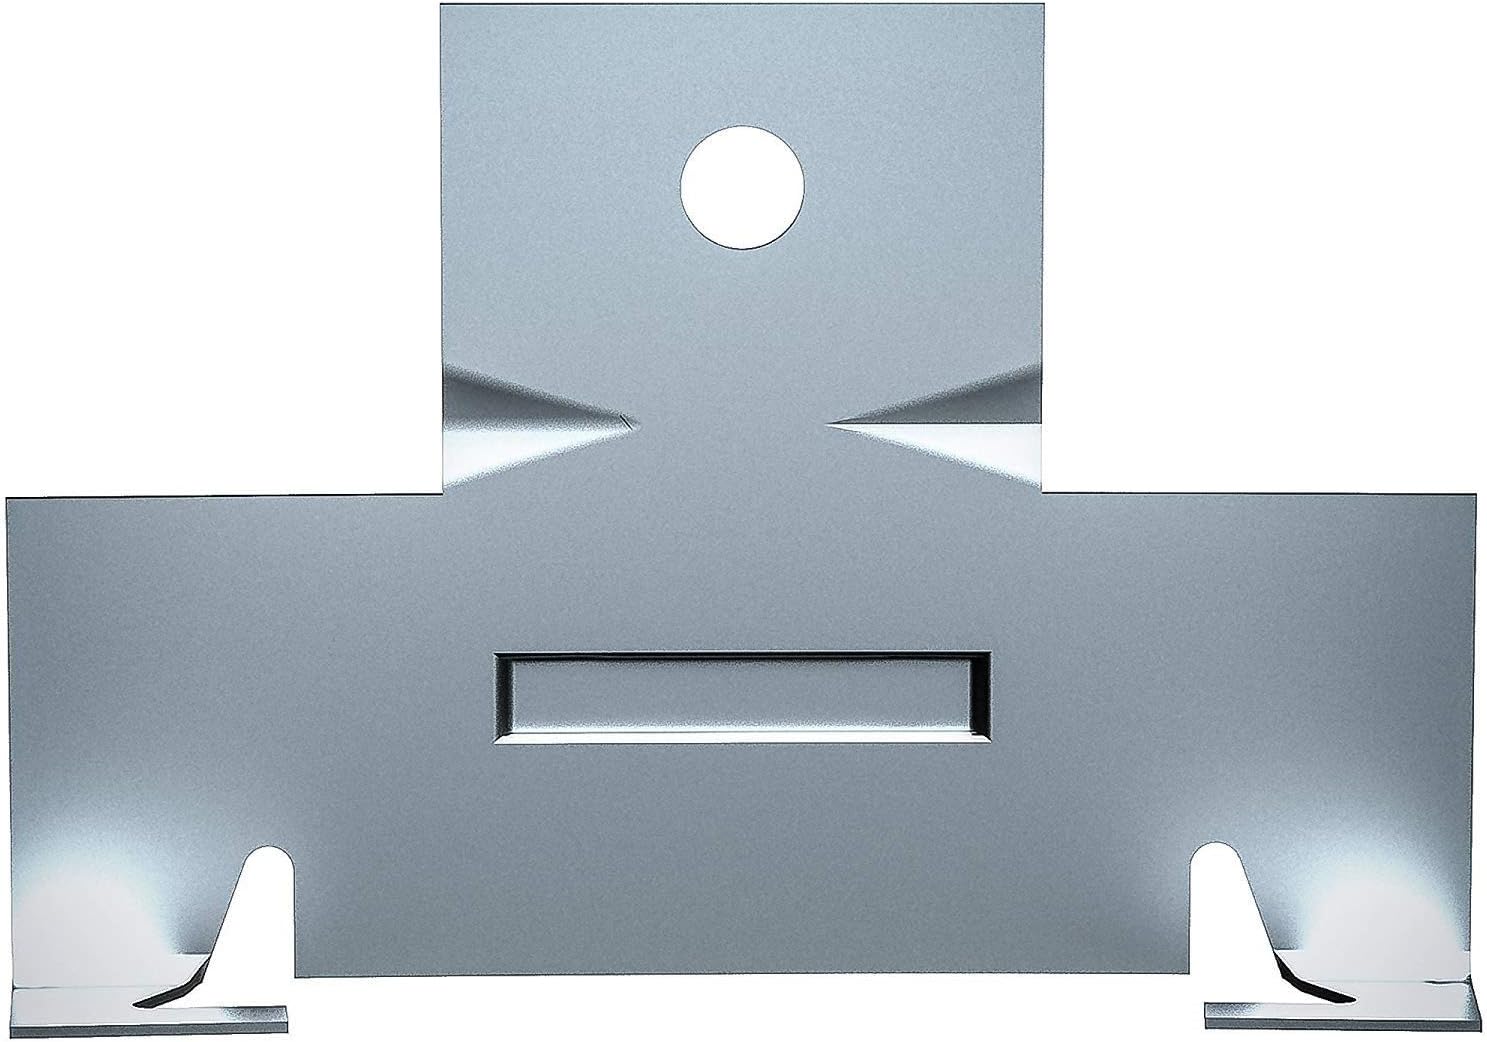
This product works great. Installing the device is a different story, but don't let this stop you from buying them. Even though self-drilling screws are included, I found them impossible to use. You are working at the ceiling, and angling up into the opening of a metal can that itself is not stable with a driver bit pushing on a small screw just doesn't work. This instability also prevented me from pre-punching a starting point. What finally worked was the standard procedure of pre-drilling a hole. I would advise you to pick out a proper drill bit and, after marking your spot, grab the can with your left hand and drill with the right. It will slip around a little bit, but by restarting it a few times at the same location and applying pressure it will finally grip the can and drill through. Once installed they work great. Your very first step, however, is probably to raise the can. In my case the existing height of the can was too low to accept my retrofit lights. Loosen the wing nuts in the can and raise up as needed. Secure them tightly or your new lights may actually pull them back down with their spring-loaded clips. FYI, for me I found that the "ears" need to be about 1 5/8 inches above the bottom of the ceiling, although I think that there will be some flexibility in the measurement. Hope this helps you out.
M**S
Get the job done, but weak metal
These clips are easy to install. My cans already had screws so I just removed the screw and then put back in with the clip on. The heights is about 1.25โ from the edge of the can. This is the same heigh that the Halo retrofit rings for cans have their clip. My only complaint is that they are WEAK AND CHEAP. One you put the light in and pull it down, itโs likely theyโll bend. Not a huge deal if itโs a one and one project but in the future when yon replace lights you might be replacing clips too. I used a mix of these clips and the Halo Recessed ML7RAB Retrofit Adapter Band (also sold on amazon). The band is WAY strong and will. It bend. Itโs also way more expensive and painful to install compared to these (the screw holes donโt align perfectly). Would recommend these but wish they were stronger and better quality.
T**D
Works Great on LED Retrofit Lights
I've installed 7/10 of these to finish up my update from CFL lighting to the LED retrofit lights. On my first can, it was very frustrating as I couldn't get the screws into the can sheet metal as the screw kept wandering. It didn't help that I had to work at an angle cause I didn't have an angle driver (although I think that wouldn't have helped me either). The solution to my problem was to just drill small pilot holes. At first the drill bit was wandering as well, but I held it steady and went full throttle with the drill which helped in keeping it steady. After this, I just screwed in the brackets and the screw and bracket went in tight. Then I put in the retrofit light and now it's holding it very tight up against the ceiling. The first can took me about 30 minutes and I was ready to give up on these brackets from frustration, but I hung in there. Each can after the first took about 5 mins once I got the technique down. The brackets are made of good enough quality for what they do.
K**N
easy to install. just 1 screw and holding straight for alignment
Just 1 screw and holding this straight for alignment to install. Install across from eachother 2 per can and the coil loaded clips on the lights can slip into the notches on the sides of these and push right up. Best if at least 1.5 to 2 inches above the bottom of the can so it can be pulled down later more easily. Works well. Pretty universal for the lights with the wires on them needing these on the cans.
J**O
Really Really Hard to install
These work but..... Consider you are putting these in a 6 inch can light. There is no way to get a drill in there to drill a pilot hole. I broke a couple of bits trying to drill on an angle. If the can is mounted solid enough you may be able to punch a hole with an awl or other pointed tool but hammering it might knock your light out of it's mounting. I finally got a hole in them by putting a pry bar behind the can and had another person hold it in place while I hammered a hole using a sharp tool. Then make sure you have a short screwdriver. You really need some kind of spring loaded hole punch that can fit inside the can. They work but for the price they are only worth it if you have no other choice.
G**L
Works perfectly for can lighting. Included self tapping screws a plus!
Works perfectly for can lighting. Included self tapping screws a plus! Although 1 bag did not have it. Good thing I had exactly the same sizes in my tool box. Ofcourse with self tapping screws it's a pain making a mark or a dent at the beginning specially when you're in an 8 foot ladder and looking up. It's hard to put pressure on it without the screw coming off the bit a few times. It took me about 5-7 minutes for a screw to penetrate the can (rest included - not that young anymore). I don't know but I'm thinking either the screw is just dull or that can is made out of steel! I see 2 layers in the can though so that could be it. Just keep at it and stay patient. I also had to buy the Dewalt DWARA100 Right Angle Attachment for my driver which made things a lot easier. One thing that may be easier is you can also install it with the screw hole bottom side.
6**R
Simple clip that solved a huge problem. I like it!
These clips are exactly what I needed to install my 6" LED retrofit kits into existing recessed lights. I placed the clips about 1/2 inch from the bottom of the can so it was easy to screw them in with my drill. Took me about 20 minutes to do 4 lights. I liked that you can place the clips where it makes sense unlike other clips available that make you slip them in around the bottom edge of the can and limit your ability to adjust the height/accessibility. These were perfect, they were shipped and delivered super fast and the price point is spot on. I have 16 more lights to do so I'll be ordering a bunch more. Great product!
Trustpilot
2 weeks ago
2 weeks ago