

Buy anything from 5,000+ international stores. One checkout price. No surprise fees. Join 2M+ shoppers on Desertcart.
Desertcart purchases this item on your behalf and handles shipping, customs, and support to Vanuatu.
🎬 Transform any space into a cinematic experience!
The YF2009SZ 180 Inch Portable Projector Screen is designed for versatility and ease of use, featuring a high-quality anti-crease material for a flawless viewing experience. With a generous 180-inch diagonal size and a lightweight, foldable design, this screen is perfect for home theaters, outdoor events, and professional presentations. It comes with 20 hooks and ropes for quick setup, ensuring you can enjoy your favorite movies and shows anywhere, anytime.
| ASIN | B075CGZLJT |
| Best Sellers Rank | #616 in Projection Screens |
| Brand | YF2009SZ |
| Color | White |
| Customer Reviews | 4.4 4.4 out of 5 stars (716) |
| Enclosure Material | Polyester |
| Item Dimensions W x H | 156"W x 88"H |
| Manufacturer | YF2009 |
| Mfr Part Number | YF20091688 |
| Model Number | 180 Inch |
| Mounting Type | Wall Mount |
| Operation Mode | Manual |
| Screen Dimensions | 180 Inch |
| Screen Finish | Glossy |
| UPC | 710558916349 |
| Viewing Angle | 160 Degrees |
| Warranty Description | With Friendly and Easy-to-Reach Customer Service |
L**K
FANTASTIC SCREEN AND EVEN BETTER WHEN YOU GIVE IT THE MAGNOLIA FARMS TREATMENT!
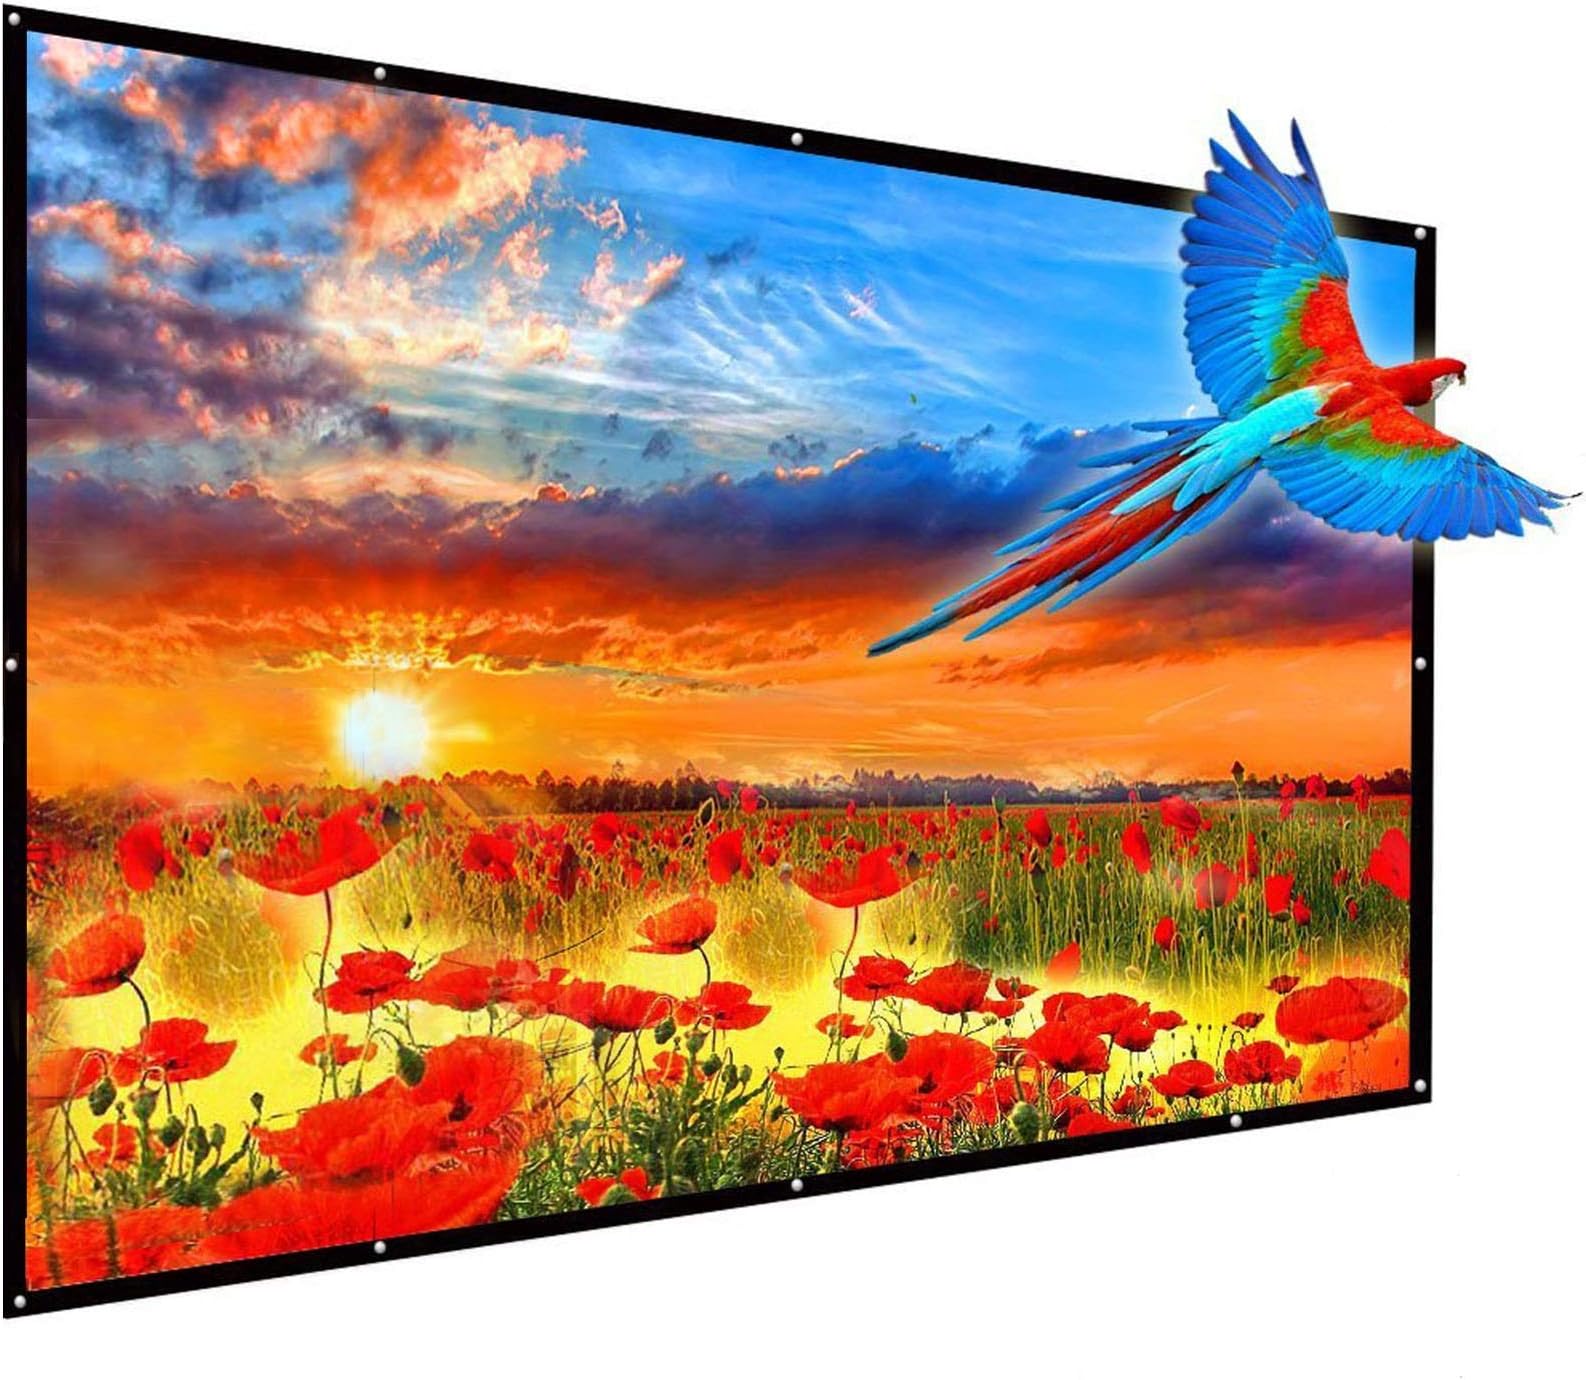
Here's how you set this sucker up to wow your mom and impress your friends: FIRST: Prep the wall. SUPER IMPORTANT for picture clarity. If that means a coat of white paint, do it. If there are outlets on the wall to cover up, shut off the power at the breaker (or not, if you're brave/dumb and have someone filming it) take the plate and outlet out of the wall and cover the junction box with paper the same shade of white as the wall - hardware store paint swatches work great for this. Clear packing tape to attach it works fine. NEXT: Mount your projector and sight it in (so to speak) on the prepped wall. Once setup, sized, leveled and focused, take a pencil and lightly trace the perimeter of the projected light right on the wall. Use a yard stick or something of the like to get it nice and straight, or just freehand it if you're artistic. Once that's done, shut off the projector and whip this screen out - either wash your hands or wear nitrile gloves beforehand so you don't soil it. It's big and you don't want it on the floor either, so place it in a clean laundry basket under where you intend to mount it. Get a ladder, a hammer and some small nails. Mount the eyelets of the screen to the wall with the nails positioned so that the black fabric of the nylon perimeter of the screen is about two inches or so away from the outside of your penciled projector boarder you drew, which should be just visible enough through the sheer fabric of the screen. Note: the screen, at 150 inches, will be stretched out quite a bit as you mount it. Once finished, you'll notice that the screen's border between the eyelets won't be a straight line. They'll be stretched and draped down into your penciled projector border, looking a lot like waves of water you drew with a blue crayon as a kid. To fix this, get flat thumb tacks and pull those crooked, dipped-in boarders away from the pencil projector border and thumbtack the black screen border to the wall so that you still have that two inches of clearance between your pencil border and the black nylon boarder of the screen. Use several thumbtacks between each eyelet and make that black nylon boarder look as straight as possible. Done? Sure, if you want, but why not make it look like Joanna Gaines was responsible for this job? Building a frame: Go to the hardware store and buy four 12 foot 1x4 planks. Get the nice straight stuff and get ones with a lot of knots, swirls and pock-marked, subtle Swiss-cheese looking holes. Make sure to inspect the straightness of each plank by holding an end of the plank up to your eye and look down it's side edge like you're aiming a rifle. Toss the crooked planks. Find the best four planks that you can. Then go to the paint department and grab a cheap brush and a can of wood stain of a color and tint of your choice. Before leaving the store, drop by the hardware section and get a box of larger nails. Screws work great too, I just think nails give it something more of an artistic quality to look at. Once back home, because doing this in the store parking lot would be odd, stain all four planks to your liking in a vented space like your open garage, unless you want to cop a headache off of the fumes and see things that really aren't there. Bring the (dry) planks to your project space. Lay out what will be the top plank. Pre-drill a few holes (3 to 5 of them, all measured and spaced apart to look like you gave a crap about it looking good). Drill them where you want your nails to be in the plank to attach them to the wall - the drill holes should be just slightly smaller than the diameter of the nails - no need to exactly measure the nail diameter, just eyeball it. Then stick the tips of the nails into those pre-drilled holes. Just the tips. Giggity. Mount the top piece of stained wood, all 12 feet of it, above the screen overlapping the black screen boarder. The plank should cover up the nylon boarder with all of the nails, eyelets and thumbtacks. Mind you, the edge of the wood shouldn't be touching the pencil boarder, just a bit away from it so your projector light has some wiggle room. Mount the plank so that the black nylon boarder is just out of sight and covered by the plank. Note: for this 150 inch screen, the top and bottom planks need to be the full 12 feet of wood. The sides will be shorter and will need to be measured and cut. Skillsaw, Sawzall, table saw, etc will all work. If you take proper measurements you can take the two planks back to the hardware store where they can cut them for you free of charge (ex. Home Depot, Lowe's). Make sure to measure both sides independently of each other in case they aren't equal lengths. For mounting, have someone else help you with holding the plank in position. Drive the center nail first, then go to one side and align the spacing between the wood and the pencil line to be the same as the spacing at the middle. Pound that nail. Then on the other side, do the same thing there. Now, no wood is perfectly straight. Also Giggity. If it is slightly culled (crooked or warped), you'll need to bend the plank up or down a bit into place before driving that nail. Next, measure each side from the bottom edge of the mounted top rail down to where you want the top edge of the bottom rail to be. Cut two of your stained planks to those lengths, then attach them to the wall vertically on each side of the screen with the same spacing and manner as the top rail. The bottom rail should align right up with the bottom ends of the side planks, provided you measured them correctly. Align and attach the bottom rail to the wall. Now Instagram that shiz, you are done and it looks awesome! I'm typing this at work (paid by the hour downtime - it's the little things in life, right?) so I'll hafta add pictures of mine later so you can see how proud my own Mrs. Gaines is of me. Holy crap, I just proof-read this thing and clearly I got carried away, it's massive!
K**T
Beautiful screen!
This has a beautiful silky look. We used bedsheet corner 23” long straps with clasps to hold it on the top inside of the garage and clasped the top of the screen in 4 places and then clasped the other end to a metal bar. We used the black string it came with to run its through the top and sides equally from down the center top equally down to the sides and then loop thru garage bar so that it would get some pull down from sides and through the bottom holes to tie back up to make it taught. Use some aliens tape outside behind the sides...in just key spots to make it taught. Even though we didnt make it completely taught..you cannot see the waves/wrinkles during projection so we didn’t bother adding more alien tape. Mind you..if you use Alien tape it can remove the paint off your house exterior or garage door..so use a tiny bit of it. We could open and close the garage all Halloween week while we screened a promo a few nights before Halloween...the projector looked bright enough on it..surprisingly excellent quality from our projector..this screen is perfect and HUGE for a very wide garage door. We setup outdoor furniture sectional sofa and table out front. We put a large red carpet up the side of the driveway with some chrome stands and red rope. It WAS AWESOME!!!
B**N
Good screen if you have a good surface to hang it on
Good screen for the cost. Be aware it is not completely opaque so if you hang it against a surface with texture/color it can show through. I bought it to use in my unfinished basement and the 2x4s on the wall show up.
)**)
Works great if nothing is behind it
I like this screen when there is nothing behind it. I built a frame but because there was parts of the frame neat the back of the screen the lights from the projector reflected back to the screen and shone through. If I had it to do over again, I would choose one that was not transparent. If there is nothing behind the screen, this is a fantastic screen.
T**T
bigger than expected
My wall is 138inches wide. Maybe I stretched the screen out to much but it is wider than my wall. Not a major problem. I just folded one end a few inches behind itself. I could only get 148 inches with my projector so I used black yardstick to form a border for the end I folded. I get 80 inches of height from top to bottom, measuring only the white material, which again is 6 inches more than the 74 inches advertised. So I used black card stock again to border my picture at the bottom. My projected picture is 126.5 inches wide and 78 inches in height. From the moment I hung the screen i had no wrinkles. The picture is awesome from any angle. Good job!
A**P
It’s just a sheet
It’s basically just a white stretchy sheet with a black border. But for an in-home screen, it’s not that bad! Manageable and clean. Very large!
R**R
Wow value for the price and great screen size 150 inch
A good buy for a good price! The material is strong, big and stretchable. If you have a strong enough projector, you can see clearly from behind the screen as well which is a nice bonus for clever projector placements. No wrinkles at all. Overall the screen is awesome for what I needed and that's awesome for the price. We love the 150 inch size lot of compliments. Worth buying.
C**E
Great Value!
We use the screen indoors. We have no complaints and would recommend this screen to anyone. Our movies (using our projector) show amazingly! The material is stretchy and strong.
D**N
Stretch fabric - easy to pull tight and set up with no wrinkles. Great quality projection both from in front and behind. Works better than I expected. Great value!
J**.
I only gave 3 stars for portability because this is like a tent. Once it's out of the bag, good luck putting it back in LOL. The screen itself is beautiful, wrinkles free and easy to use.
D**.
The screen is nice but the hangers supplied don't stick to the wall. I suggest you use better hangers so you are not trying to fix the screen continuously
J**Y
m a été tres utile pour des projections dans la cour; grandeur idéal
N**E
Pros: Loved how it came with its own little portable carry bag. Quality was pretty good for the price as well. Cons: Extremely wrinkly - as expected since it was folded but even after ironing and flattening out vigorously, wrinkles remained which was annoying. Another big problem I had was that the picture quality actually was worse on this compared to how it looked on my wall. This was a bummer because my wall is dark and this cloth was supposed to brighten up the picture for me. TLDR; product doesn't really get the job done in a satisfactory way. Recommend to find something different :)
Trustpilot
2 days ago
5 days ago