Buy anything from 5,000+ international stores. One checkout price. No surprise fees. Join 2M+ shoppers on Desertcart.
Desertcart purchases this item on your behalf and handles shipping, customs, and support to Vanuatu.
🛠️ Transform your garage into a high-gloss fortress of durability and style!
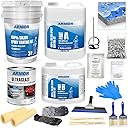
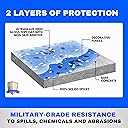
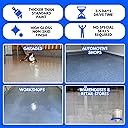
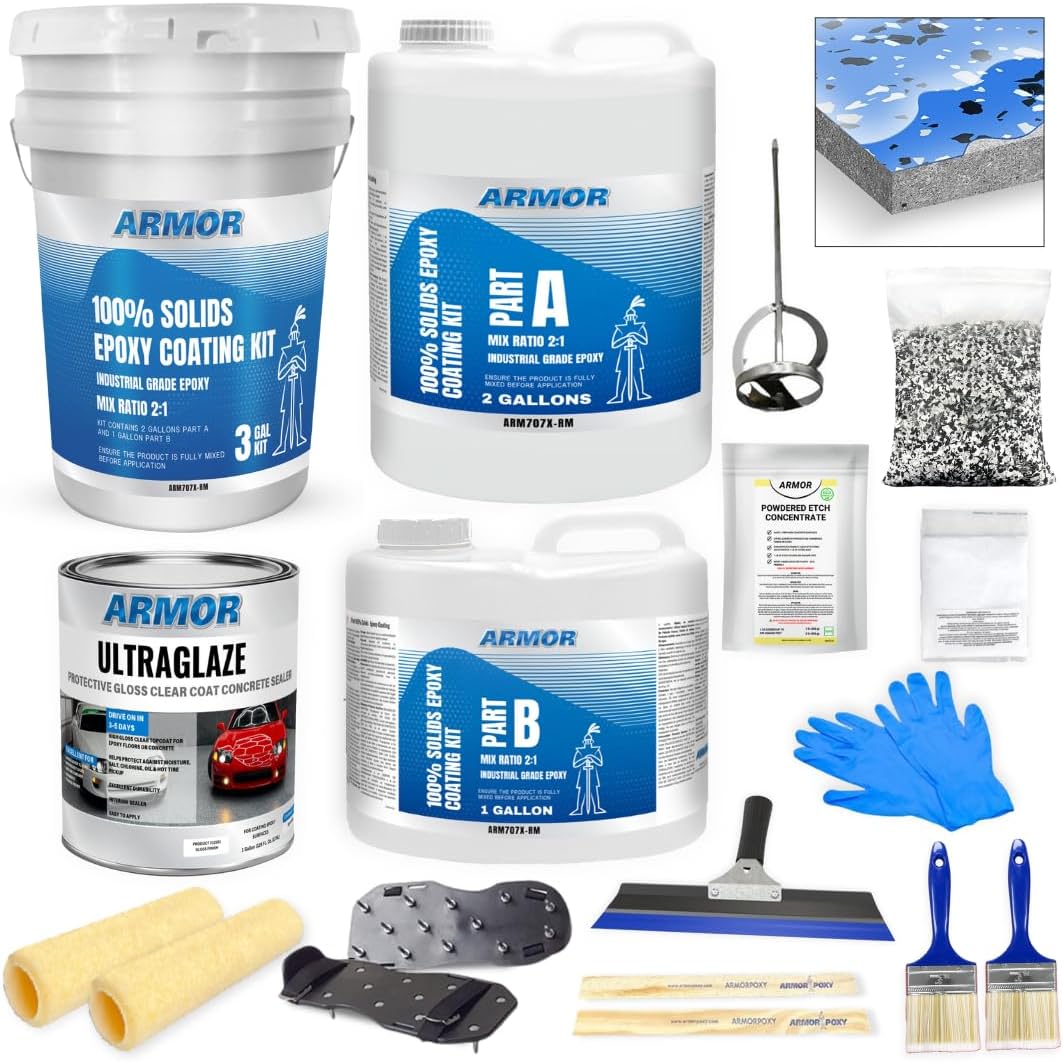
ArmorPoxyGarage Epoxy Floor Kit is a professional-grade, 100% solids, two-part epoxy coating designed for DIY enthusiasts and contractors. It delivers military-grade strength that’s 10x stronger than steel, resists hot tire marks, stains, and slips, and includes a complete 17-piece kit for up to 600 sq ft coverage. With a fast 24-hour cure and customizable flake options, it’s the ultimate solution for durable, stylish, and safe garage floors.


| Customer Reviews | 4.1 out of 5 stars 277 Reviews |
M**N
Garage Goals Unlocked: Armorpoxy for the Win!
After binge-watching a ton of epoxy floor makeover videos, I decided it was time to give our garage a serious glow-up—and Armorpoxy seemed like the perfect choice for the job. We’re in the middle of a full garage remodel, and this floor was the foundation (literally) of the entire vibe. Between work and life, the project took a couple of weeks to complete, but the results were worth every bit of effort. I used two kits for my standard two-car garage, and that ended up being the sweet spot to get full coverage and the finish I wanted. The product itself was solid—good consistency, easy to apply if you follow the steps, and the final look? Sleek, clean, and seriously elevated. The space already feels brand new, and I can’t stop admiring the shine and texture. I’ll be back in a year to post a follow-up and see how it’s held up over time, but for now—this kit definitely delivered. If you’re on the fence about it, go for it. Great product, great results. Brand new floor, brand new vibes.
R**T
Perfect all in one kit, wear a mask and work with a friend!
Wear a respirator! Epoxy fumes are toxic and just having your garage door open is not enough! perfect all in one kit, easy to follow instructions, and beautiful looking outcomes. If you have a partner helping, I found it easier to just buy two of the smaller kits to get my square foot coverage.
D**O
Very good product
Easy to work with as long as you follow their instructions. End product looks awesome, well with it
S**.
***DO NOT BUY!!!! STICK WITH RUST-OLEUM!!!*****
I highly recommend buying double of what you actually need and doing a 2nd coat before putting the flake. I prepped my concrete (it was brand new so I know there were no previous contaminants), but there are several areas that visually are not to my liking. In the past I have done my garages with a different brand and have always done two or more coats. I read the reviews on this product and decided to try just one coat. I should have gone with my gut. Lucky for me the places that I have issues with I plan to put pallet racks over so you should not see it after I get might be longings moved into the garage. Prep and application we're both very easy, the kit comes with everything you need. And the epoxy was really easy to work with. I live in a very humid climate and the clear coat was applied 5 days ago, and is still a bit tacky. But it looks like it's going to be a nice four when everything is moved in. ***UPDATE*** I haven't even parked on the floor yet, I've only been walking and remodeling the room and it's already coming up. I did all the prep work and, it was new concrete so I know that's not the issue. But don't waste your money, buy the Rust-Oleum brand. I used it in my garage at my old house and it held up great for 6 years. I just wanted to try something new and I wish I hadn't. ***Another update*** Finally moved into my new house and the first time I blow my garage out with a leaf blower it peels up! DO NOT BUY THIS!!! STICK WITH RUST-OLEUM ITS BETTER
J**E
This is NOT a one-day job!
I gave it 4 stars because I haven't had time to test the durability. Otherwise, I would give it 5 stars. This is not the cheapest option nor the simplest option, however it is the best option. Ingredients are all commercial grade and the final results will show. Final results will be based upon how much effort you put into preparing the floor prior to any application of product. You will need to throughly clean the floor (pressure wash, degrease, and acid etch) first. I highly recommend buying a good crack filler after allowing the floor to throughly dry. This is an extra step but necessary to look good and keep future debris from getting into cracks even after epoxy is applied. Use painter's tape to tape off the areas adjacent to the floor you don't want to get epoxy on. Mix a small quantity and use the paint brush to apply along sides/floor where the painter's tape is. I poured small amounts of mixed epoxy directly on floor and used roller to spread. Working from the back wall to the garage opening, continue to pour small amounts until you have covered the area. Since the directions said to complete the epoxy application within 25 minutes, I used 10 minute mark to see if I was half way done. This kept me on schedule to complete without the epoxy setting up. Put my 'slippers' on to spread the paint flecks. IMO, there is plenty of paint flecks to add to the floor. No need to buy additional flecks. Final step was to mix the non-slip additive to the clear coat and spread similarly to the epoxy. Use small amounts and pour directly to floor and spread with new roller working from back wall to garage door. I didn't paint in the edges along the wall like I did the epoxy. No need to go through this effort since the epoxy is shiny and already covers the cracks. Day one: It took me one day to prep, dry over night. Since it was a new garage, I did not have to fill crack Day two: Applied Epoxy and paint flecks, dry over night. Day three: Applied clear coat with anti-slip, dry over night.
J**N
Don’t Rush, Follow Instructions and You’ll be Pleased!
First and foremost my product arrived damaged. AmorPoxy quickly got me out a new product and was able to answer my questions via customer support about using the optional “Primer” step as well as the crack filler. Unfortunately my garage floor already had a layer of ‘something’ from the previous owners so I had to rent a Floor Sander from Home Depot. (The main reason I opted to prime in the first place) Followed that up with the acid etch wash to maximize a clean surface and clear out the concrete dust, moisture test and crack filler, then two coats of primer, followed by the epoxy layer with chips and finally top coat with non slip powder added. Some take aways: My garage floor is roughly 422 square feet, two car garage. The 300 foot kit was PLENTY. had enough primer for a second coat and tons of epoxy and top coat left over. Throwing chips is easy to get out of hand, my floor isn’t perfect, some spots are heavier than others but that’s okay, try to even them out as best as you can. I used my food scale and a small mixing bucket for the epoxy ratios. It’s a 2:1 ratio, and with a quick bonding time they recommend doing small batches. I used Saran Wrap on my food scale and just measured 800 grams Part A to 400 grams Part B, it was perfect to knock out a good size portion of the edges on the floor, then dump out and roll. Easy working with wife Take your time, while knocking this project out in three days seems optimal as advertised that just wasn’t for my life schedule. I was able to sand and acid etch one day, gave it three days to dry, primed, and primed again back to back days, but gave it another 4 days to dry. Then epoxy and chipped. Gave it two days to dry, and then top coat. Gave it two days to dry before walking and will probably give it another two days before equipment and even longer before cars go back in. Call me careful, but I was pretty positive and confident it would look amazing when I was done, and it does! Extremely pleased, but I want it to look amazing next year, and the year after that and so on. So take your time, don’t rush and read the instructions a million times, watch the YouTube video a million times. Overall very satisfied. I will try to update this review in a year 😅 and let you know how it looks.
M**L
Professional Results with Complete DIY Kit
I used the ArmorPoxy Garage Floor Epoxy Kit for the garage in our Charleston home with excellent results. I had previously used an epoxy kit from one of the two big box stores on our garage in Houston and it was not successful. The etching did not work and the finish did not adhere consistently and flaked off in many places very soon after applying it. The ArmorPoxy kit contained everything I needed to try again with our 21'x24' garage in Charlestion included well written instructions with very helpful hints. The results were even better than I expected and the floor looks just as good as the one's friends of our have had professionally installed at 3- 4 times the cost. I have already placed a heavy refrigerator, storage cabinets, and vehicles on the finished floor without a single scratch or flake. So I am encouraged by its initial toughness and only time will tell if it will hold up over extended use. But, right now it looks great and I would highly recommend it for tjose that want a professional result with a DIY kit from ArmorPoxy.
D**N
Ok product (roughly 8 month update)
UPDATE: Tires from motorcycles and cars will leave a black tire STAIN on the epoxy.. The product is great quality, i purchased the 600sqft kit and covered a 3 car garage with it. Really impressed with the way it came out. I will say the video tutorial was very helpful and i suggest re watch it a few times. Downside it although you are buying a “kit” you are missing the paint rollers and extension poles… the roller brush they provide is very short so when you go and buy a paint roller and extension pole i suggest you get a wider roller brush. The epoxy drys fast so id recommend a second person assist you.
D**K
Qaulity Product
This kit was good and im very happy with the finished floor. Cost was more than the kits you buy from big box stores but was worth every penny.
W**R
Amorpoxy Review
The product was as advertised with all the parts needed to complete the job. The instructions were good. The product installed easy. The coverage was more than advertised. I had 184 square feet to cover and wanted to put two coats of the epoxy down so ended up ordering two 300 square feet kits. I was able to do the two coats of epoxy with the one kit and do four coats of top coat with one kit. I used one package of flakes for a heavy coverage which hit any imperfections. I think it turned out good and looks really nice.
Trustpilot
3 weeks ago
2 months ago