


💧 Drink Pure, Live Confident: The Filter That Works as Hard as You Do
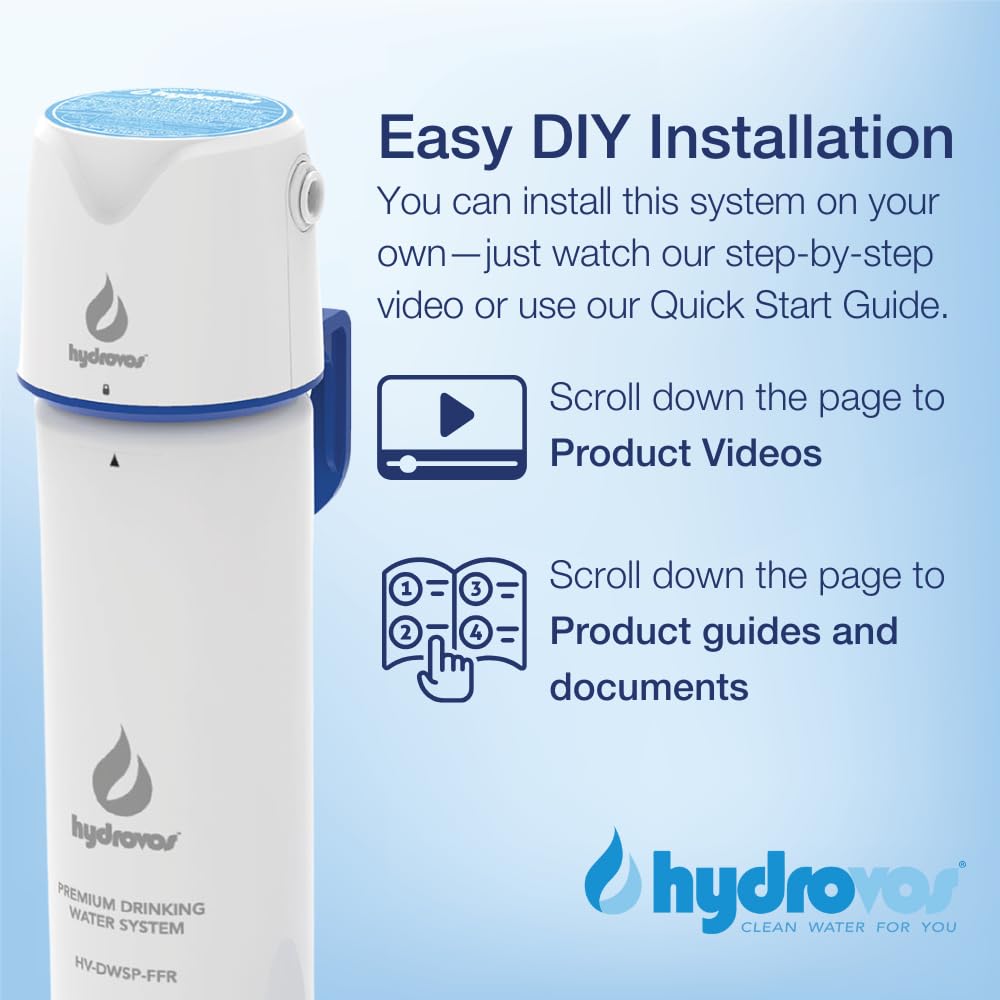
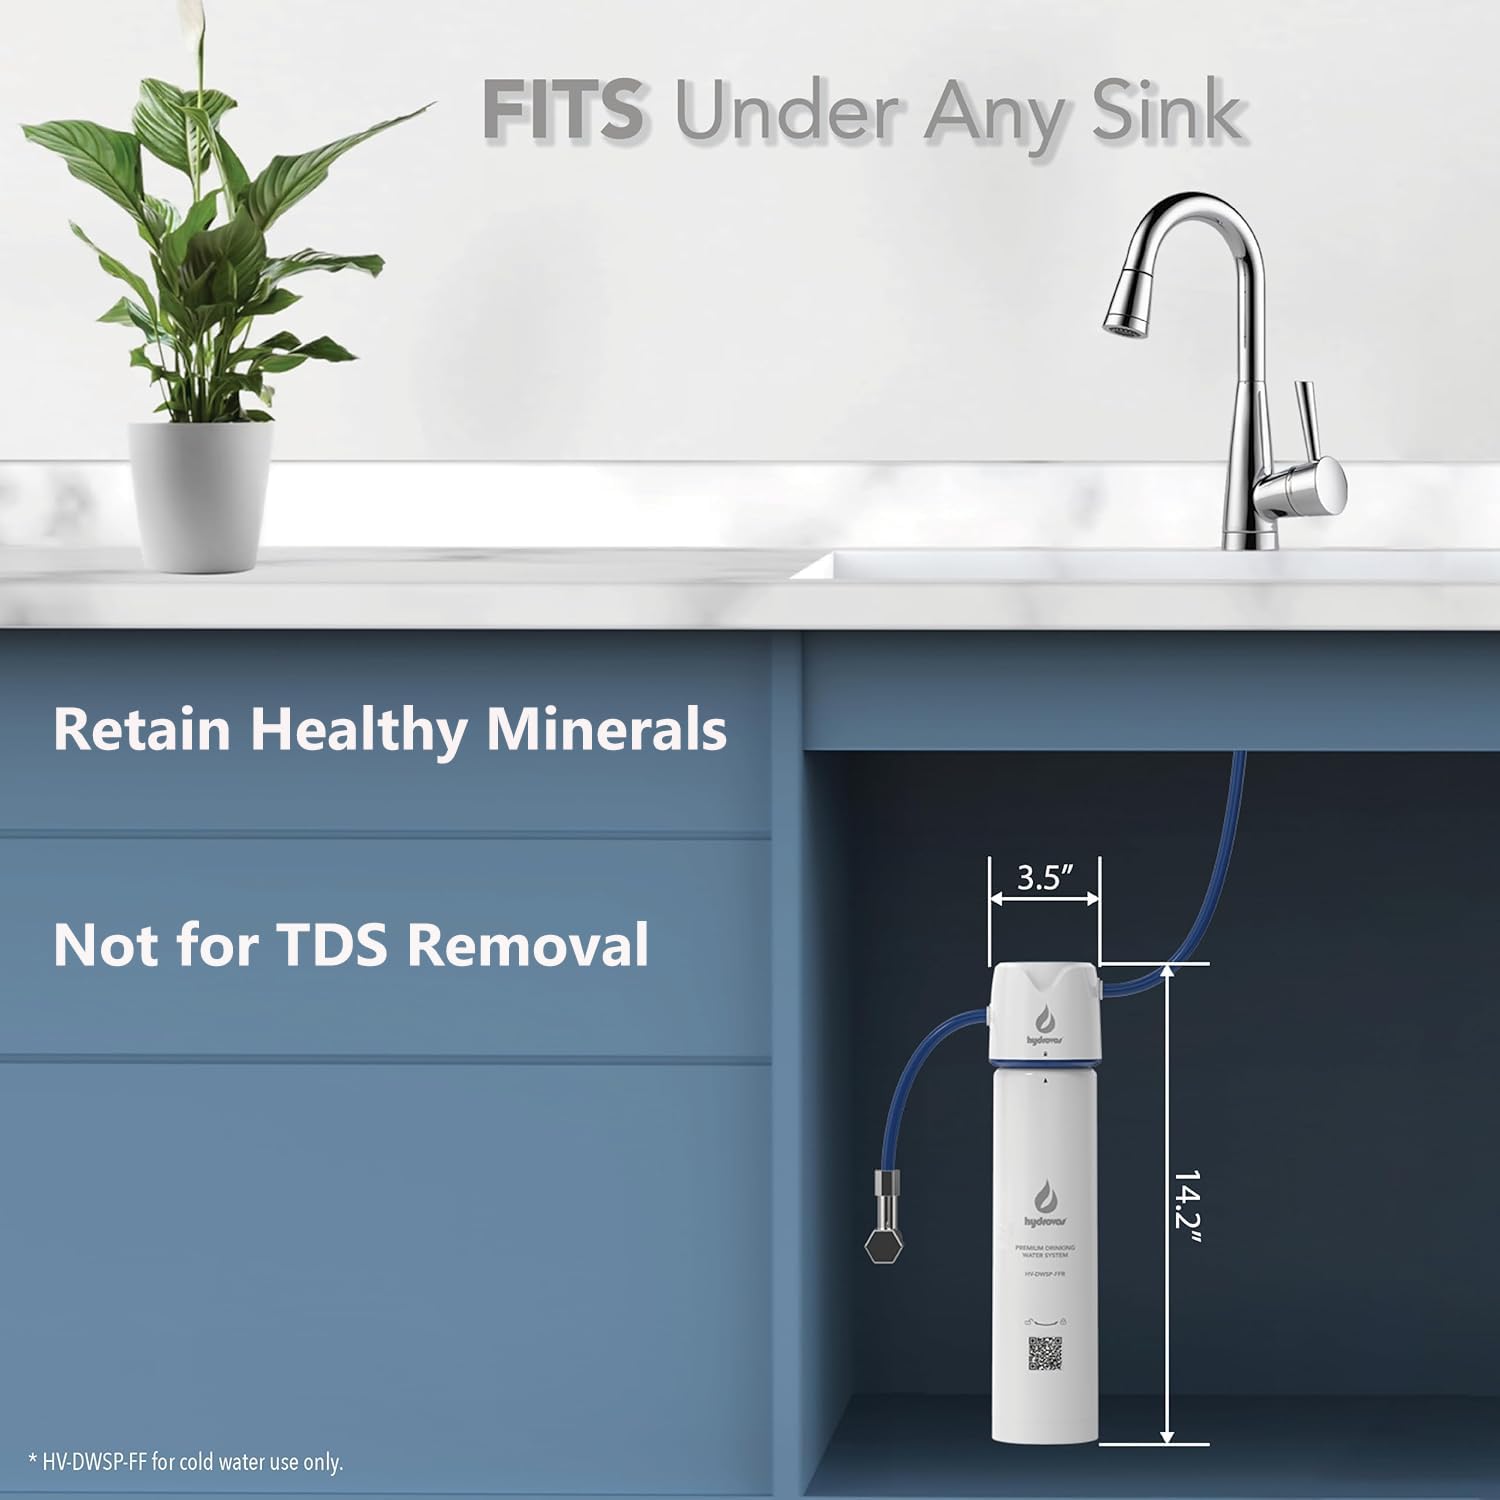
The DWSP Premium Microplastic Water Filter is a compact, NSF-certified under-sink filtration system designed for easy installation and superior contaminant removal. It filters particles smaller than 1 micron, including harmful chemicals like PFOA, PFOS, lead, and microplastics, delivering fresh, clean water at a steady 1.5 GPM flow. Its quick-connect design allows hassle-free filter changes, making it ideal for renters and professionals seeking reliable, high-quality water filtration without permanent plumbing modifications.
B**N
Best/most reasonable NSF 42/53 filter I could find
UPDATE: I had my original filter and I am on my 2nd replacement filter. The 1st 2 I used for about 6-7 months before changing. No issues at all and I will stick with this filter for the foreseeable future. Can be a little tough to get the cartridge out when replacing the cartridge and a little water might spill, but not too big of a dealI was looking for a reasonably priced water filter that was certified for more than just NSF/ANSI 42 (for chlorine). I also needed one that did not require a separate faucet. To be clear, this is NOT NSF certified, it is certified by IAPMO to meet NSF standards. This still seems to be a meaningful/reliable certification, but is cheaper for a company to do it this way instead of paying the NSF a ton of money. This filter is also certified to meet NSF 53 and 401 standards. I checked with the company about the plastic hoses they supply with the filter since plastic can leech chemicals (most filters I see use stainless steel). The company replied within a couple of hours and said that it is polyethylene that is tested by the NSF and tested against EPA requirements and approved for food contact. So I guess that’s good enough for me.The installation wasn’t bad. As others stated, the directions aren’t the best but no real issues for me. Make sure the blue hoses are pressed into the filter housing as much as you can. I initially had problems with it leaking but it stopped once I pushed the hoses in more. I didn't use any Teflon plumbers tape on the connections.This filter is certified for 1651 gallons. This was the most I found for a comparable filter/price. (A lot fewer gallons than most NSF 42 only filters)I haven’t ran any testing on my water so hopefully it’s doing what it says. So far so good though, I’ll update if there are any significant changes.
G**Y
Breaks down..lasted less then 5 months..leaks
Was very happy with the clean water taste. But disappointed that the product did not hold up. Did not get a chance to order a replacement filter. Very disappointed. Cannot reach seller and Amazon wanted to know why I waited so long to return it. Well...it just happened today that we got back from vacation and it was leaking. We cam home to a mess of water under our sink. Water coming out of the filter system top part. 12-26-23
N**E
Clean water for kitchen
Installed this filter under our kitchen sink. Water tastes better. The process is easy and taking only 15 minutes. Now we have filtered water for daily kitchen use including washing fruits and vegetables. This filter also works as pre-filter to our existing RO system.
H**M
The only reasonably priced filter that has 53 and 401 for most pollutants
NSF certifications 53 and 401 are granted per pollutant; for example, some filters only get certification 53 for Lead, but not for Arsenic. Most filters claim to have 53 cert but when you look on the NSF website they only have the cert for 1 or 2 pollutant. This filter gets great marks because it has the certifications for all of the important pollutants (you can search Hydrovos on NSF website or IPMO R&T website to prove this) but still has a reasonable price point. In addition, it has the PFAS cert from IPMO R&T which is unheard of at this price point.The install instructions aren't great, but you can figure it out fairly quickly. My advice to the manufacturer would be to make a youtube video with install instructions, but quite frankly this is still the best undersink water filter out there.
A**R
Almost Perfect
First, all the good stuff:1. It's very easy to install (except--see end of this discussion)2. Water flavor is great. I got very few black carbon granules when I first fired it upThen the "bad" (and it's not really bad at all) stuff:They don't tell you which port is IN and which one is OUT. The instructions don't show it actually hooked up. The way I figured it out was to look at the pictures--I think the third one down on the Amazon product page showed that the IN is on the LEFT when the unit is attached to the back wall under the cabinet, and the OUT is on the RIGHT.But with that said, installation took probably ten minutes: A couple of those minutes were used up finding a wrench and turning the water off under the sink.First, make sure that you leave adequate distance between the bottom of the filter cartridge and the floor of the sink so that you can replace cartridges. The instructions say 3 inches.Secondly, I drilled a couple of pilot holes on the wooden back plate of the cabinet rather than in the drywall. Then I screwed screws into the back plate and then dropped the filter assembly over the screws. That took care of the mounting.Next, I removed the COLD water connection at the valve under the sink. I pushed one end of the included rubber hose as far as it would go into the LEFT SIDE (IN) port on the filter. I made sure to leave a fair amount of service loop in the hose so that it wouldn't kink. I cut the hose off and slid the supplied brass nut onto the hose, followed by the plastic ferrule. I screwed the brass nut onto the threaded port on the supply valve. That took care of the supply side.Then I pushed the end of the remaining rubber hose into the RIGHT SIDE (OUT) port on the filter. I routed it to the tubing that was hanging down from above--that's the supply line to the faucet. I bent the tube a little to get a better angle for the hose. Then I screwed the threaded end of the included plastic adapter onto the nut that is on the end of the faucet tubing. Note: You'll need a second wrench of some sort to tighten that plastic fitting and faucet nut together. I found out the hard way when I turned on the water...But that's it--it's very easy to do.I recommend it.
J**E
Follow the instructions closely.
Easy to install, no leaks. Water is sparkling clear and the taste is good, but I will update this post as to its overall performance. I plan to compare the water quality of this filter to other sources within my home. So far, everything is good.The most important steps to a successful installation is cutting the water line straight (90) and pushing it into the filter completely until it locks. Also, if mounted leave space (3.5 in) below to change filters.
Trustpilot
3 days ago
5 days ago