

Buy anything from 5,000+ international stores. One checkout price. No surprise fees. Join 2M+ shoppers on Desertcart.
Desertcart purchases this item on your behalf and handles shipping, customs, and support to Vanuatu.
💡 Illuminate your drive with precision and durability — don’t get left in the dark!
The WEELMOTO Headlight Assembly offers a perfect OEM fit for 2007-2014 Chevrolet Avalanche, Suburban, and Tahoe models, featuring crystal-clear polycarbonate lenses and SAE-certified super-bright lighting. Professionally tested for durability against environmental stressors, it comes with pre-installed bulbs and wiring harness for easy plug-and-play installation. Backed by a 2-year warranty and 3-year support, it’s a reliable upgrade that enhances both safety and style.


| ASIN | B0CQMY6J73 |
| Additional Features | High Beam, Low Beam, Pair of headlights (driver and passenger sides, left and right sides), Waterproof |
| Auto Part Position | Front Outside |
| Best Sellers Rank | #69,517 in Automotive ( See Top 100 in Automotive ) #381 in Automotive Headlight Assemblies |
| Brand Name | WEELMOTO |
| Color | 2-Clear Lens I Chrome Housing I Amber Reflector |
| Compatible with Vehicle Type | 2007-2013 Avalanche 2007-2014 Suburban 1500 2007-2013 Suburban 2500 2007-2014 Tahoe 2008-2013 Tahoe Hybrid 2012-2014 Tahoe SSV |
| Customer Reviews | 4.4 4.4 out of 5 stars (84) |
| Included Components | Fit Direct,1 Pair Headlights Assembly, (Left Driver+Right Passenger Side) |
| Item Type Name | Headlights Assembly |
| Lens Color | Crystal Clear |
| Lens Material | Polycarbonate |
| Light Source | High Beam : HB3 / Low Beam : H11(Bulb are Included) |
| Manufacturer | WEELMOTO |
| Manufacturer Warranty Description | 2 Years |
| Model Year | 2007 |
| Specific Uses For Product | Head Lights |
| Voltage | 12 Volts (DC) |
| Wattage | 60 watts |
A**R
Holding up great after 6 months
I purchased this replacement headlight assembly for my 2007 Chevrolet Tahoe and it fit perfectly. Installation was straightforward, and all the mounting points lined up without any issues. The headlights look clear and bright, making a big difference compared to the old, cloudy ones. Overall, it’s a good quality replacement that improved both the appearance and visibility of my Tahoe. Great value for the price.
V**R
Looks great and are bright.
Fit great! Looks good also. So good that I had to order 3 more pairs. So I have a pair on an Avalanche, a Tahoe and 2 suburbans.
S**S
Bright, clear, worth the money
If you have plastic fog, or a headlight out, you might as well order this set and get all new bulbs in a clear showroom fresh headlight case. Installation slightly challenging as usual, but worth it.
C**N
No one gets 5 stars….like ever!
I’ve only had them installed for a day, so there’s that. Definitely do research on installation. These things aren’t built to exacting specs. They definitely take some work. I would also reinforce the wires that just sit loose behind the housing. Otherwise, they are a jumbled mess and I could see them getting hung up or torn altogether. Also, whoever said these are just plug and play needs better eyesight. The wiring harness is designed by someone who hated the ‘put the square peg I to the round hole’ game as a kid. I had to use channel locks to slowly apply pressure to the harness to get it to slide over the pin housing. However, with all that, I have to say they don’t look too bad. Let’s hope they hold up for a while.
M**R
Nise plug and play head lights.
These head lights worked well on my 2010 suburban. They wiring harness and new light bulbs, and they were great fit.
A**R
Works well on our truck
Great quality, so far. The lights are bright, look great and no condensation. The adjustments were fine, when they arrived.
J**H
Great fit and eazy to install
Fit perfect on my 2012 suburban and look so much better , but the adjustment bolt doesn't work also the edges of the light when broken
S**J
Worth it
⭐️⭐️⭐️⭐️⭐️ Forgot to take before and after but they look great on! (07-14 Tahoe) lined up decently considering it isn’t stock parts. No complaints. They arrived scratch free and in perfect condition.
B**F
Exactly how described. Work and fit without issue
L**N
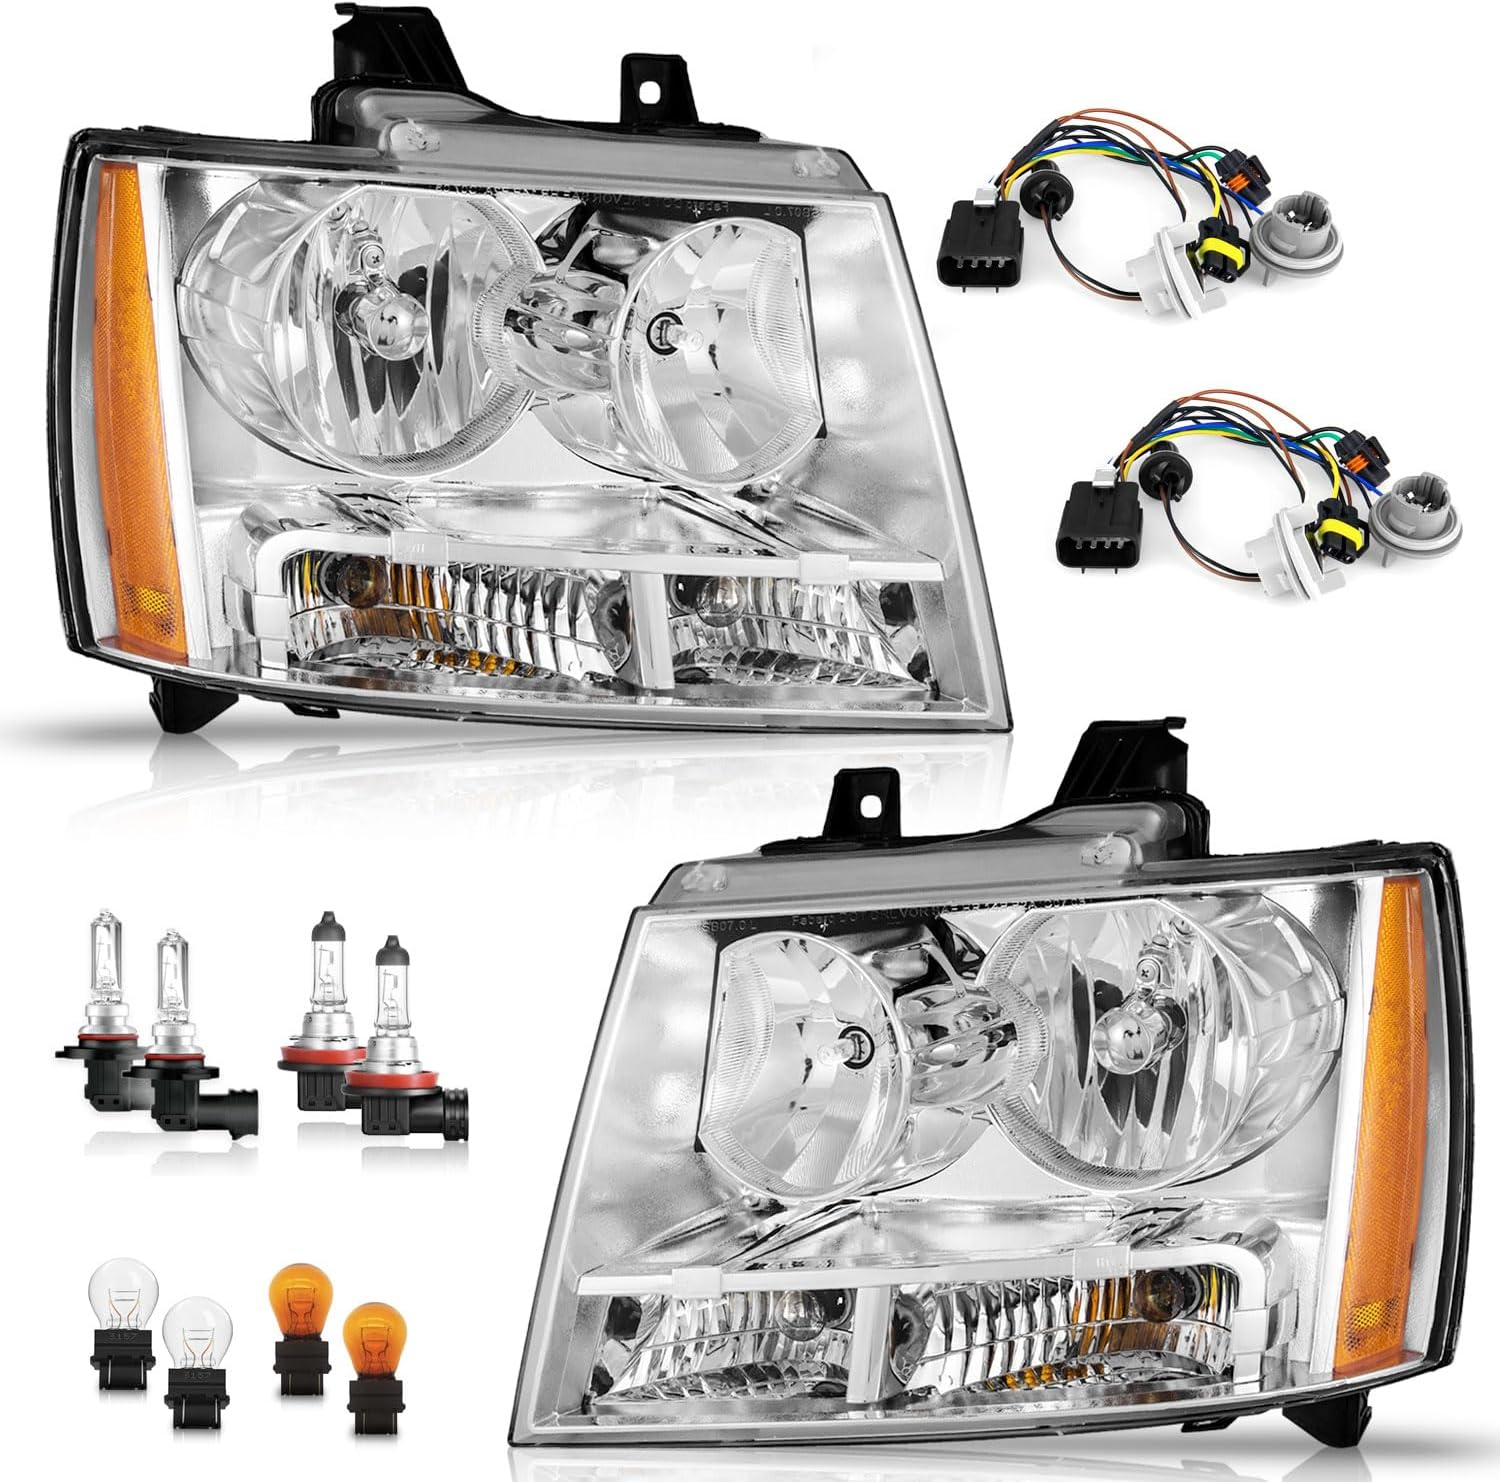
Review Update.....After 2 weeks the passenger side unit started leaking and fogged up. Condensation inside the light is more than unsightly, it reduces the light's effectiveness, and will cause premature failure of the bulbs and corrosion in the sockets. The original headlights never leaked or fogged up during their 15 years of service. I regretted having to return these lights as they looked great, but turned out to be defective in a very short period of time. Spent another two hours removing the defective ones and installing new ones in my shop. Big job right down to getting the push bumper out of the way. My Initial Review is Below These units installed without any issue and have my 2009 Suburban looking like new. I had cleaned up the factory lights previously but they always go back to looking bad over time. These units come with all new wiring and halogen bulbs so they are plug and play with the single factory wiring connector. I have done this job on a number of Suburbans over the years so hopefully the following information will assist you. Changing the front light units on the 2007 - 2013 Suburban is tricky business. Do not frustrate yourself, it is not difficult, you just need to use a bit of patience and a wee bit of force. On each inner fender remove the two screws and 3 plastic push in plastic fasteners that secure the inner fender directly in front of the wheel and just above it. Doing this also releases the bumper cover under the headlight and gives you access to the lower bolt that secures the old light unit to the truck. Loosen that bolt until it is almost out but do not remove it. Remove the two bolts that hold the light unit in place under the hood and the bolt that secures the grille trim beside the light unit. Free the light unit a few inches from the truck and then squeeze and pull the wiring connector apart. Pull the bumper cover away at the very end where it meets the inner fender as this will allow you to push down on the bumper cover to free the light unit. The most important part of getting the new unit in place is to first hook the plastic extension on the new light that will be secured by bolt inside the inner fender into the opening for the light unit. Once you have the light to this point in the opening, securely plug in the wiring connector. Now you need to struggle a bit with the light unit pushing down on the bumper cover and pulling out on the grille trim etc. until all of a sudden, the light unit goes into place. The first thing you want to do at that point is to check to see if the tab on the light unit is in the proper place to accept the bolt in the inner fender. Then check to make certain that all the lights are working as they should. Now start all the remaining bolts in their respective holes and tighten them up evenly. Just snug them up nicely, do not over tighten the bolts in the plastic. The last bolt to tighten is the one in the inner fender. Then reattach your inner fender. Your done. I hope this helps. BTW...the fender screws have a 7mm head and all the bolts have a 10 mm head. I recommend the use of a short handled 1/4" drive ratchet in the front fender as space is tight. There is no need to remove the front wheels. Just peel the inner fender back and look in the hole. Space is tight but the job is doable.
A**R
They didn’t fit
Trustpilot
3 weeks ago
2 months ago