


🌙 Sleep Smart, Stay Cool or Cozy—Own Your Night!
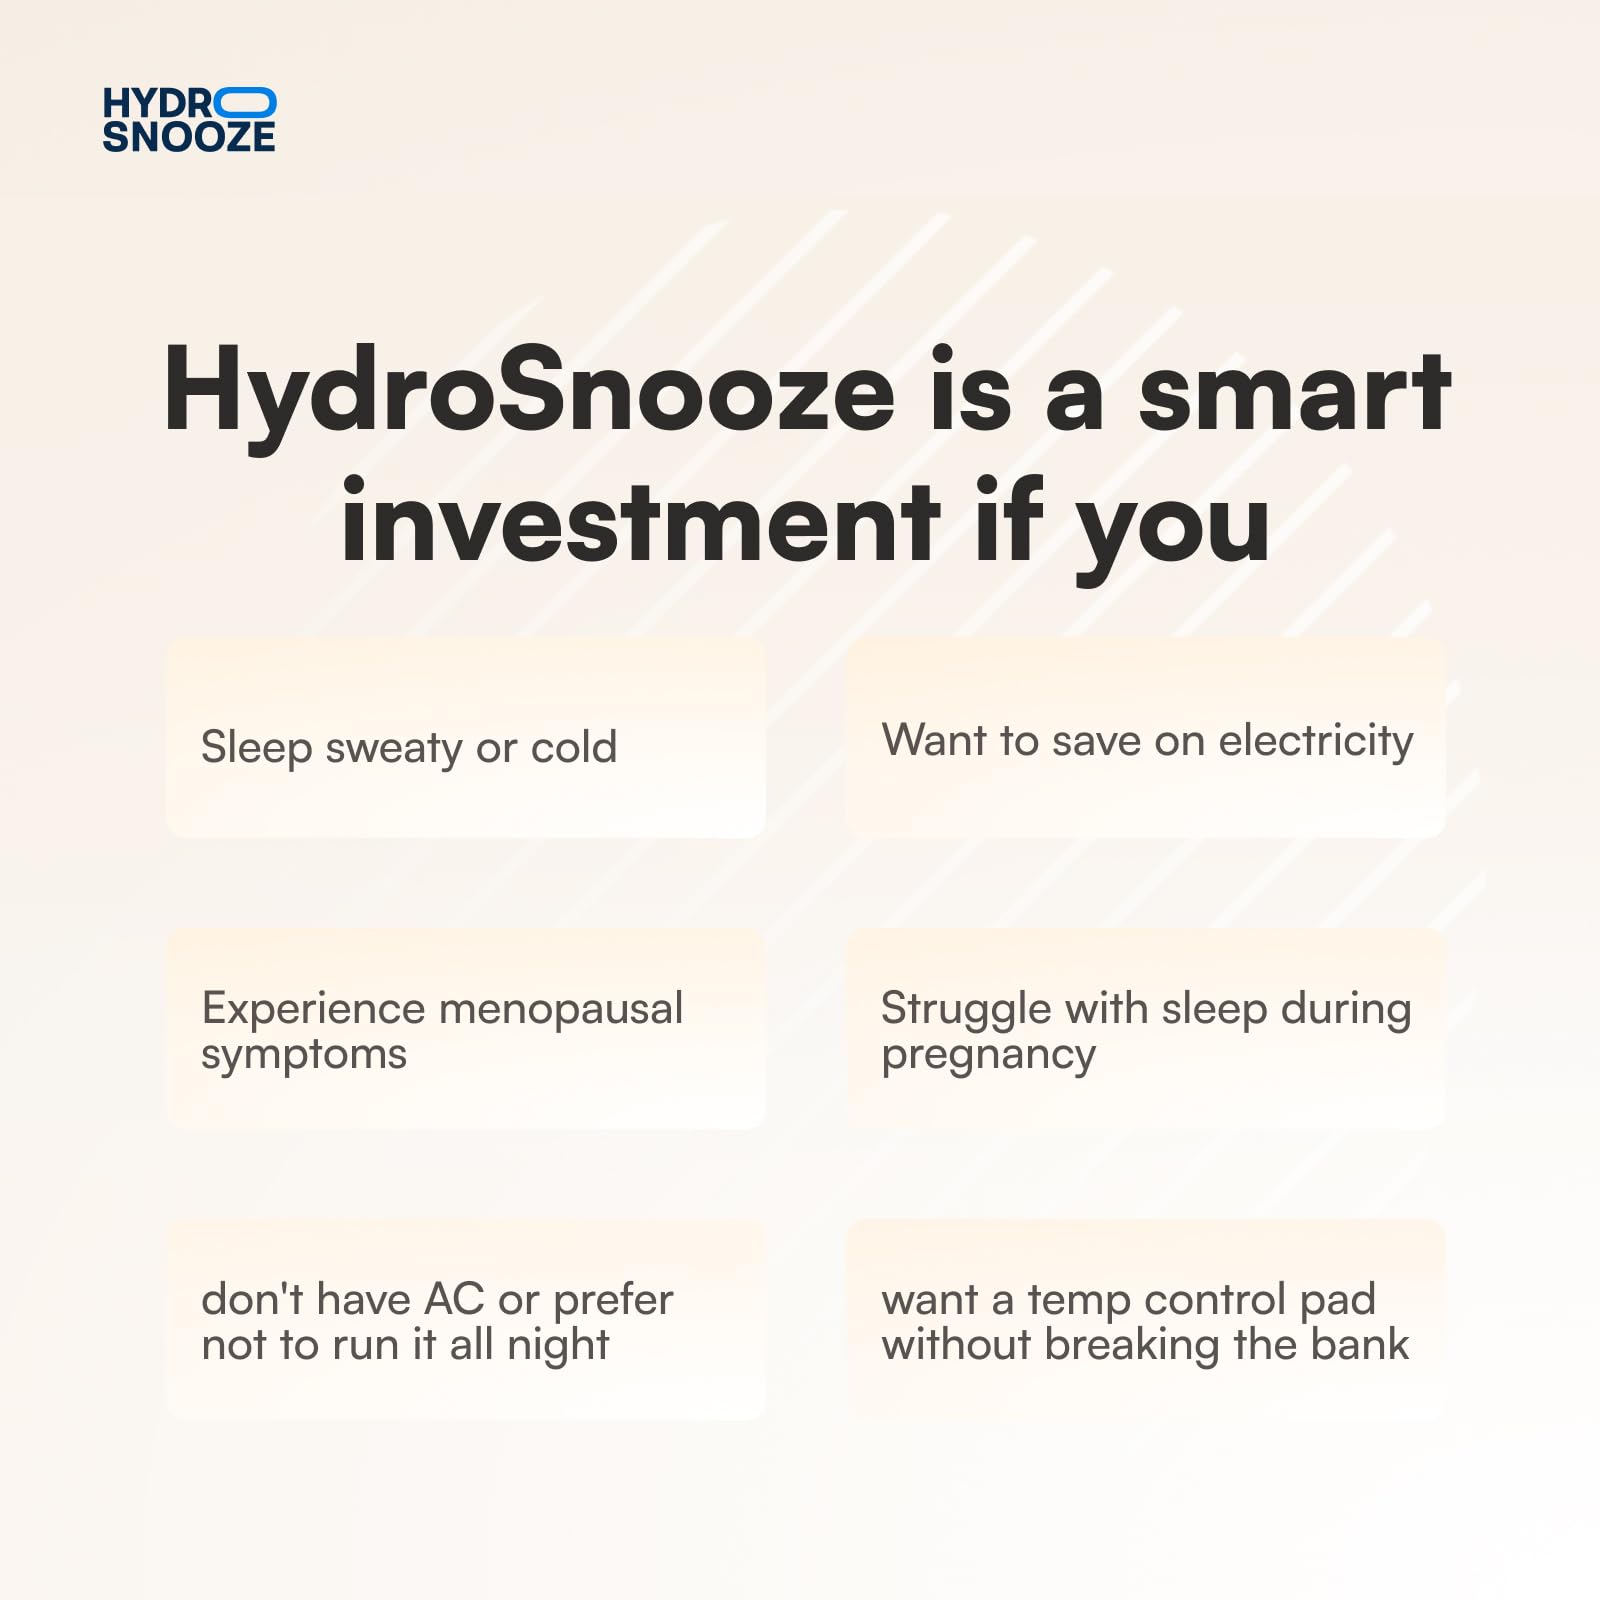
The Water Cooling & Heating Mattress Pad offers precise temperature control from 59°F to 131°F using innovative water-based technology. Designed for hot sleepers and those needing dual-zone comfort, it operates quietly and efficiently, consuming significantly less power than traditional cooling or heating systems. Sized for Half King/TwinXL beds, it can be paired for full dual-zone control on larger beds, delivering customizable, all-season sleep comfort.
A**S
It ain’t perfect, but I still love it.
Here’s the good, the mixed, the bad, a hack I used to turn the bad into good-enough, and a couple of precautions:THE GOODI considered buying an Eight Sleep or ChiliPad/SleepMe product before settling on the HydroSnooze. After reading and watching reviews of Eight Sleep and ChiliPad, I concluded that Eight Sleep was too pricey for me, and ChiliPad’s durability and customer service have reportedly tanked since the company was recently acquired. I did try the BedJet as well, but I absolutely hated it (in short, it blew room-temperature air onto my feet, and made it much more difficult for me to sleep).I could find few reviews of the HydroSnooze, since it’s such a new product, but the ones I saw were promising. And since I was able to buy a HydroSnooze unit on Amazon, and it was shipped by Amazon, I knew that returning it if it didn’t work out would be easy.Thankfully, I didn’t feel a need to return it, because I ended up loving it. I simply set the temperature I want it to stay at, and it keeps me cool all night. I find it very quiet even on high speed, though the sound isn’t a concern for me since I use earplugs and a white noise machine anyway. Personally, I find 70 degrees Fahrenheit to be the optimal temperature for me, though that will vary from person to person. I haven’t had a use for the heating function yet, but I look forward to trying it this winter. I’ve been using it for two months so far.The customer service is A+. Whenever I email them, I get prompt, polished, thoughtful replies. I honestly can’t think of a company that has provided better customer service via email than this. Based on my feedback via email, the founder of the company invited me to provide more feedback via video chat, which we did for a three-hour marathon session. I was very impressed with his openness to feedback, which I’m hoping he’ll incorporate into the next version of the product.They even mailed me a remote control for the device for free, since the remote control wasn’t available when I purchased the product. I just tested the remote, and it works flawlessly. One thing the remote is able to do that the control panel on the device itself is not is to mute the beeps on the device, which is a handy feature if you need to adjust the settings or power the device on or off while your romantic partner is trying to sleep.THE MIXEDSome people might not like the fact that it’s so simplistic in its design. For example, there’s no smartphone app, and there are no sensors or programs by which the temperature can be changed according to a schedule or in response to physiological cues throughout the night. However, to me, that’s arguably a positive, because the absence of these features (a) keeps the cost down, and (b) reduces the likelihood of bugs, breakage, and difficulty using the device.THE BADThe pad has two sides: the gray cotton/polyester side, and the white 100% polyester side. The white side is less comfortable, because it’s less soft, and the tubes that carry the water are closer to the surface. However, I can’t feel the cooling effect while using the gray side, so I use the white side exclusively. The tubes don’t bother me, even though I can feel them. The tubes did hurt my hands when I put my hands under my pillow, so I put a bath towel folded in half between the pad and my fitted sheet where my head pillow is (since I don’t need the bottom of my pillow cooled anyway), and that solved the problem. If I were significantly overweight, perhaps the tubes would hurt my body — but if I were significantly overweight, perhaps the gray side would cool me adequately, since my body would press down on the pad more heavily. On the flip side (no pun intended), if I had significantly less body fat, perhaps the tubes would be painful on my body due to lack of cushioning — but then again, if I had significantly less body fat, I’d also have less weight pushing down on the pad, so hopefully I wouldn’t feel pain after all.One concern I have about the pad is that it’s not washable, and can only be spot cleaned. I’m concerned that it may absorb odor over time, and that there won’t be an easy or effective way to get the odor out. Fortunately, their customer service agent assured me that if and when that happens, I can order a new mattress pad (without the base station) for a small fraction of the cost of a new device, which put my mind at ease.My biggest criticism of the device is that the base station’s control panel uses very bright white lights, which make it difficult for me to sleep. Unfortunately, there’s no official way to disable these lights. Even hiding the base station behind an opaque curtain and covering the control panel with black washrags didn’t stop the bright white light from leaking through the vents in the base station and illuminating my bedroom to the point that it interfered with my sleep. Fortunately, I came up with a hack that solved this problem, with the manufacturer’s help:THE HACKI dismantled the unit, painted some of the LEDs with liquid electrical tape, then reassembled it. That solved the problem. Note that this hack is arguably quite difficult (unless you’re an electrical engineer, electrician, or mechanic), and risks damaging the device in a way that could result in a total loss and that the manufacturer confirmed they wouldn’t repair or replace under warranty. That said, if you’re feeling brave and motivated, and you’re very careful and technically inclined, it’s totally doable. Here’s exactly what I did, for those who might wish to attempt it yourselves:1. Purchase the following:1. Starbrite black liquid electrical tape (https://www.amazon.com/Star-brite-Liquid-Electrical-Tape/dp/B0000AXNOD)2. Winsor & Newton Cotman Water Colour Brush Round 111 Size 000 (https://www.amazon.com/Winsor-Newton-Cotman-Colour-Brushes/dp/B008OVCJRY)3. Mona Lisa odorless paint thinner (https://www.amazon.com/s?k=mona+lisa+odorless+paint+thinner)2. Unplug the power cord.3. Open the unit and remove the fans.4. Remove the cover very carefully. Unfortunately the wires are so short that you’ll have to rest the cover on its side on a box or something. If you pull the cover any further than this, you will break the wires. Note that you’ll need an extra long screwdriver or power drill attachment in order to reach the screws inside the cover.5. Inside, you'll find the circuit board.6. Unscrew the screws on the circuit board.7. Carefully remove the circuit board from its slot. I used a paint can opener for this. A metal spudger with an angled end might also work.8. Carefully remove the wires from the circuit board, noting that some have very cumbersome clasps, some have simple clasps, and some have no clasps at all.9. Carefully paint LEDs 1, 2, and 3 (they’re labeled as such on the circuit board) and surrounding areas with the liquid electrical tape and paintbrush listed above. Do not paint LEDs 4, 5, or 6; I’ll explain why later.10. Swish the brush head in a bottle cap full of paint thinner, then dry with a paper towel, then rinse under running water, then rub with a drop of dish soap, then rinse under running water again, then dry with another paper towel. 11. After the liquid electrical tape dries for 5 minutes, repeat until the LEDs and surrounding areas are completely covered. Note that multiple layers and painting *around* the LEDs is necessary to completely block the light.12. Wait 24 hours for the liquid electrical tape to dry completely.13. Reinstall the circuit board, check for light leaks, then repeat if necessary.14. Don’t paint over the red light (LED 6), because (a) red light doesn't suppress melatonin the way white light does, and (b) you need the red light for reference, to know which mode the device is in.15. When you turn the unit on, you know it's in medium fan speed mode, because it always starts up in medium fan speed mode. Because I always like to run the unit in high speed mode, I just press the mode button once each night after turning it on. Since the red light isn't painted over, I can always press the mode button repeatedly until the red light turns on, which tells me it's in warming mode — then press the mode button once, twice, or three times to get to low, medium, and high speed fan mode respectively. I don't recommend painting over the red LED, because then it will be much more difficult to know which mode you're in.16. There’s no need to paint over LED 4 or LED 5, because those indicate Celsius and Fahrenheit, and those lights go dark 30 seconds after you press anything on the control panel.Note that doing all of that won’t completely eliminate light leaking from the device. That’s because there’s a green LED at the bottom of the base unit that remains on whenever the device is plugged in, and which leaks small amounts of light through the vents. However, I decided not to paint over that LED, because (a) I got the sense that doing so would be *very* difficult, given where the LED is and the amount of disassembly that would be required to access it, and (b) I can see the bit of green light that leaks from the vents only when I sit up in bed, given that the base unit is right next to my bed, and the light is minimal.THE PRECAUTIONSI have no reason to think that the device will ever leak, but just in case it ever does, I’ve done two things to protect my mattress and carpet:1. I put a waterproof mattress pad between my mattress and my HydroSnooze pad. In fact, I already had a waterproof mattress pad on my mattress before I ordered the HydroSnooze, to protect my mattress from absorbing odor over the years. If you’re concerned that a waterproof mattress pad will trap heat, keep in mind that the HydroSnooze should overcome that.2. I put a baking pan underneath the base unit, to collect the water-hydrogen-peroxide solution if and when the unit leaks, to protect my wall-to-wall carpeting from mold and bleaching by the peroxide. This 15"L x 10"W x 1"H pan fits the base unit perfectly, and is deep enough to collect all of the solution in the event of a serious leak: Stainless Steel Baking Pan Cookie Sheet with Cooling Rack, Includes Stainless Steel Tong/Silicone Basting Brush/Biscuit Molds, Size 15x10x1", Multipurpose/Heavy Duty/Dishwasher Safe (https://www.amazon.com/dp/B0DDTGNGDJ)
D**S
Quality product
I couldn’t be happier with my hydro snooze. I’m a hot sleeper, like I will wake up sweating, hot. Even in winter without the heat on. The hydro snooze has been a game changer for my sleep. I’m not longer waking several times at night. I thought there would be a learning curve for the temperature setting, but it’s very intuitive. If it’s could out, but you sleep hot, setting the bed at 74 keeps the bed at 74. I don’t wake up dying of heat, I’m also not freezing. Because the water keeps circulating, whatever temperature you set, is the temperature you get all night long.
K**L
for folks who run hot
Very straight forward product. They took the concept behind the 8 sleep, or chili, and streamlined it for a more affordable option. It’s been a game changer for me living in Austin TX. I tried a few different options like the bed jet, which just made my feet cold. This one works well, and is super simple to set up. 10/10 product.
A**R
Excellent product!
If you’re looking for an alternative to Sleep.me, BedJet, or Sleep8… this is your pick. Way cheaper and honestly product works amazing. I had an Ooler previously and fell in love with it. That company has since been bought out so I tried HydroSnooze.. so happy with it. Thank you for a great night sleep!
Trustpilot
2 days ago
1 month ago