🚽 Flush Away Worries with Kohler's Best!
The Kohler GP83996 Flush Valve Gasket is a high-quality replacement part designed specifically for various one-piece Kohler toilets. This 2-inch gasket provides a reliable seal between the flush valve and tank, ensuring optimal performance and preventing leaks. With its durable design and easy installation, this genuine Kohler part is essential for maintaining your toilet's efficiency.
C**S
Gasket works fine, if you can get it installed...
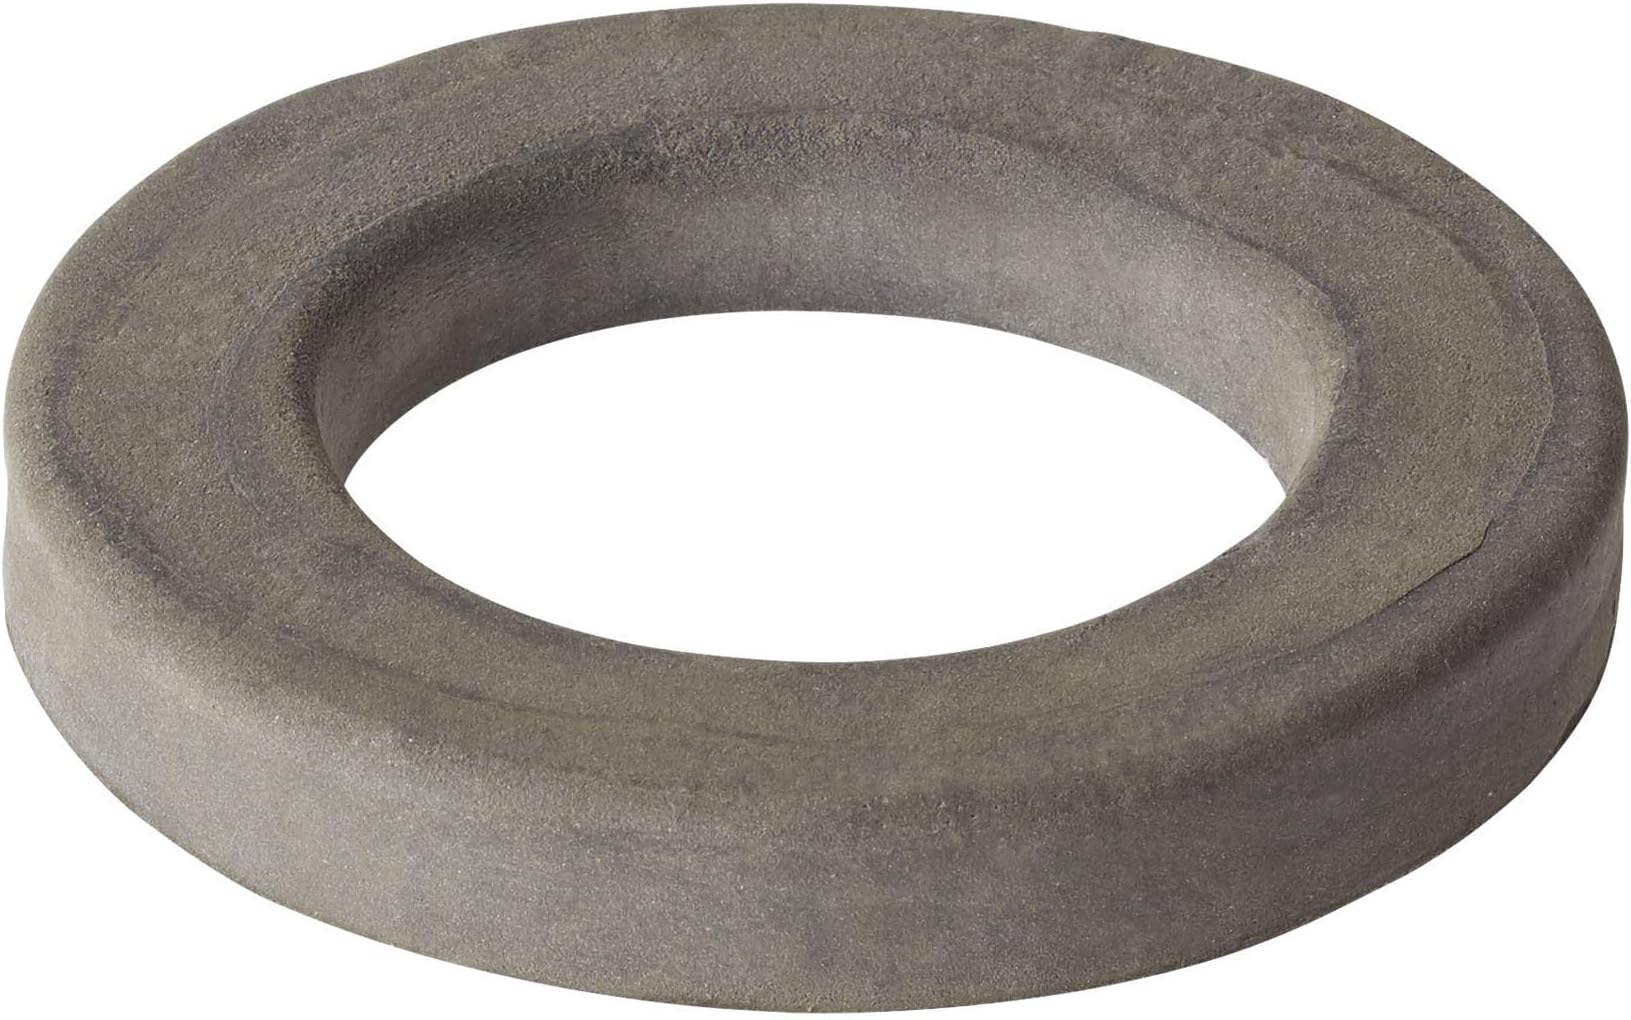
Well, I needed to let some time pass before writing my review on this product. The reason for this is not due to the gasket itself, but to how difficult it was to install it and how frustrated it left me. The gasket is pretty thick in order to create a tight seal. The existing gasket on my toilet needed replacing, so I thought this would be simple. Unfortunately, my tank is very narrow and I could not get any leverage to push the Flush Valve back onto it and get the teeth of the valve to hook under the tank. I tried for a few days, coming back after frustration levels died down, only to fail again and again. I then resorted to calling a plumber thinking for sure that he could get this in with some wisdom gained from years of experience. Alas, I left him alone in the bathroom for 30 minutes while he tried and tried to get this in there to no avail. Being a plumber who is also a problem solver, he went out to his van, took some PVC pipe, a Dremel device, a drill and four screws and created a device whose sole purpose will be to replace these gaskets. See picture for the device he made. This device allows you to easily push down on the flush valve and gasket, then turn it while keeping sufficient pressure. The plumber was worth every dollar to finally get our toilet working in our master bathroom again.In summary, the gasket works just great, but the installation is beyond difficult.
M**E
The last one lasted fifteen years!
Recently I replaced the flapper and this seal in our Kohler toilet that I installed fifteen years ago. With service like that, why would I not replace them with the same original factory parts? I seemed like a no brainer. Very simple to remove the old one and install, as a crippled old man (like me) can do it. It is very well made.
P**H
Fits with a little heat and persuasion
It feels like the most midlife thing to do: a review for a toilet tank gasket!Anyway, I have a Santa Rosa one-piece toilet and the gasket was disintegrating from using cleaners in the tank itself (bad idea). This gasket fits if you put it in hot water for 5 minutes before installing it. Needs a good bit of strength for the flange to clip back onto the bottom of the tank but it works.Sure beats calling a plumber for $150!
D**5
Dimensions are incorrect. The gasket is smaller and fits as designed.
My flush valve had failed (broken securing feet) and I needed a whole replacement kit. The kit includes the flush tube, flapper, and this gasket. Now if you didn’t know better, the original gasket overtime flattens out and is much larger (diameter) when removed; this will lead one to believe you need a larger gasket to replace an old one. So, seeing the larger dimensions I bought this separately (so now I have a spare).Also, the new gasket is thicker and it takes some skill/knowledge to install a new kit with a new gasket.One user depicts squishing the new gasket before installing; another suggested (which I used) submerging the gasket in extremely hot water before installing. That worked very well and despite the previous attempts (several times for 15-30 minutes), the heated gasket install in seconds and formed a proper seal.
G**B
Hard to install, but works perfectly when finally in place.
I had a 20 year old gasket that leaked, so I both one of these replacement gaskets and used olive oil as a lubricant when I installed it. It leaked within a few months. the instructions say to not use lubricant, but that would be tough. So, this time, I use a waterproof silicone lubricant from Ace hardware, and it made the installation "doable". No leaks so far.
C**N
Exact Replacement
I have theee Koehler toilets and the large black rubber seals have deteriorated over the years. Now you would expect that Lowe’s or Home Depot would carry these, but they don’t. They can be ordered but shipping times was not reasonable. Amazon had them in stock and they arrived quickly. These are genuine Koehler seals and are exact replacement parts. Easy (though messy due to the deterioration of the installed old seals) replacement. Recommended Amazon and these seals.
S**D
Tip That might Help
My Santa Rosa has the AquaPiston or Canister mechanism. Here’s what I did to install gasket 83996: Remove EVERYTHING inside the tank as you’ll need every square inch of space to work. I used heavy leather gloves in order to press and twist out the canister base (not easy for an old geezer like me with two bad shoulders). Twist CW or CCW, it doesn’t matter. As you can see, mine was literally disintegrating. After cleanup, I did a practice orientation. During assembly, you cannot see the feet on the bottom of the canister base. Your memory will fly out of the window while using every ounce of strength during installation. So, I used some whiteout to mark the location of the foot I was going to start with. I also put two marks in the tank, start and finish (clockwise for me). Heat the gasket in HOT water. Install it on the base, tapered with rolled edge side up against the base, flat side down against the tank. I used some silicone grease on the bottom of the gasket, bottom of the tank and inside the lip where the feet go. As others have mentioned, olive oil will work too. Once I lined up the assembly, I pushed as hard as I could while twisting. For me, several short press/twist bursts eventually worked.
T**D
Use this official Kohler gasket, not a third party gasket.
I bought multiple third-party gasket and couldn't get them installed.What I found with off-brand gaskets is that the rubber material is quite different from that used by Kohler. It was so difficult to compress that I couldn't install the flush valve assembly. The hack to getting even the Kohler gasket installed is to compress-and-freeze the gasket, place it on the valve assembly, and, before it can thaw and expand, insert the gasket and rotate the assembly into place. That trick doesn't work with third party gaskets I tried.It worked perfectly with the official Kohler gasket.
Trustpilot
2 months ago
2 months ago