


Buy anything from 5,000+ international stores. One checkout price. No surprise fees. Join 2M+ shoppers on Desertcart.
Desertcart purchases this item on your behalf and handles shipping, customs, and support to Vanuatu.
🚙 Upgrade your Jeep seat game—comfort and control, no compromises!
The u-Box Jeep Wrangler TJ Seat Adapter Bracket (1997-2006) is a heavy-duty, black powder-coated steel component designed to bolt directly onto factory seat mounts. It adds 4 inches of legroom, enhancing comfort for taller drivers, and fits both driver and passenger sides. Engineered for easy installation without drilling, it offers increased seat stability and durability tailored specifically for Jeep Wrangler TJ models.
| ASIN | B07M64G552 |
| Best Sellers Rank | #135,205 in Automotive ( See Top 100 in Automotive ) #16 in Automotive Seat Brackets |
| Brand Name | u-Box |
| Color | Black |
| Customer Reviews | 3.8 3.8 out of 5 stars (342) |
| Finish Types | Powder Coated |
| Item Depth | 4 inches |
| Item Weight | 3.17 Kilograms |
| Manufacturer | u-Box |
| Manufacturer Part Number | SHM11766 |
| Material Type | Alloy Steel |
| Model Number | SHM11766 |
| Mounting Type | Seat Mount |
S**H
Poor instructions, and not ready to install, but worth it!
Just like others have stated, a real pain to install with limited instructions to go by. I still have it 5 stars, excuse it made a huge difference in making leg room much more comfortable in my TJ. There are a couple of reviews others have left that get you in the ballpark after you drill the one hole. I feel as the others do, which is a piece of color coded or numbered tape on each piece and better instructions as well as all holes should be predrilled to the proper diameter to speed the process up.
T**3
It almost just quite but didn't just barely fit. And that was the problem.
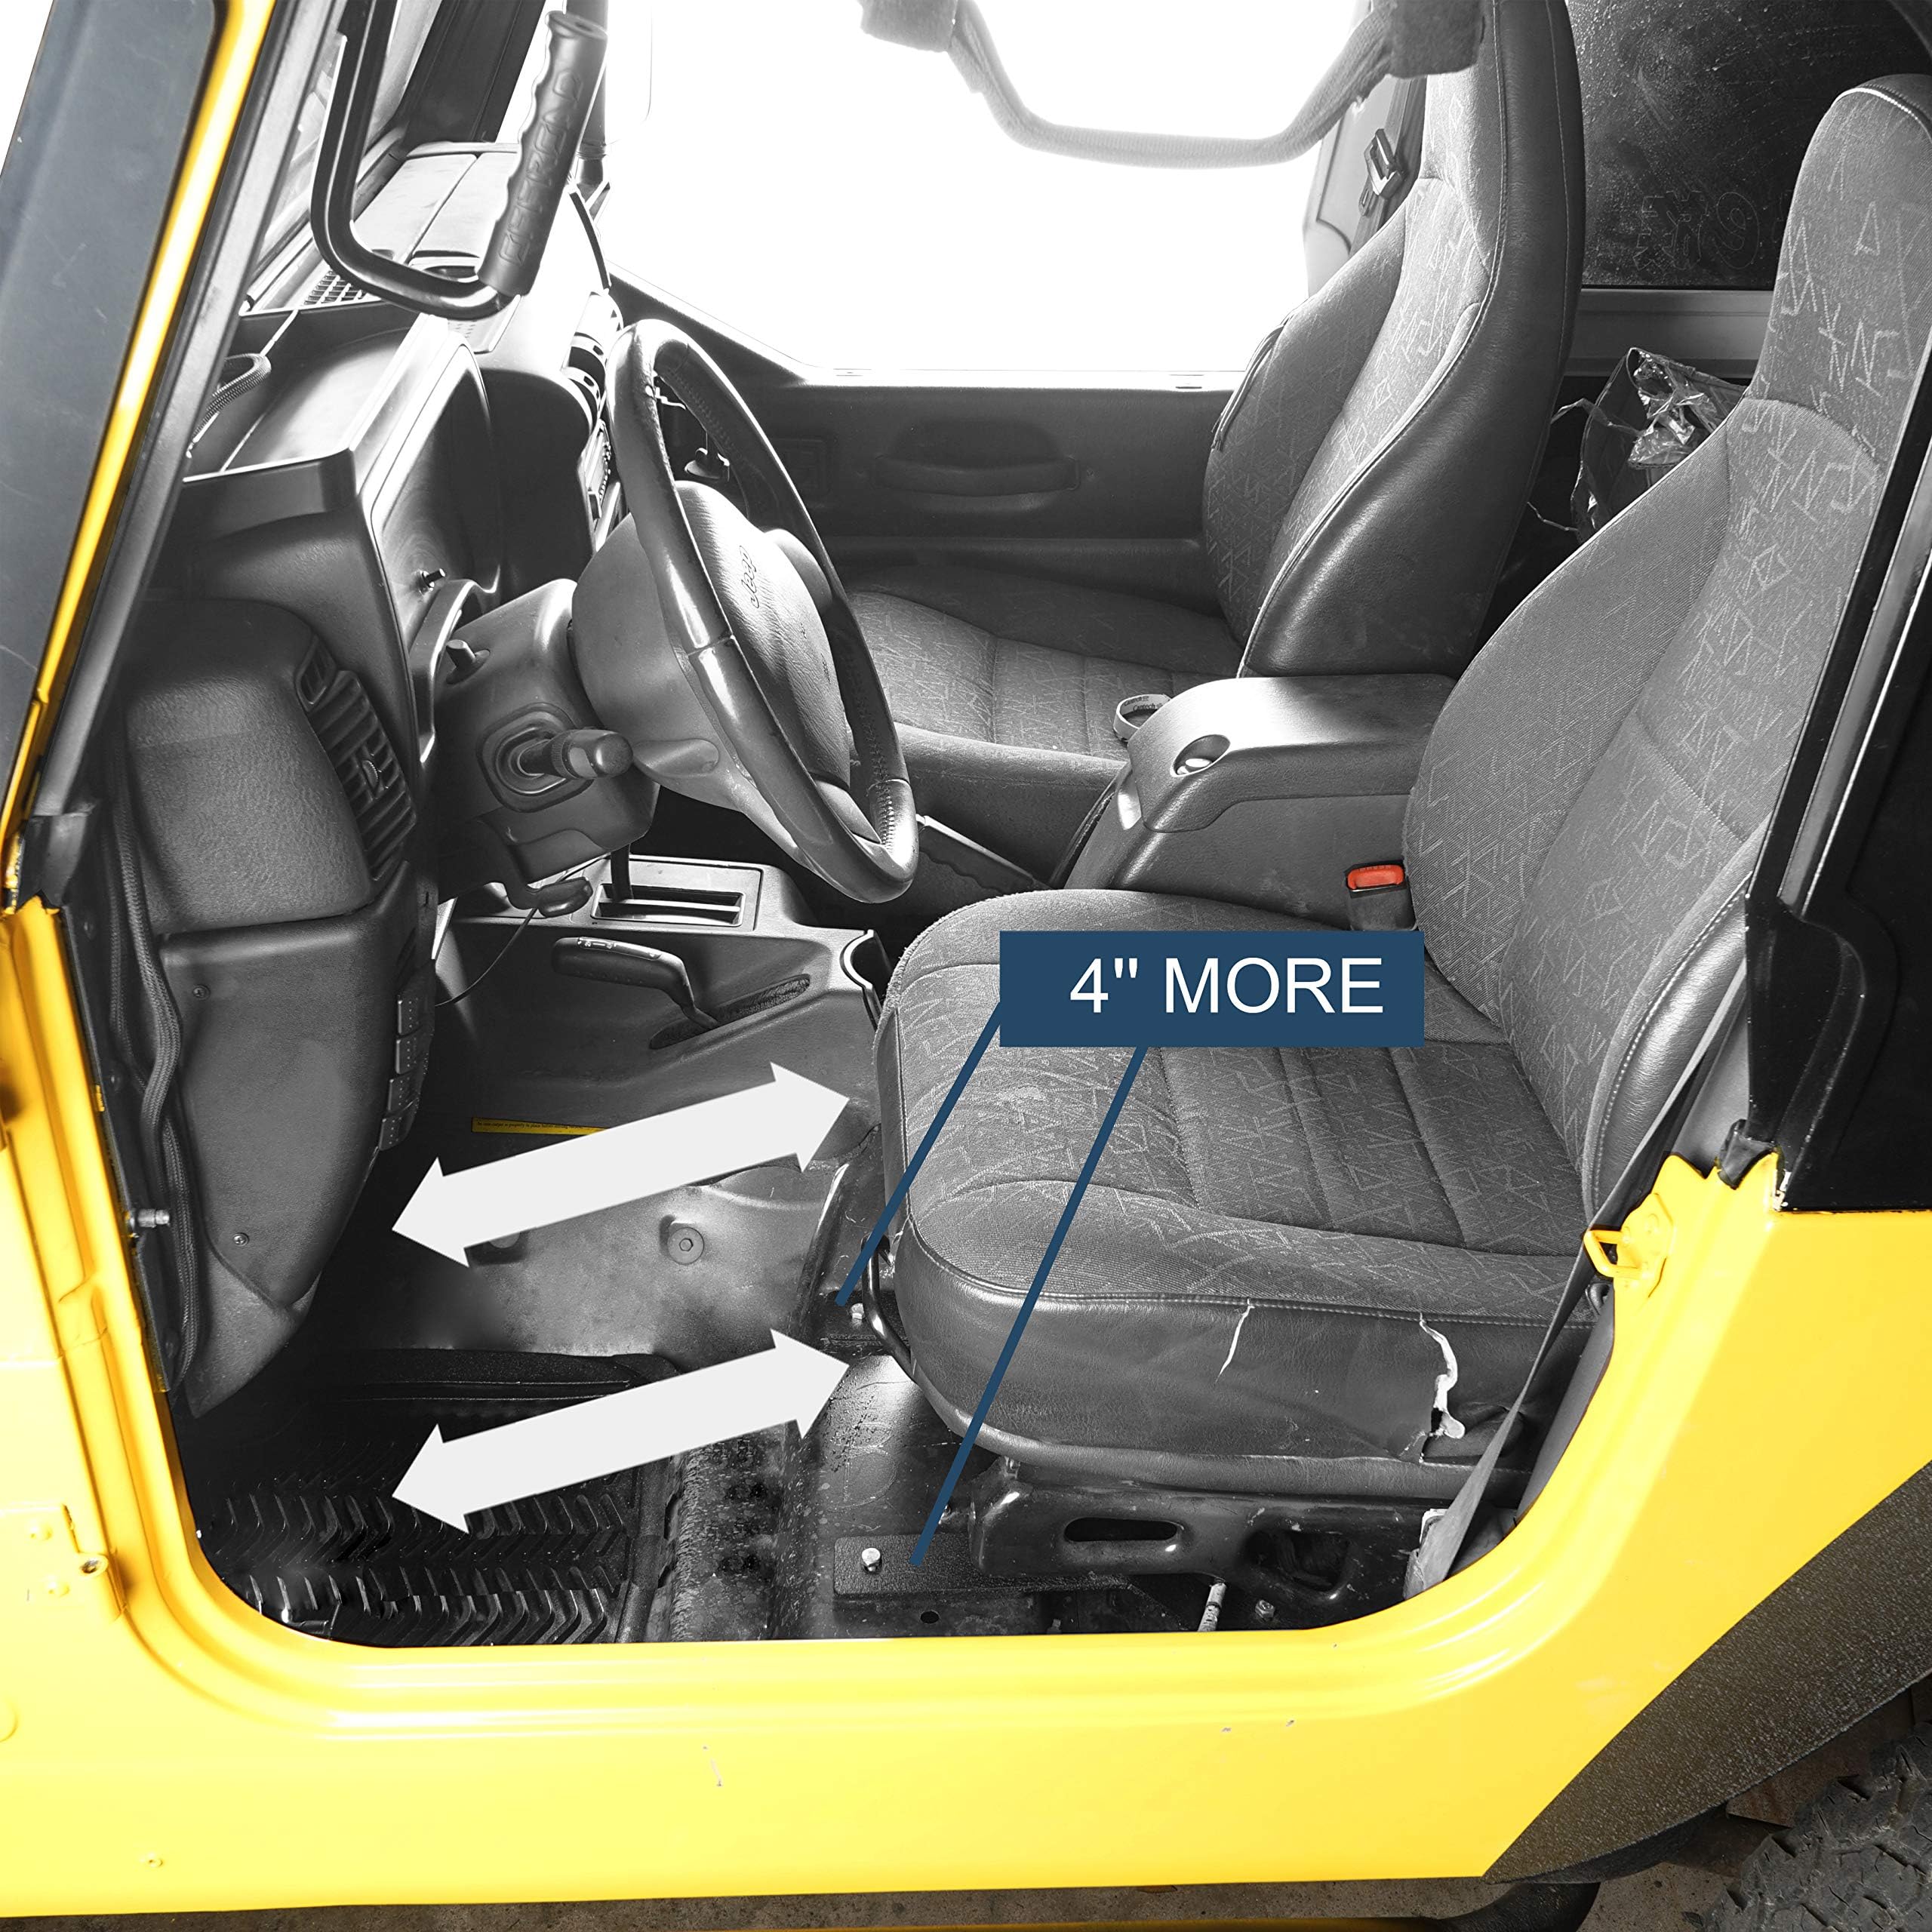
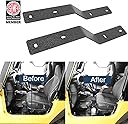
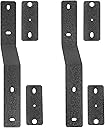
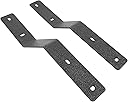
First the good stuff. This product fills a definite need. I am 6'5" and Jeeps were never built for guys like me. Chrysler should consider a second set of factory seat mounts further back like some European sports cars. (But that is another issue. Now that it is installed, the extra legroom is great. My right knee no longer bashes into the dash or knocks my USB adapter out of the power port. (You tall guys know what I'm talking about) Word of caution though. If even after installing the adapter you still need to push the seat all the way back, be aware your head will be right up against the roll bar. Mine is less than an inch away. In a rear-end collision this could be bad. But then again, you should never let anyone rear-end your Jeep. Now the bad stuff. I was planning to fabricate my own adapter. Looking for inspiration I stumbled upon this adapter and, for the price, decided to buy rather than build. Unfortunately like nearly all products these days it just isn't quite right. It almost fits. Close enough that with some modifications and a bit of persuasion you can make it work. This seems to be the way of modern aftermarket products. Maybe the car companies have a secret cabal to move things around a tiny bit every year so we will always go back to them for factory parts. But I doubt that. I'm more inclined to think that there isn't enough aftermarket parts testing. If the prototype fits, make a million of them. But I digress. Back to my review. The first problem I had is that there is no way to install the adapter on my 2005 TJ by following the instructions. In the real world, you must first mount the adapter in the Jeep and then mount the seat to the adapter. The instructions have it the other way around. This did not work for me. Once the adapter is on the seat you cannot access two of the four mounting holes at enough of an angle to get the bolts through the holes. And even if you could, good luck getting a socket on them to torque those suckers down. Therefore the only way to mount this adapter is to remember this little rhyme "First in the Jeep, then mount the seat". The second problem is that in my 2005 TJ the inboard rear bolt is larger than the others. Likely a safety thing since that is the corner the seatbelt anchors. But the hardware in the adapter kit is all the same size bolts. It would be simple enough to reuse your stock bolt 'except' the holes in the adapter are too small. You will need to drill out that hole, "waller it out" is probably the correct term. The final "problem" is there is an offset bend in one of the adapter rails to account for the asymmetrical seat mount hole spacing in the Jeep. This bend is critical and unfortunately, on mine, it just was not quite right. The result is once the adapter is mounted in the Jeep the rear seat mounting bolts don't quite line up with the holes in the seat. My solution was a Gorilla Bar and some steady lateral persuasion. Unfortunately, this slightly racks the seat slides, and they now bind a little. But I don't plan to move my seat much. I can live with it. In conclusion: Do I recommend this product? You might be surprised but Yes I do. For the price, it would be hard not to. But know what you are getting into. There will be a lot of cussing, some prying (I hope no crying), and in the end, your seat may not slide quite as smoothly as it did from the factory. Oh yeah, and watch your head on that roll bar. Don't say I didn't warn you.
J**C
Worked on a 2004 with a little creative adjustment
Holefully this review will help others with a simialr year. I have a 2004 tj Sahara, my configuration was a little different than the instructions. In my picture I circled a t50 torx bolt in red that was what I assume a factory upgrade over previous years for the seat belt as this bolt is right under the mount. It's also 7/16-20 which is a little heavier than the other 3 bolts that bolt to the floorboard. I installed the drivers side brackets as close to the instructions as I could but the torx bolt presented the following issues. A. Would not go in with the brackets mounted, B. Had to drill a hole for the larger torx bolt. C. Could not tighten the torx bolt after the brackets were installed. I found it much easier on the passenger side to bolt the brackets down first with the seat mounting bolts installed then put the seat over the bolts and tighten. I drilled the brackets for the torx bolt to 1/2 in for a little flexibility. I went back and redid the drivers side and found out I had the brackets A1 and A2 I. The wrong position. In the picture there is a blue arrow, one of the mounting plates is a little smaller than the other 3, in the instructions they are labeled B1 B2 B3 and B4, the shorter one goes where the blue arrow is. The main brackets are labeled A1 and A2, and A2 is offset, i drew a yellow line to give you an idea of the offset. A2 goes closest to the shifter on driver and passenger sides. Putting these in first also helps with the placement and hole alignment. The odd thing is the factory jack no longer fits under the passenger seat as it should. It is secure but crooked. I also used the factory bolts to hold the brackets down. Iay go back and get some grade 8 to replace the chrome plated ones that came with the kit. I would suggest doing this, would hate to have the seat shear off in an impact. These brackets work great for a guy that's 6' 4" and now with more legroom I can comfortably get in and out as well as drive without being cramped. The tilt/tumble passenger seat still works as it did, but i dont think anyone will sit in the rear seat with me in a comfortable position. A good product, well made but not quite as universal as you would think.
W**Y
Needs a bit of modding.
I read a few reviews outside of Amazon. Some people had real trouble installing this. One guy had one of the brackets flipped the wrong direction which is why it did not work properly. You will have to hone or drill out one hole which is the one where the Torx bolt goes through the original seat bracket. Once that is done it is fairly simple but a bit fiddly trying to keep the nuts in position while threading the bolts. One guy tack welded the nuts in place. If you don’t have a welder you could hot glue them into place. All you need is for them to stay put in the bracket while you thread the bolts. I did neither and it was a bit frustrating but I eventually got it done. In total it took me a little over two hours from seat removal to finish. I recommend installing the brackets to the floorboard first then installing the seat on the brackets. I also recommend drilling out the hole on a drill press as the bit tends to bite into the metal and spin the bracket while drilling. Drill press makes it easier to slowly sink the bit into the metal. All in all I am very happy. I feel like I am driving a Cadillac now with all the extra leg room. Four stars because of having to mod it and the instructions are terrible. Some people recommended fabbing your own. Honestly in the time it would take to cut the metal, weld it in the proper angles, and drill the holes in the correct spot you would probably be well into 6 hours of work. Just over 2 hours of work and about 50$ for the kit, you do the math.
R**Z
bolt holes dont line up to well/bad instructions
05' tj rubicon driver side rh rear bolt is a oversize bolt larger than the other 3 mounting bolts, the kit comes with small cheesy bolt kit,had to modify the bolt holes, instructions not very good, had to rely on the poor photo illustration pictures, dont think it will last long for big tall heavy men!
J**J
Works great, Don't believe all the negative installation reviews.
I placed an order for these and then started reading all the negativity in relation to the installation and all for not. Don't over think the simplicity of the design and installation and you will be just fine. Yes, you do have to enlarge two of the predrilled holes. This is the hole where the Torx bit nut is located, but if you will use a step bit, and secure the pieces that you are drilling on, go slow and don't try to speed drill, it's a piece of cake. FWIW, cheap step drill bits are available at Harbor Freight or Amazon. There are 2 large pieces of pre-formed metal each formed differently. The piece that has a few funky angles go to the inside next to the transmission tunnel/console. The other on the side closest to the door. Each piece of metal has a longer end before and after the formed bend. They do not both fit the same in that one piece when installed will be with the longer end forward and the other with the longer end the other direction, again don't try to over think the design as it does all come together and work perfectly. There are also 4 bottom plates that set underneath the longer metal pieces of the frame. One of these plates is shorter than the other 3, the shorter plate goes on the door side forward position. Also let me note that by flipping (top to bottom) these shorter plates it can made a difference in the hole alignment. And as others have pointed out, install the new framework to the Jeep first not to the seat frame. You can leave all the floor mounting bolts loose with the exception of the larger torx bolt which you will need to tighten before mounting the seat back in the Jeep due to accessibility once the seat has been reinstalled. If you need to move the back inward seat frame mounting blot to align with the hole in the seat frame you can use a long screwdriver and a hammer to move the bolt into position. Installation took me approximately 30 minutes which was time well spent. Well worth the time and money for the improvement it offers in the seating position. One last reminder, don't over think the installation or the design. The holes will align without use of force, you may simply clear your head and flip a piece to proper alignment of the holes, but they do align perfectly. ****I used the OEM bolt to anchor the framework to the Jeep and the supplied hardware for mounting the seat base to the extender. I will likely replace the supplied hardware that I used with a heavier grade choice of nuts and bolts in the future.
K**T
Excellent Upgrade
This is a solid upgrade for s Jeep. I am only 5'8" and the stock seat track is annoyingly short, making ingress and egress a PITA.
T**R
Not a cup of Tea!!
To begin with the instructions might as well have not been there. Both brackets are different with no instructions on which goes where. A 98 TJ has 1 bolt that is a 5/8's, however all the bolts that came with it were the same size. The brackets are shaped wrong to fit the seat frame. All the bolt holes are the same size so, you guessed it, the 5/8 bolt will NOT fit back in. I had to drill out one hole so the 5/8 bolt would fit. I put risers in it and the rails worked. Without seat risers there is no way in He$$ that it will work. The shorter brackets are different. 2 fit, and 2 the holes would not line up, were too short, and would not work. They need to be longer. After installation I noticed the seat was not straight. I had to loosen all the bolts and jimmy the seat around to make it straight. Really disappointed. Its a nightmare to install and drill bigger holes. I would NOT recommend this for anyone. AND now my seat wont lock down. It just flips up. I've tried everything, nothing seems to work. BIG safety HAZARD!!!!
M**T
Installation facile quand vous été bien équipé
Après avoir hésiter à acheter à cause des mauvais commentaires je ne regrette rien ! Installation facile et rapides ! J'ai eu à agrandir un seul trou et les braquette font comme un charme pour mon tj 2002 ! L'espace gagné est très bien pour les personnes plus grande ! Hésiter à acheter se produit je le recommande
S**E
Good instructions
Instruction where hard to follow, had to rely on YouTube.
V**E
Hooke road tj seat extenders
Do not buy this product, it is not fit for purpose or safe, the fit is non existent holes and bends do not align, no rated fasteners and profiles way off.
R**S
Worse than worthless.
Bolts inadequate. Instructions horrific. Don’t even bother using the ones you get scanning the QR code, they are worse. I suspect these might work for the earlier TJ, but Jeep changed the seat brackets in about 2002, and these do not work on the later model seat brackets.
C**Y
It works, tricky install however
Instructions are worthless like the other reviews say. However the brackets do what they are advertised. As other reviews say the included hardware could stand to be a little longer but I was able to make it work.
Trustpilot
3 weeks ago
2 months ago