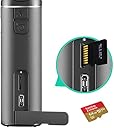
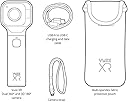
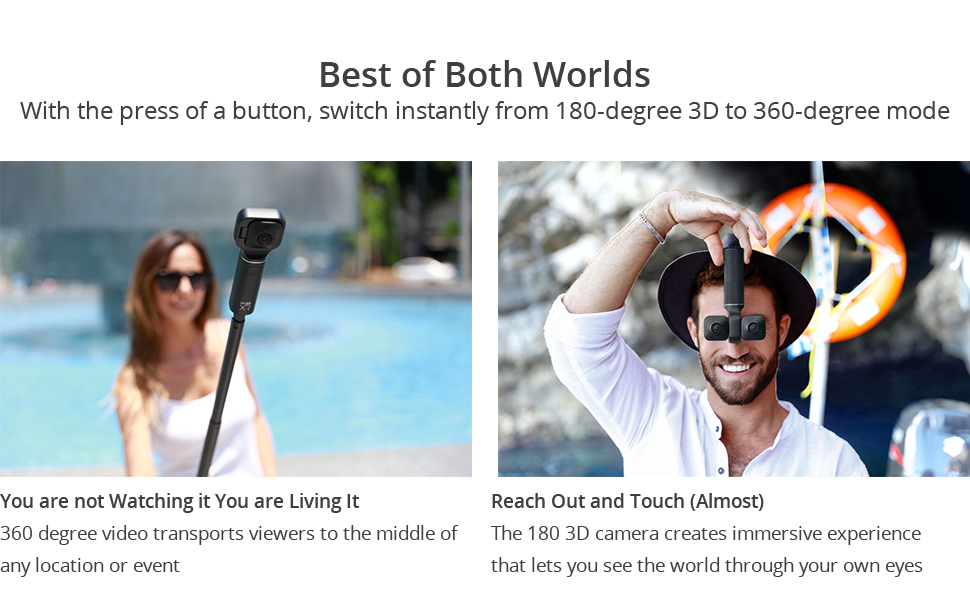
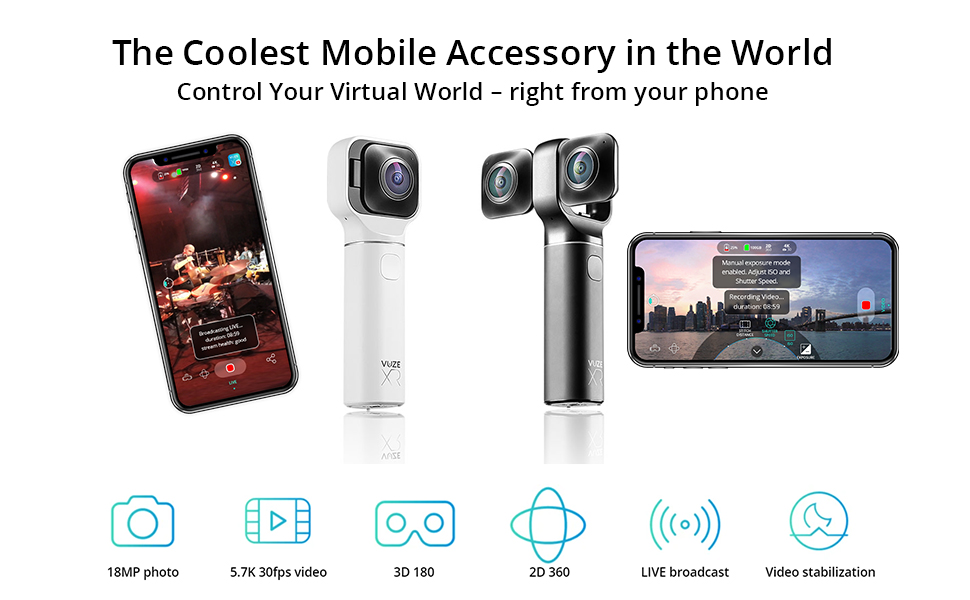
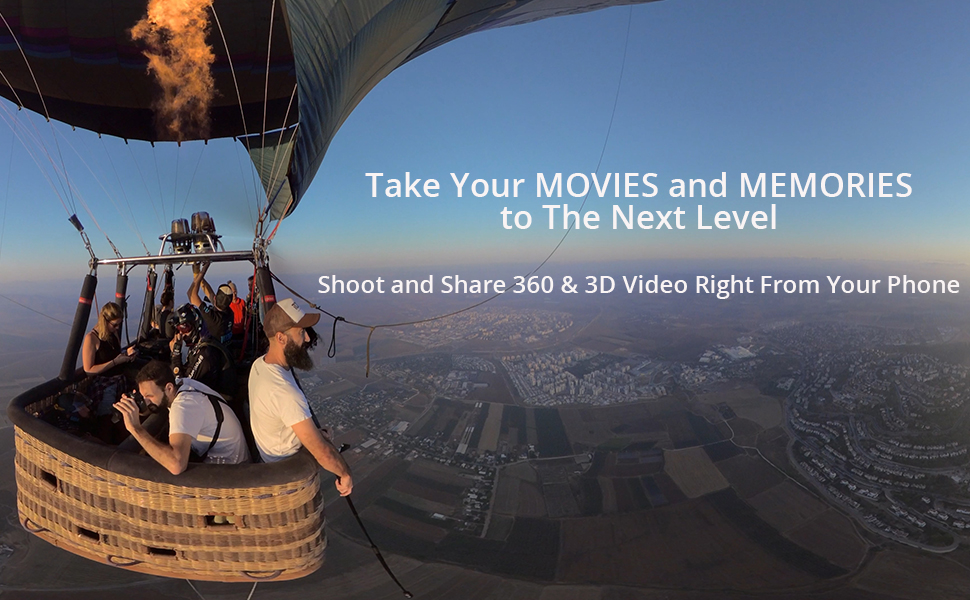
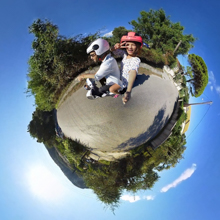
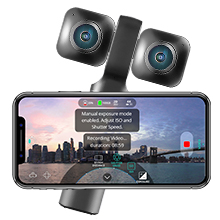
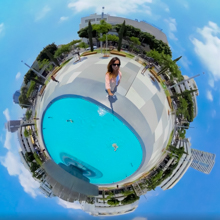
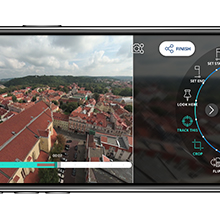
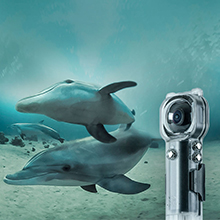
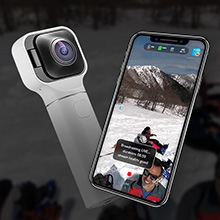
I love immersive Virtual Reality (VR), and always wondered how the various travel and nature videos for VR are made. A medium-priced answer is this camera (the VUZE XR). I find it is a lot of fun to take it on trips, to be able to "relive" being at special locations. I also use it to record immersive videos of my grand kids. Two weeks ago, we made a puppet show with stuffed animals, and it is priceless! My grandson, nearly 12, said it was "weird" to look himself in the eyes in VR. I wonder what they are going to think of it when they grow up?! What I like: - It is relatively easy to use (once you get past the really terrible documentation - more about that below)! - It shoots both video and still pictures - It shoots in either 360-degree ("2D") or 180-degree ("3D") modes: In 360-deg mode, when you play back with a VR headset, you can look around freely in every direction, but both eyes get the same image (thus only 2D). In 180-deg mode, the camera shoots only what's in front of it, a hemisphere; but it records it as two separate images, one for each eye (thus true 3D, which can be even more impressive!) All modes are fully immersive, which means that when you view them with a headset (I use Oculus Quest), it seems as though you are actually present at the place where the images were taken. - It has 4-channels of sound, so the immersive video you record will also have immersive audio. Sounds, such as people talking or birds chirping, actually seem to come from the immersive world you have recorded. On playback, as you turn your head to look around in the virtual world, the sounds always come from the right place, greatly enhancing the 'reality' effect. - The smart-phone controller app that comes with the camera is very effective and easy-to-use, once you get it working, which is challenging. This app allows you to see roughly what you are recording in real time (NO VR, of course), to start and stop recording or take a still picture, to see camera status, and to control various settings on the camera. - The camera comes with a support program, which you must run on a desktop or laptop computer, which 'stitches' and 'renders' your pictures so you can play them (only required for highest resolution). Neutral comments: - When new, the internal lithium battery lasts about an hour on a full charge, but you can record while connected to a USB power bank to extend running time. The built-in battery is not removable, so battery longevity may be an issue. When you record with a power bank connected, don't forget that in a 360-degree recording, you can see everything, including the battery and connecting cable. - It DOES NOT come with the required micro format SD memory card, but a card is absolutely required to use the camera. I found that a 128 GB card can hold nearly 4 hours of video at the highest resolution. Don't forget to order one! Also, a cheap SD card may not work -- this camera really pushes bandwidth limits. Get a good memory card! - The camera actually gets hot when you record with it. If the shooting environment is too warm, the camera will overheat and shut down. You may have trouble in Death Valley (or the Pacific Northwest this past weekend)! - Resolution is at best mediocre, which means the recordings always look a bit 'soft'. Things that are close, within a few feet, are sharp enough, but anything more than a dozen feet away looks a bit fuzzy, For example, it is usually impossible to read signs in your recordings. The available camera resolution, which at its highest is 5760 x 2880 pixels ("5.7k"), is spread over the entire viewing area, which is either 360-deg (a full sphere) or 180-deg (a half sphere), so resolution in any part of the picture is limited. I recommend always using the highest available resolution! Color saturation and black level, for those of you who know photography, are quite difficult to get right, but there are settings in the smartphone app with which you can tinker. I'm still not completely happy with either. What I don't like: - The documentation is truly awful. I am a lifelong electronics and computer engineer, and this is some of the worst I have seen. At first it seems like it might be okay. Then it feels like the designers hired a ghost writer who didn't really understand what they were talking about. The designers knew how their camera is 'supposed' to work, but they don't seem to consider what the user /needs/ to know in order to make effective use of their product. For example, there is an Import and Render procedure that you must use to get recordings off the camera and prepare them for use, but that procedure is never outlined. The user is forced to guess which steps do what, and in what order, and to which files. All the recorded files have non-descriptive, mostly numerical, names. At least they have associated dates, if you have managed to connect the camera to the phone app before you use it. - The camera required a "firmware update" before it would operate, but there is no step-by-step description I could find for how to accomplish it. They ask you to do the update through your smartphone, but I found it was not clear how to connect the smartphone to both the internet and the camera at the same time, since the camera monopolizes the phone's WiFi. I ended up getting the internet via my cell service rather than my home internet, leaving the phone's WiFi free to connect to the camera. It was very, very slow (hours). And it could have been very expensive if I didn't have an unlimited data plan on my cellphone. Later I found there is a way to update using a cable (USB-C, included) from my laptop, but I could not find anything about it in the docs or on discussion forums. I would, for example, need to know what file(s) to download, from where, and where to put them into the file structure on the camera (or even that there /is/ a file structure accessible on the camera, and how to get to it!). Later I found out that most customers simply call customer support to get through all this (must be expensive for the company!), but I was doing it on a Saturday, which is the Sabbath, so they were not answering the phones. - Rendering is relatively slow, even on my game-ready Alienware laptop. - Getting your files into a VR headset and playing them immersively is also quite challenging. The camera documentation does not consider it to be their problem, so you are on your own. It took several days to get through all the hurdles to successfully play my shots on the Oculus. At first, they would only play as if they were on a virtual movie screen in the headset. Then they would play in VR, but in the wrong aspect ratio: everything looked grossly stretched horizontally. Finally, after several days, I was able to develop a 'ritual' that resulted in my shots creating a true VR experience. What I found on the Web is that every kind of headset or display device is different, and there are many 'hidden' features and bits of metadata (data in your shot files about how they are to be displayed), that all need to align correctly before you can achieve a remotely satisfactory VR result. - Processing multiple shots is very tedious and time consuming. The rendering program does not behave like most Windows programs; for example, most selections do not allow multi-select. I tend to take a lot of pictures. At a museum yesterday, for example, I took more than 150 still shots and several videos. The tool seems to require me to process each one individually. There is no automation I could find. Each file must be individually found in the file structure, without the benefit of preview or thumbnail, chosen, imported, have its settings made (one file at a time!!!), rendered, and copied. One. At. A. Time. It's excruciating. I can't even find a way to create a set of default settings to apply to all my files. I have to set each, one-by-one. Now that I have the camera and processing (mostly) working, I am glad to have it. But it's not something I would like to use professionally! Thus the four-star, and not five-star, rating. --Eric