
DOWNLOAD THE APP


Customer Services
Copyright © 2025 Desertcart Holdings Limited
DOWNLOAD THE APP
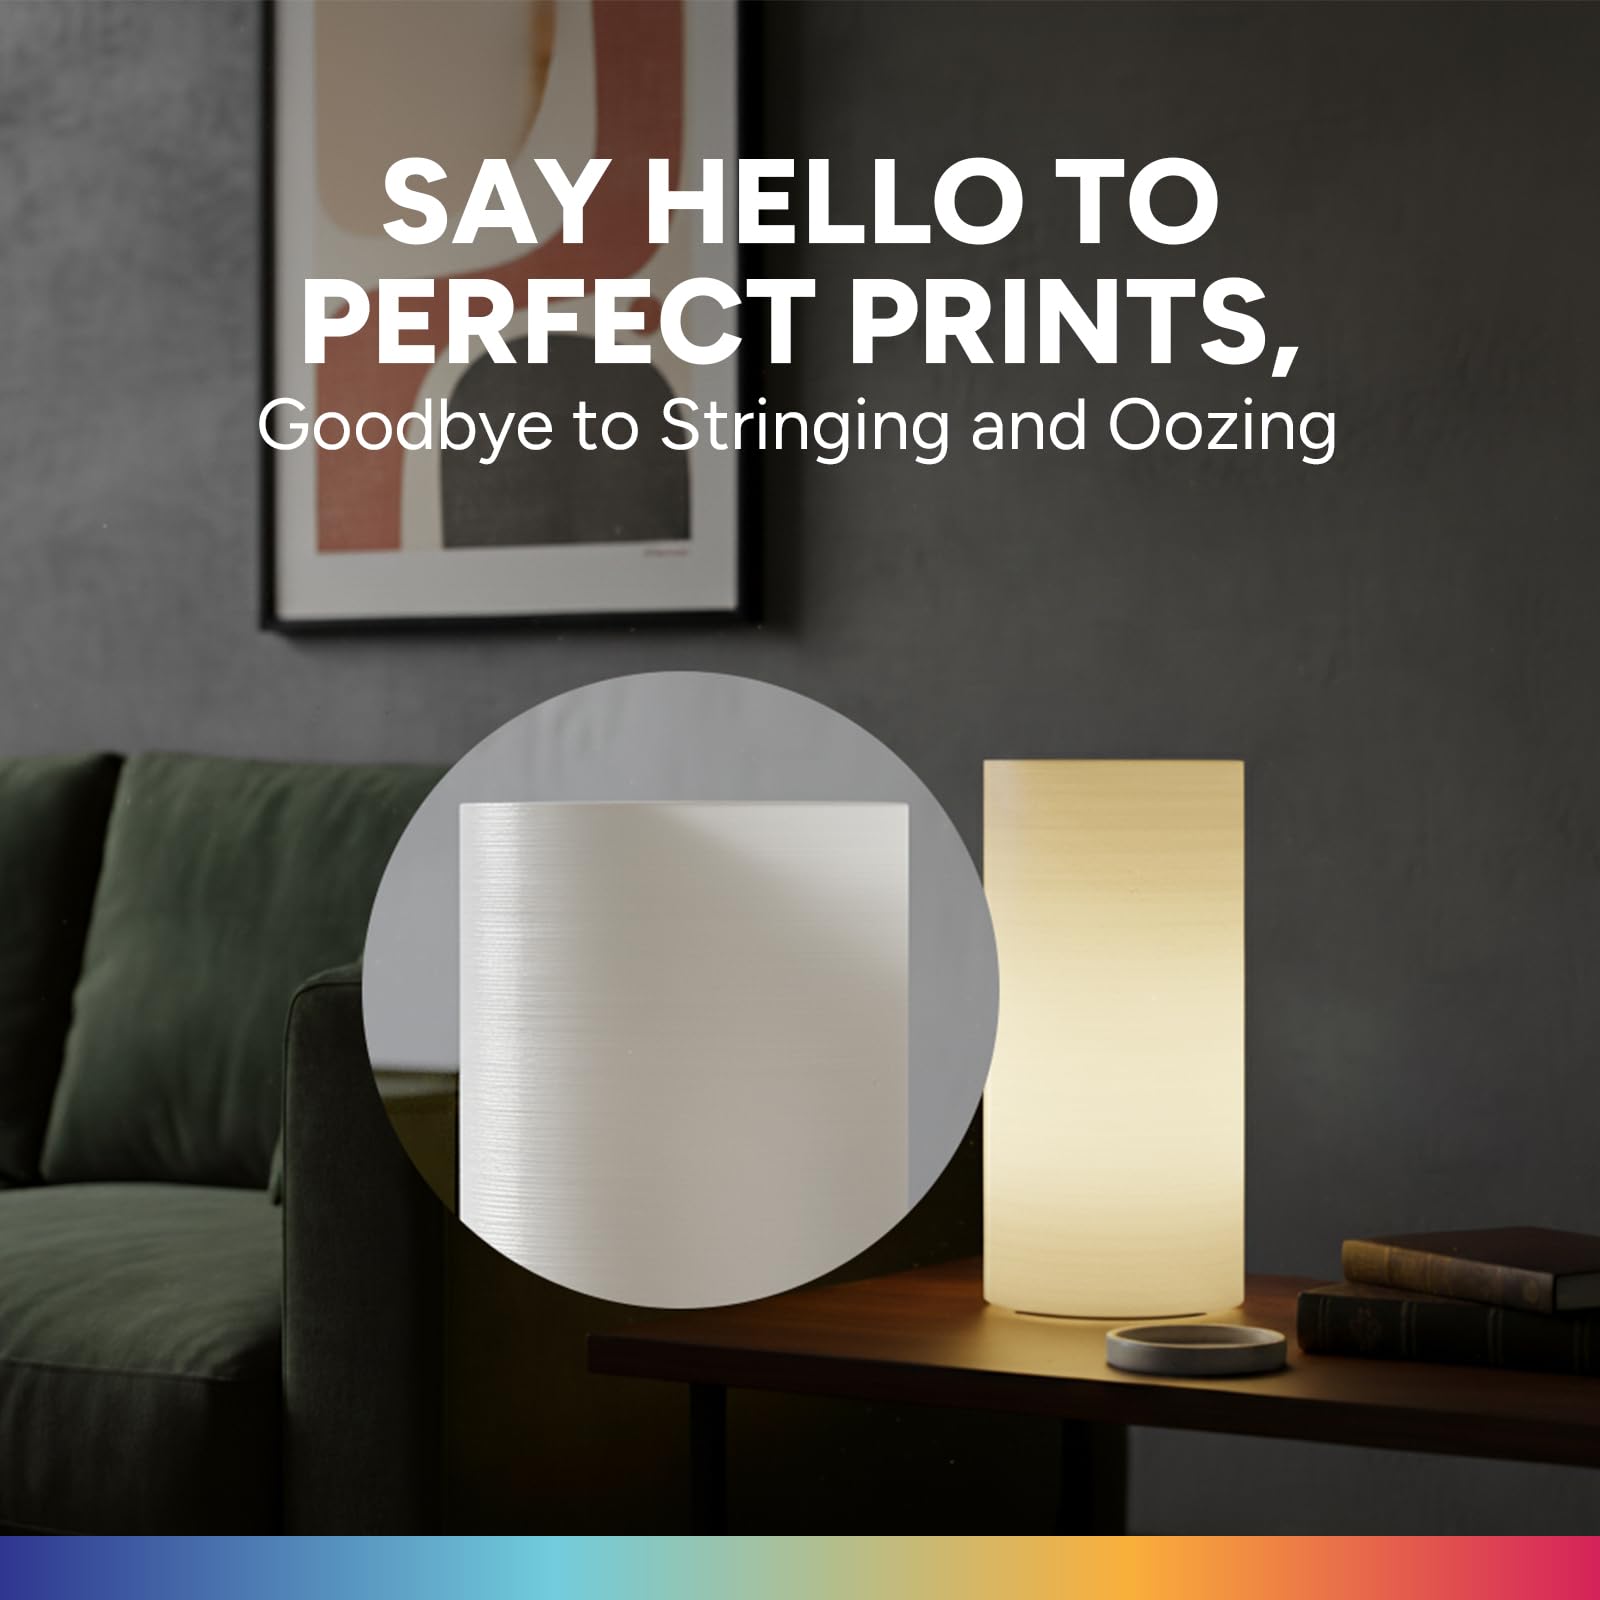


🖨️ Elevate your 3D printing game with Overture PETG — where strength meets vibrant precision!
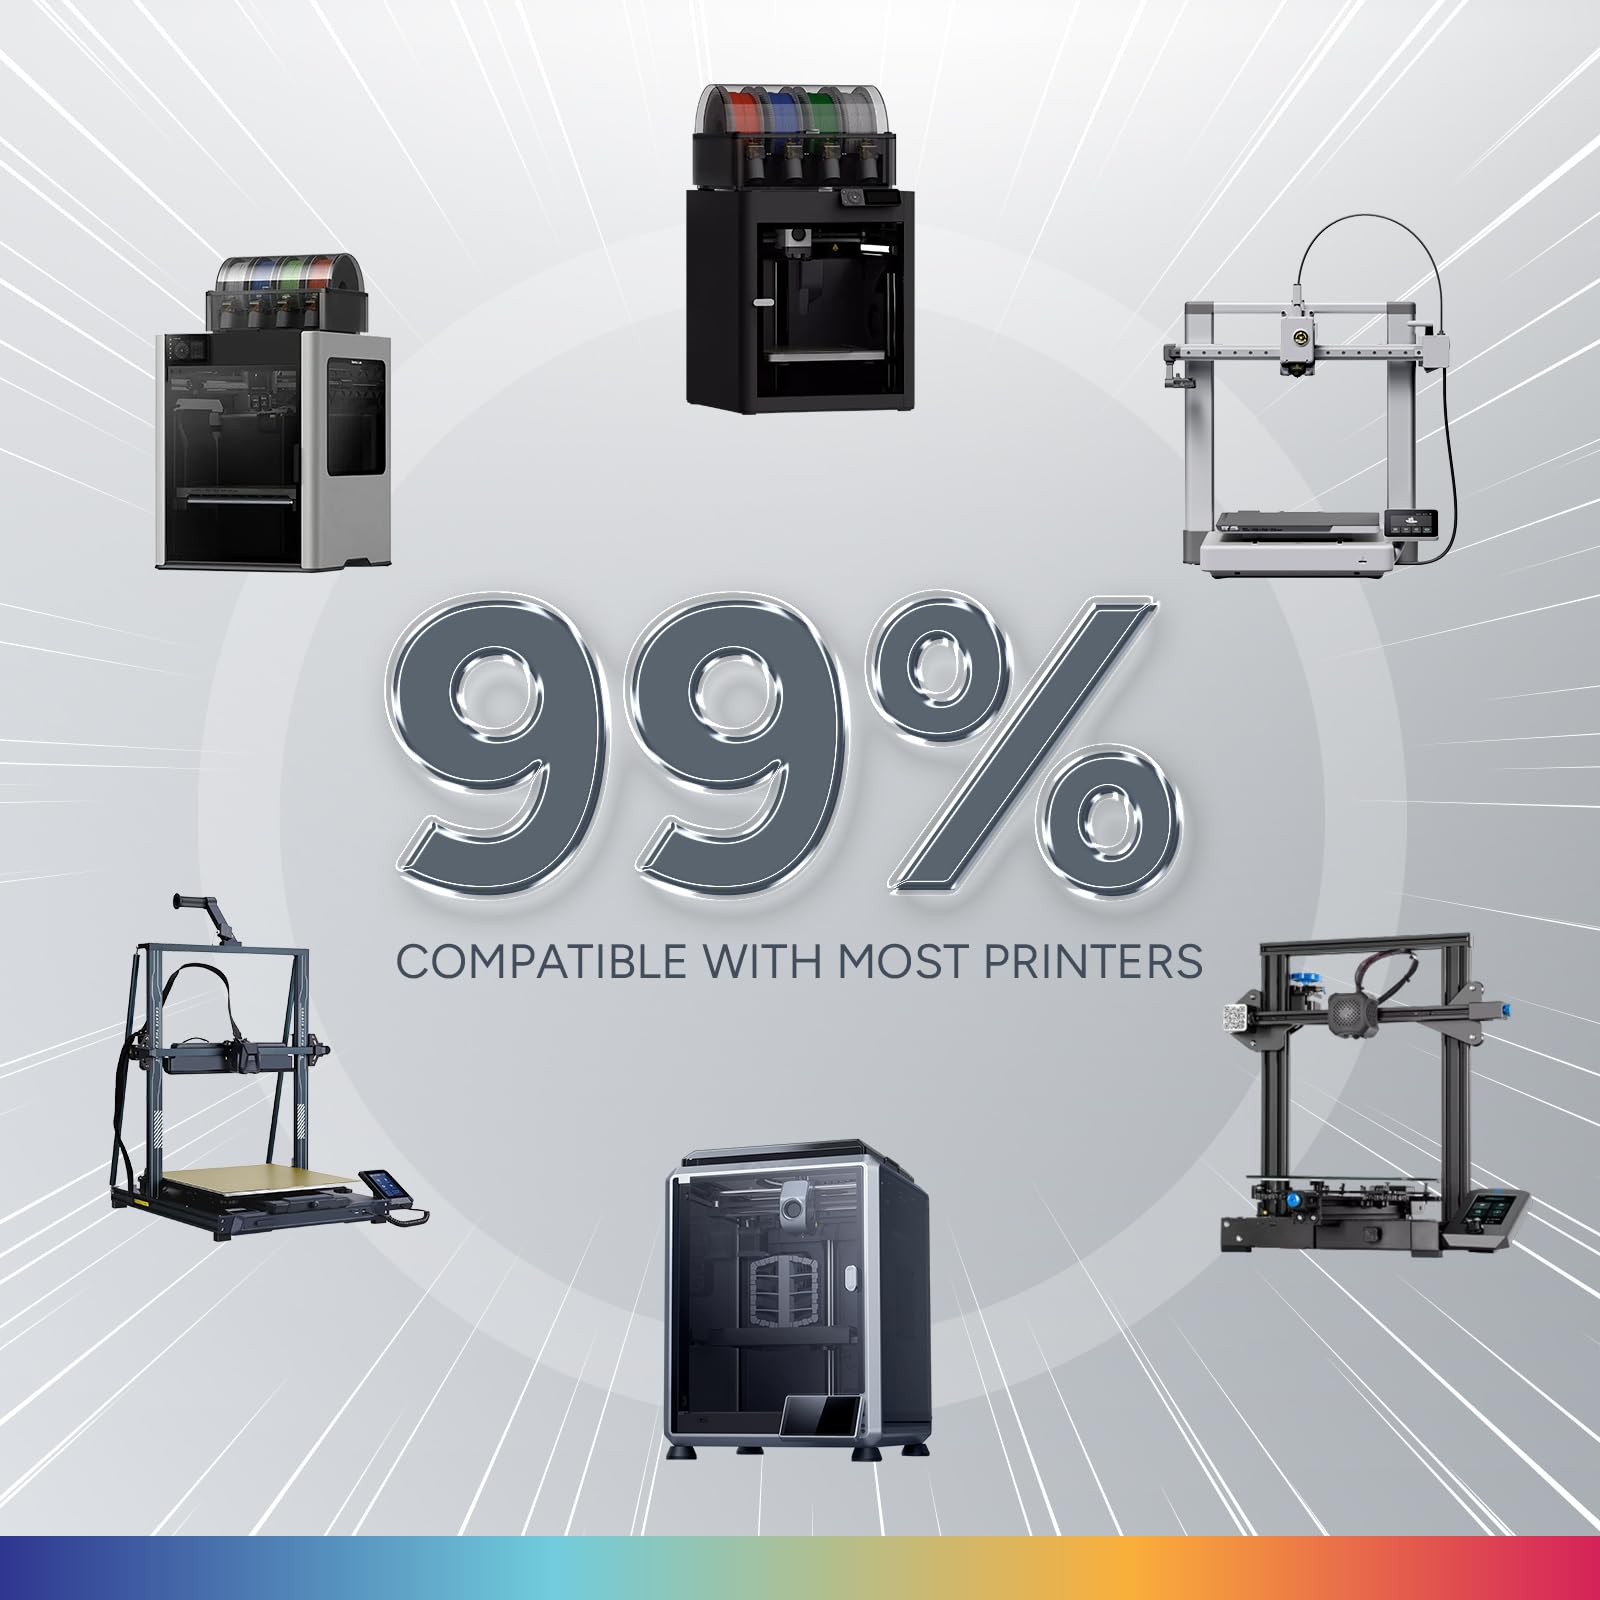
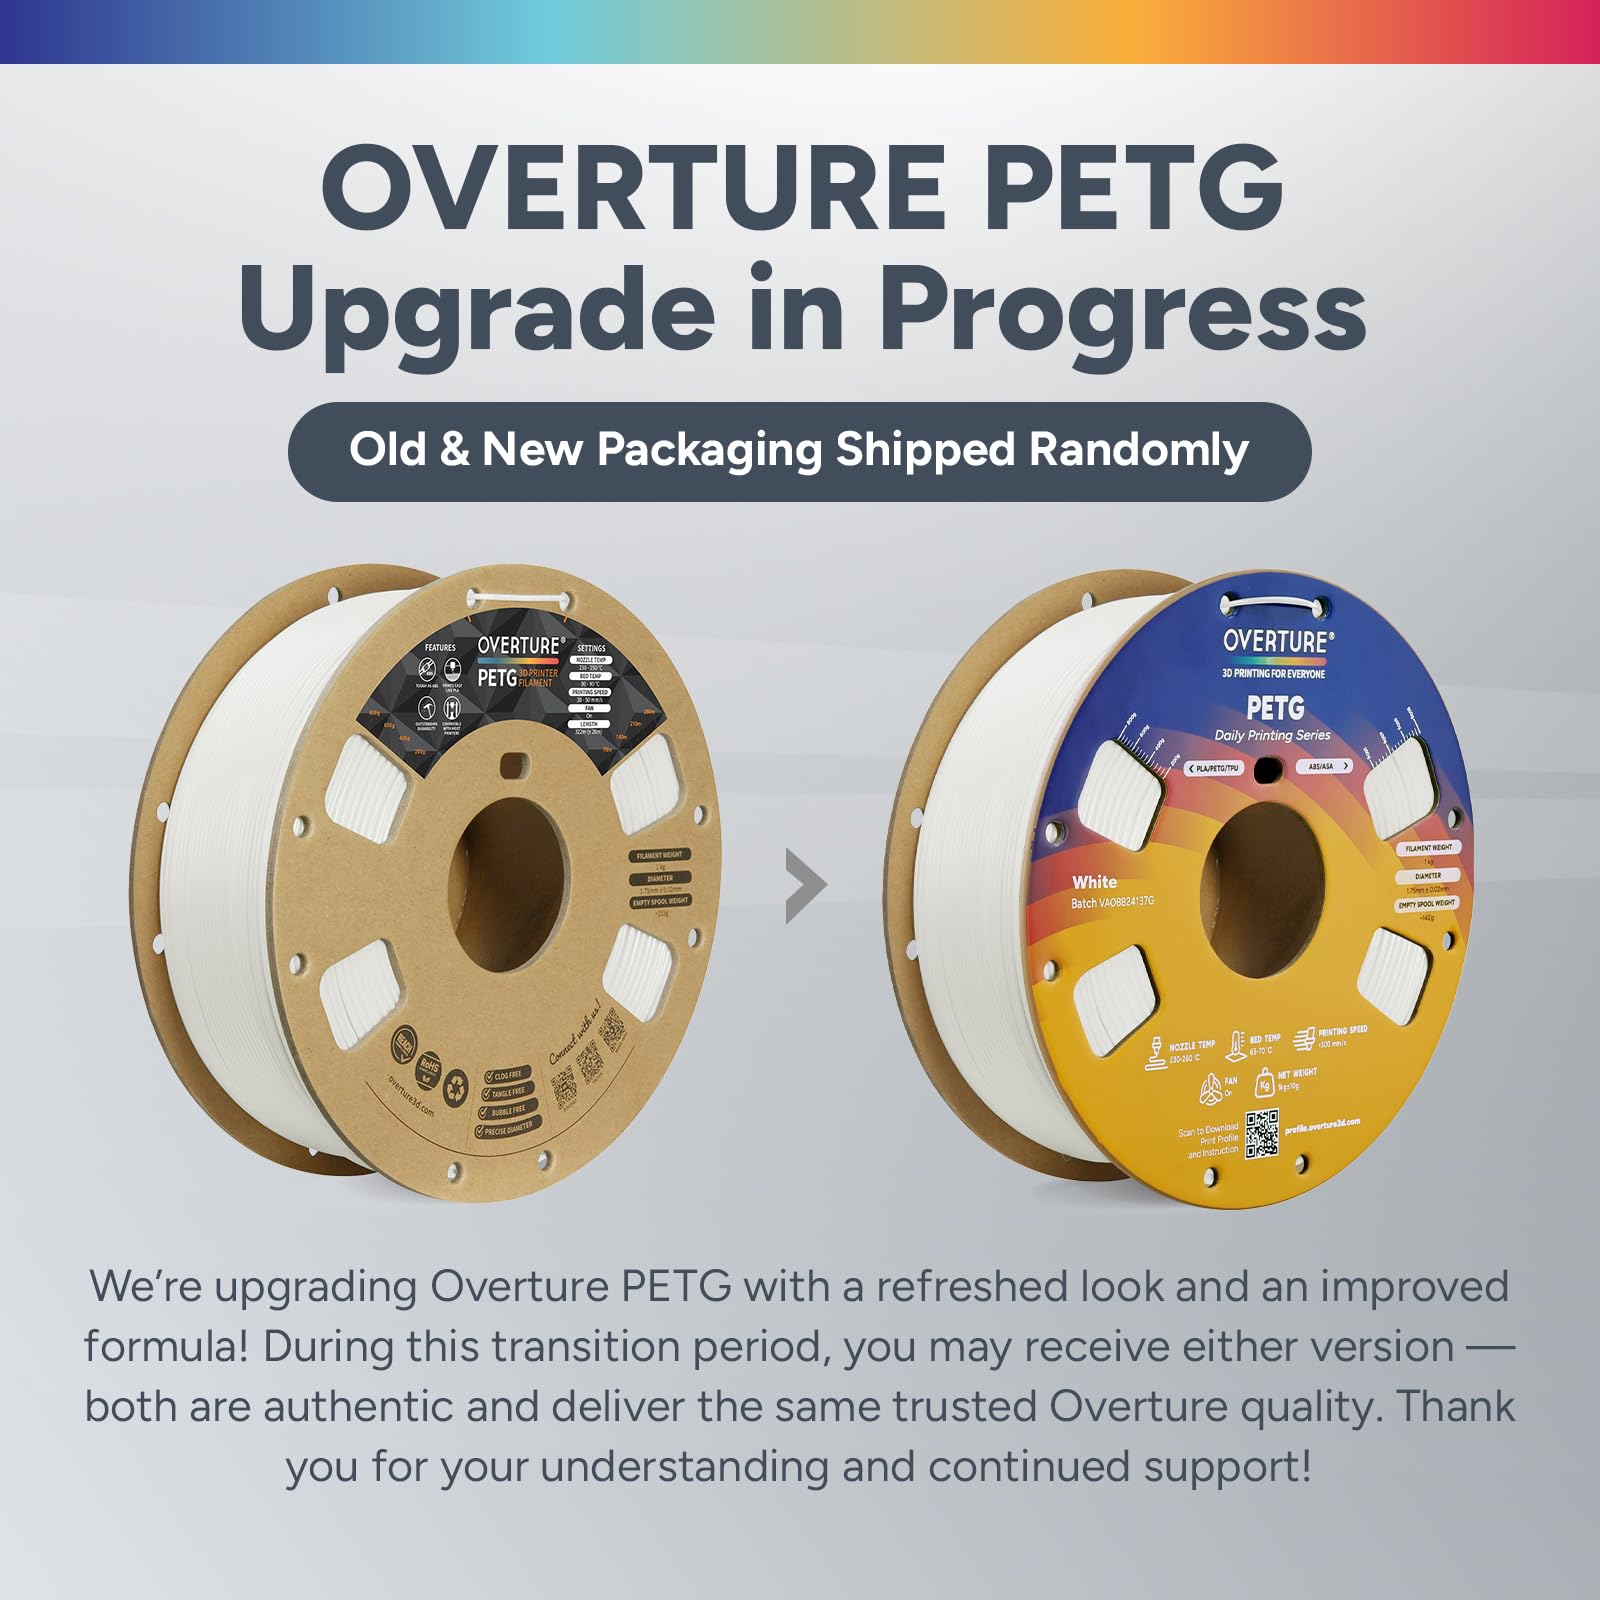
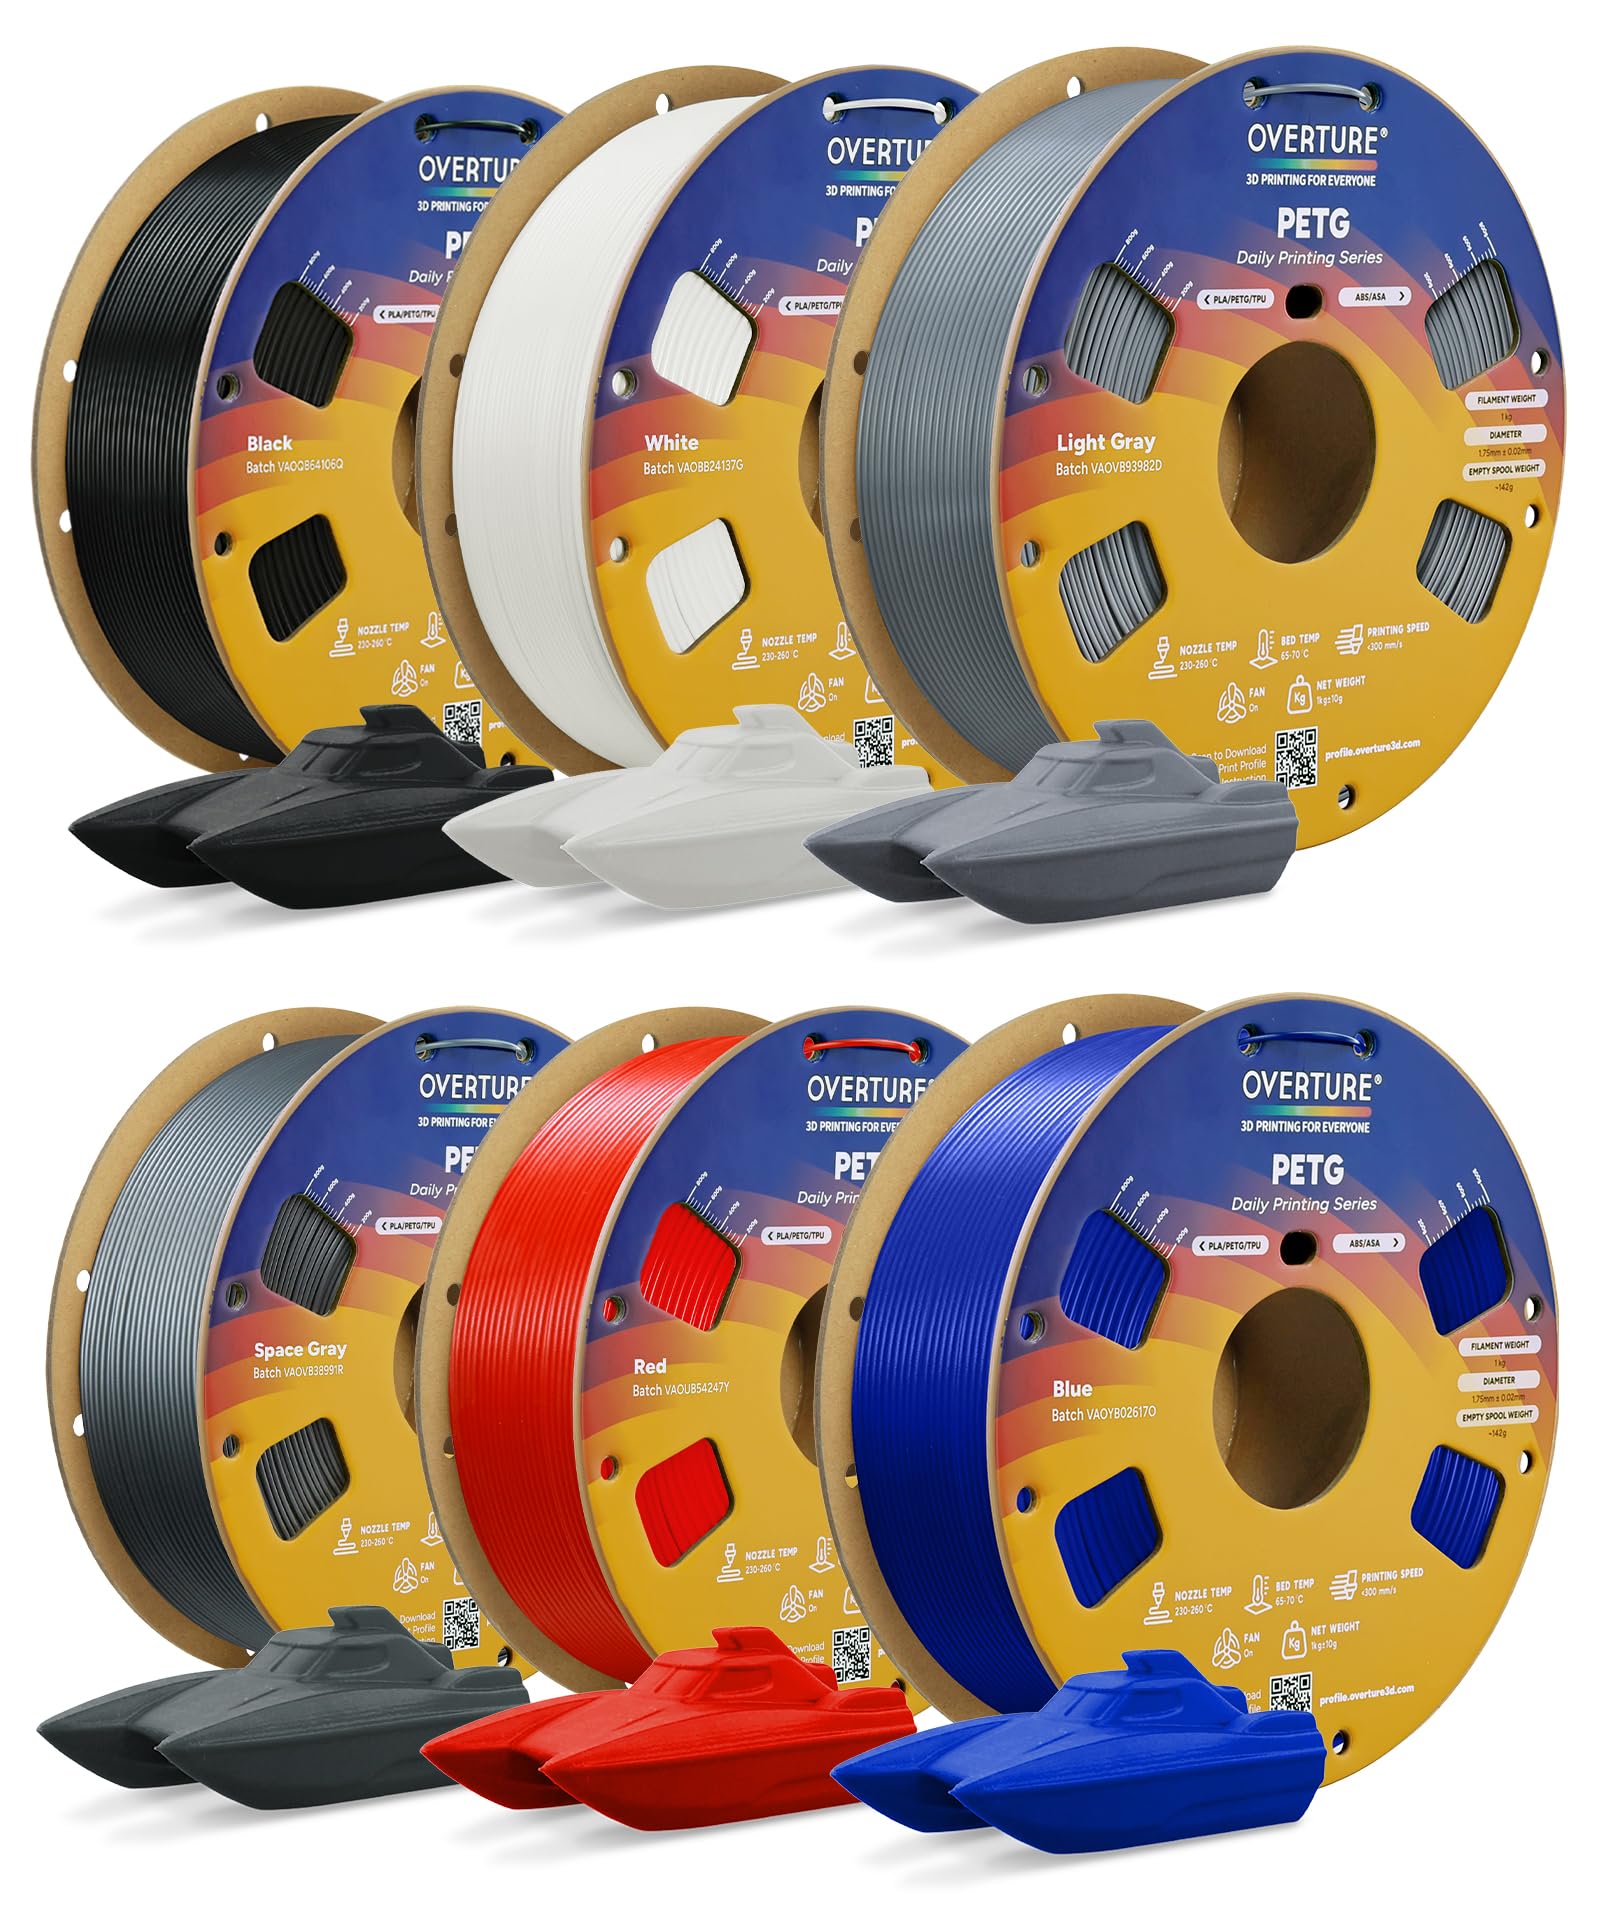
OVERTURE 6KG PETG 3D Printer Filament Bundle offers six 1kg spools of 1.75mm diameter filament with ±0.02mm dimensional accuracy. Combining the ease of PLA and strength of ABS, it delivers superior impact resistance, weatherproof durability, and vibrant colors. Compatible with most FDM printers, it ensures smooth, reliable printing backed by a 1-year shelf life and dedicated support.


| ASIN | B07XRKRYTV |
| Best Sellers Rank | #78 in Industrial & Scientific ( See Top 100 in Industrial & Scientific ) #14 in 3D Printing Filament |
| Brand | OVERTURE |
| Brand Name | OVERTURE |
| Color | 6 Color (6-pack) |
| Customer Reviews | 4.2 out of 5 stars 18,030 Reviews |
| EU Spare Part Availability Duration | 1 Years |
| Item Diameter | 1.75 Millimeters |
| Item Weight | 6 Kilograms |
| Manufacturer | OVERTURE |
| Material | Polyethylene Terephthalate Glycol |
| Material Type | Polyethylene Terephthalate Glycol |
| Special Feature | Strength and durability greater than PLA but easier to print than ABS, heat, moisture, and impact resistance, tangle-free printing, vibrant colors, dedicated support, 1-year shelf life Special Feature Strength and durability greater than PLA but easier to print than ABS, heat, moisture, and impact resistance, tangle-free printing, vibrant colors, dedicated support, 1-year shelf life See more |
| UPC | 850006233489 |
| Unit Count | 211.2 Ounce |
| Warranty Description | 1-year Warranty |
J**T
Great PETG for my project. 250C was sweet spot, and prints perfect on Sovol SV07+ PEI bed.
Grass Green is pretty close to Ryobi's green. I printed PETG and found 250C, the max, was best. I also noticed it printed more shiny at higher temps. Duller at lower. 70C bed was fine and 80C no different on Sovol SV07 PEI bed. Fast led to problems. Sweet spot was around 38mm/sec for walls. If I dialed it up to 50mm/sec then stringing started. On a roll sitting for about 3-4 weeks it did pick up moisture which can cause your nozzle to accumulate some excess. Keep an eye out for it. If you come back to a final print with little extra blobs, it's probably knocked off the nozzle as it moved around. I used Cura default for wall thickness but I did drop my layers to 1.6mm for better arches. I didn't use bed adhesion (brim, raft, etc), bridges or supports but I also kept all my angles gradual. Look at the pic and you'll see they are basically circles. I used 20% infill as well as 30%. No real difference. When setting the power drills on the bracket arms, they only deflect maybe 1-2mm. Barely noticeable. Yes, by hand you can make it deflect 5-6mm but this is just to organize my tools, not create a climbing wall that will support lots of weight. I printed all of what you see with 1 spool. I have a 2nd loaded to do a ton of more tool wall brackets, but wanted to get this review up. If your print has started, and you have moisture issues, try bumping the temp up and keep an eye on it. You may get through it bumping 5 degrees at a time to watch for change. In my case, it was in the infill area, and so it's "entombed" inside. When I ramped up to 60mm/sec and got to higher layers, like around 300 of 500 (again, 1.6mm height layers) it did start to have issues rising a bit, and catching upon hot end return. I reduced the speed back to 32, and dropped the fan from 20% to 10% and the clipping stopped for a perfect finish. I do also use glue pen for adhesion to the bed, but even on a clean bed (no glue pen) I still had great adhesion. Finish is great. No stringing if I keep speeds down. Strong as you'd expect from PETG. I am super happy. I did read reviews that were negative but didn't have problems. The storage bag is resealable which is really nice. Spool did not detach on either spools. My filament was unopened on both rolls, ordered about 4 weeks apart. I will definitely order this product again as I get more of my power tools wall mounted, and when I get a chance I will upload the STL files to Thingiverse. I created these prints on TinkerCad. website, exported STL into Cura and then sliced GCode sent to Sovol SV07Plus.
J**R
Excellent quality. Rosey color.
First thing I did was put it in a dryer for a few hours. I have no experience with this material straight out of the box. I've used a few rolls of Overture transparent red. Print quality is excellent. Bed adhesion is as I would expect for PETG at proper settings. Filament is in neat rows as I've come to expect from Overture. This is good material. My only complaint is the color; it's a little "rosey" for my use. On a RGB color wheel, I'd say this Overture transparent red PETG is a #350 hue. I've previously used ERYONE transparent red which is closer to #5-10 on that same color wheel, "candy red". See photo, Overture on the right. ERYONE is also a little brighter so it catches the light and "glows" a little better, so I'll be going back to that. My application needs a certain shade. Otherwise, the Overture transparent red PETG is perfect. Transparent PETG Tip: Use warmer, slower settings with as little cooling as possible for the best rich color. Turn off fans altogether if the design allows. Printing fast with fans on will result in a matte finish that won't have the same color depth.
W**.
A high quality PETG at a great price
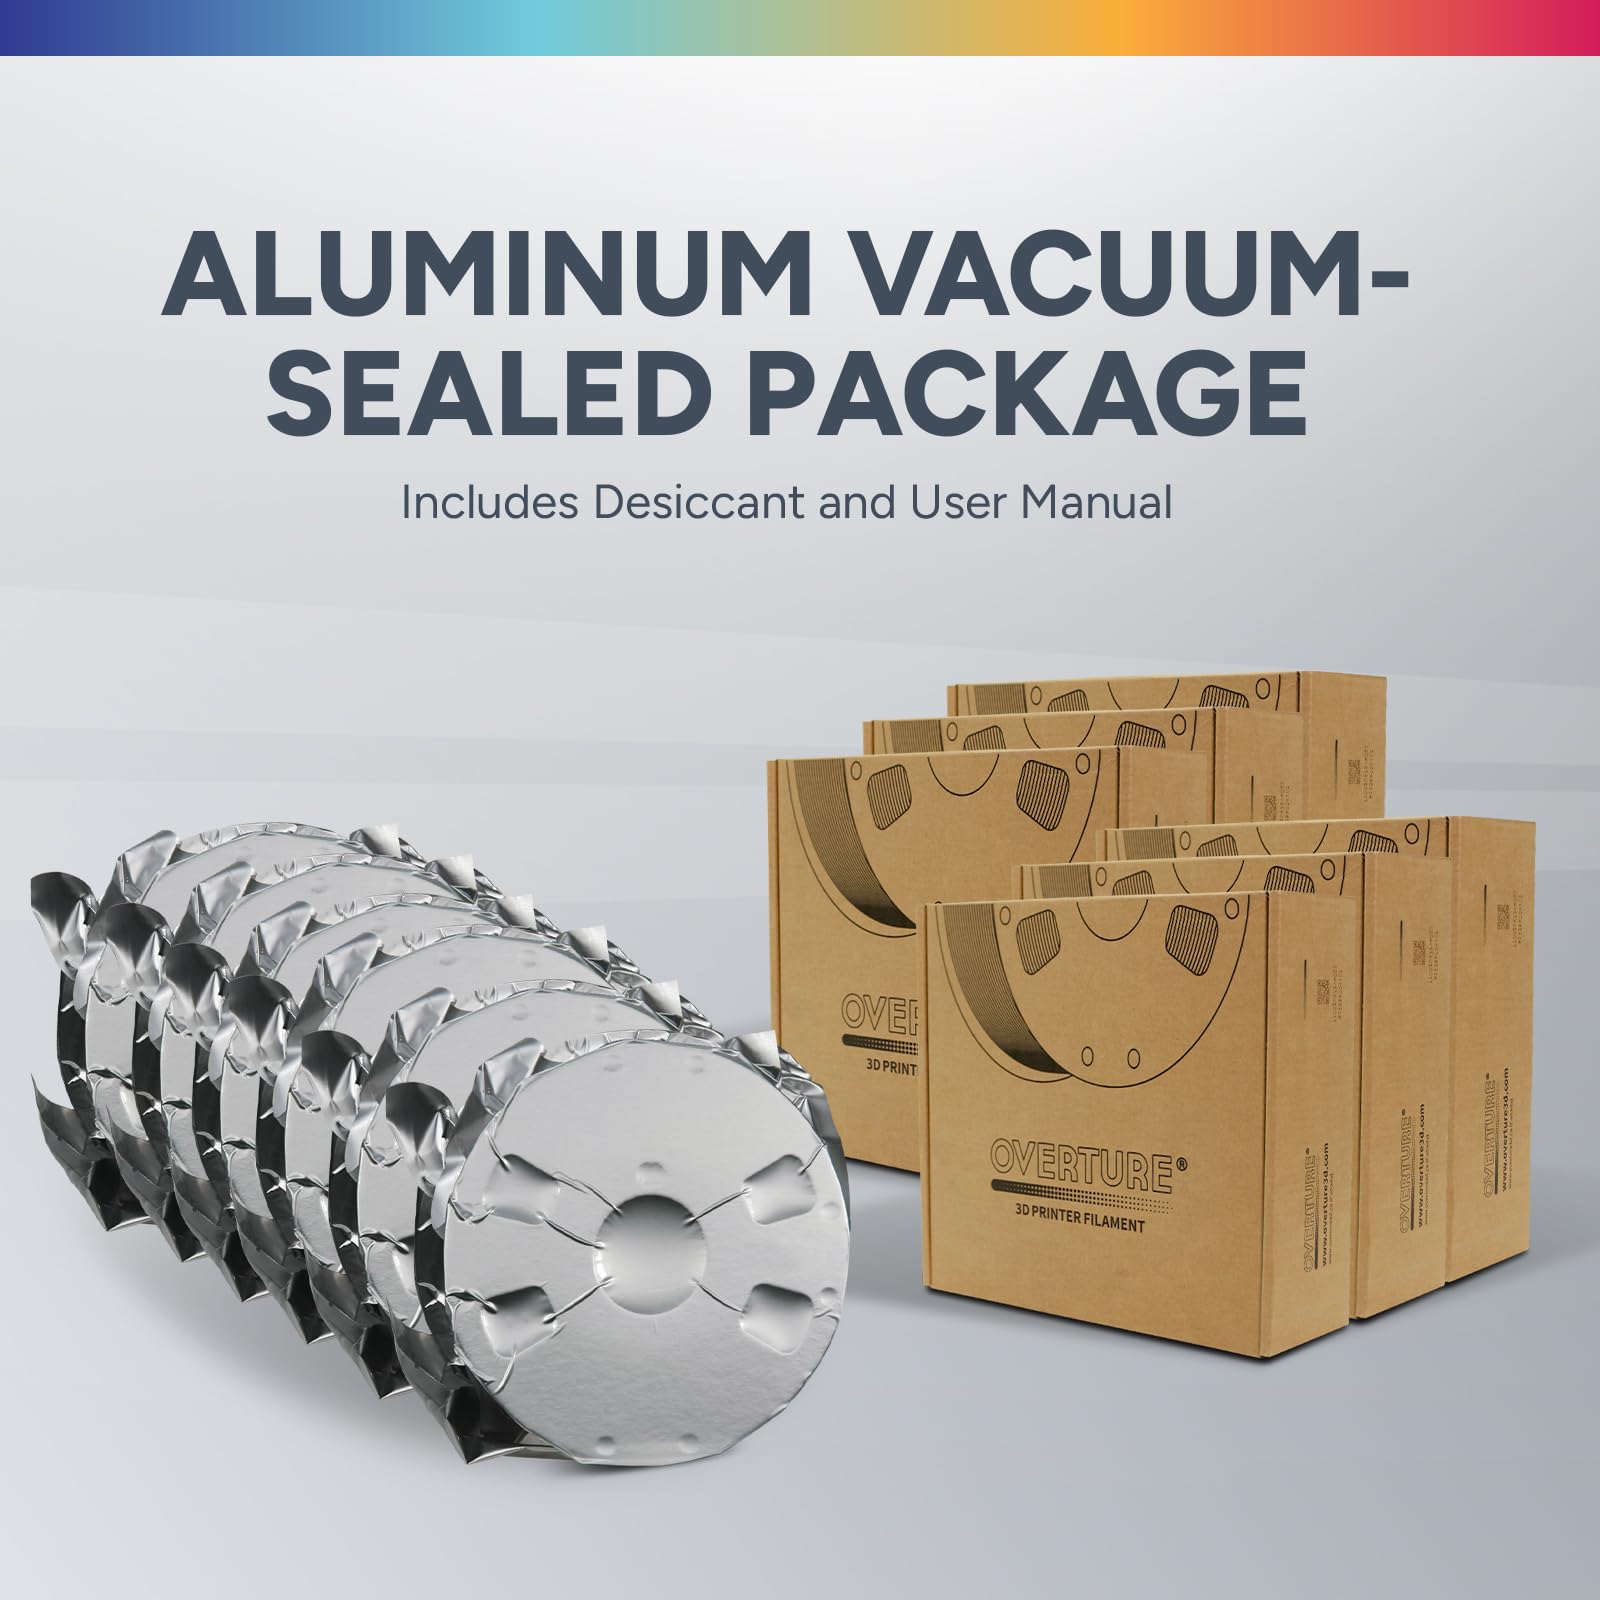
Filament came tightly vacuum sealed in a UV resistant silver plastic. It printed beautifully right out of the box without needing a drying cycle. The diameter is consistent, with no under- or over-extrusion. I did have to adjust the Flow Rate down slightly on my X1 Carbon - I think it veeeery slightly over-extrudes on the first layer, and dropping the Flow Rate to 0.93 seems to help. I have not experienced any clogging issues with the filament. I have printed well beyond the 50mm/s speed recommended in the pamphlet with no stringing issues, even with a nozzle temp of 255C. The black color I purchased is well pigmented and opaque. Overall, I am happy with the purchase. I also bought a spool of PETG white that I haven't used yet, but I expect similar results.
K**C
Not as easy as PLA but really nice once dialed in
The only reason for 4 stars instead of 5 is because of their claim "prints easy like PLA." It took me a few failed prints using settings they list on the packaging before i finally got it dialed in. By contrast, PLA is much less finicky and has a lot more wiggle room. The initial problems i had on the failed prints were the printout being too brittle, bad bed adhesion, and really bad stringing. Once i managed to dial it in though, it was as good as i can expect from the base model Ender 3. Actually i think the print quality was better than their own PLA. But again, i would not agree with it being "easy." The only upgrade i have is the glass bed. The "clear" miniature in the pictures was printed with a 0.4 mm nozzle and 0.16 layer height (more slicer settings listed below). For comparison the painted model is PLA 0.12 layer height and a glued-on acrylic base. The paint fills in most of the layer lines though anyway. One of the pictures makes it look like there might be bubbles but i assure you that's just model detail and light refraction. My intention was to print out copies of my miniatures with the clear PETG to indicate when they're invisible. I knew i wouldn't achieve anything close to glass but i thought i'd get more translucency than what i got. I'm not a 3D printing expert so maybe you can get better results than me. There is some very minor stringing around the hands but it did fantastically with everything else despite being so small. There are a couple support artifacts leftover on the circle base but that's just my fault. Another thing to note is that the hardness of PETG is quite noticeable compared to PLA when doing cleanup on the printed model. Just FYI the painted miniature was printed in OVERTURE white PLA. I've never had a problem with OVERTURE filaments and i don't see any reason to buy from another brand. I don't even have a filament dryer but the filament has always been reliable even when sitting for a couple years. I'll update this in case my experience changes with the PETG. These are the main points in the slicer settings i used for the miniature. Layer height: 0.16 mm, wall line count: 1, infill density: 100%, infill pattern: Lines, connect infill lines: Enabled, infill line directions: [45], infill overlap percentage: 15%, printing temperature: 245 C, build plate temperature: 80 C, (all) print speed: 20 mm/s, travel speed: 150 mm/s, enable retraction: Enabled, retraction distance: 3 mm, retraction speed: 20 mm/s, enable print cooling: Enabled, fan speed: 30%, initial fan speed: 0%, generate support: Enabled, support structure: Tree, build plate adhesion type: None. I use generic glue stick on the glass bed and do the slicing in Cura 5.9.
A**R
The worst filament quality ever. Don't be tricked by the cheaper price, this is a complete Ripoff!!
I made the mistake of buying this 10 pack because the price was really good and I thought overture was suppose to be a good reliable and trustworthy brand but the quality is horrible. I dried using a filament drier to 15%, printed a spool and not only was the there major issues with stringing, it made a mess inside the printer with little bits everywhere. I took it out and put it in the drier again, it showed it was at 20% so I dried it again for a few hours until it got down to 13%. I used a different brand of petg that I had in a storage box, to print the same thing with same settings, it printed perfectly. I took the overture out and printed again, same issues. I tried using the overture for different items and all sorts of different issues, some not terrible, some pretty bad. I then tried 2 other brands to print, same settings, and no issues at all. Update. I have now tried multiple prints with multiple settings and they all have issues with this petg from overture. It is night and day different in quality. This is officially the worst filament I have ever used and I have over 50 in my current rotation as we speak. I would have returned but I went through a spool and half trying different prints and settings. I am just looking for ways to waste it now. I will never buy this brand again, I am sure some of their other filament might be ok or better but not worth the risk.
S**I
Reliable PETG with strong parts and a clean white finish
I’ve gone through many spools of Overture PETG (White) and it’s been a solid, predictable filament for functional prints. The spools fed smoothly and the filament stayed consistent throughout longer runs, no weird extrusion swings or sudden quality drops. It’s a 1.75mm PETG with a tight tolerance (listed as ±0.02mm) on a 1kg spool, which is exactly what I wanted for repeatable results. Print-wise, PETG needs a bit more heat than PLA, but once dialed in it’s very forgiving. I landed close to the manufacturer’s suggested range (roughly 230–250°C nozzle, 80–90°C bed, moderate speeds, fan on), and got strong parts with great layer bonding and a nice subtle sheen. Only note: like most PETG, keeping it dry matters, if it’s been sitting out, a quick dry helps keep prints clean.
G**N
Great Filament.. Fits Creality CFS
Love This Overture..PETG.. Great Color And Print.. Using Ctrality Hi With CFS.. Fits Perfectly With Cardboard Spool.. No Clogs Sticks To Plate. .. No Tangles .. Great Price.. Runs At 250 Nozzle 80 On Plate..Wish Overture Would List More Color Options Of PETG
N**S
Pretty on the Straights, Terrible in the Corners
The filament box and packaging says that it's dried and vacuum sealed. All prints were made with the recommended settings, labeled on the spool and in the pamphlet. I've had 4 different colors and materials of Overture filament. 2 PLA, 1 silk PLA, and 1 PETG. All of them have been a massive pain in the rear-end to tune in, to get good prints. The K-value and Flow Rate ALWAYS need adjusted, and can never just run on a basic preset profile. I spent 52 grams of the filament trying to tune it.. that's about 1.8 ounces, for those who dont metric.... Overture filaments seem to have an issue printing without extensive tuning being done. Seams show really badly. This PETG filament is decent, but not exceedingly great, as far as I have tested it. It hates being used for support apparently, because it refused to detach from itself without marking, even when using slim tree supports, and if you're trying to do a raft with it, forget about it. I've tried prints on smooth plates, and I've tried prints on PEI textured plates. Textured obviously will work better, for adhesion, but at the added issue of an uneven, possibly unwanted, bumpy surface. Once the body of the print gets going it looks great. However, any time it hits a change in shape where there's a sharp corner you're likely to get a spot of trouble. I saw layer lines not sticking together and saw excessive gaps of coverage. I personally HATE when companies use the cardboard spools. Not only are they a mess for any AMS system, due to flaking off bits of cardboard dust, but they almost always warp and cause issues. Time will tell if their edge-sealing holds up. This filament spool comes with a 1-layer lock-and-seal (aka ziploc) system, which is pretty weak. I would rather see them using a double seal.
Trustpilot
1 month ago
2 weeks ago