
🚽 Upgrade your throne with smart water-saving flush power!
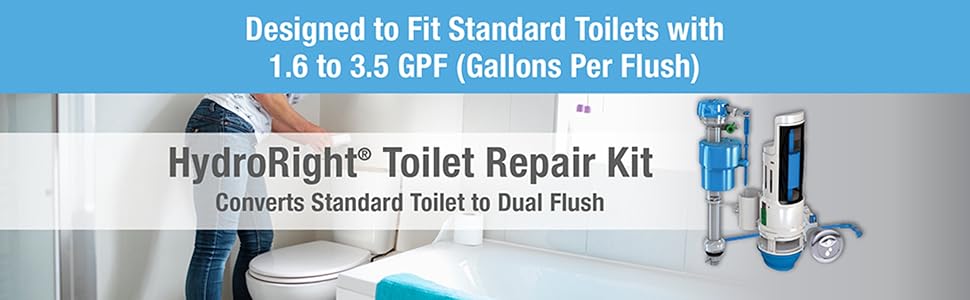
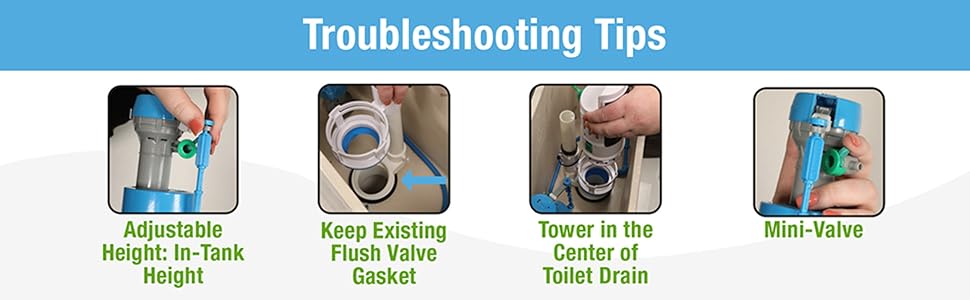
The Danco HYR460 HydroRight Water-Saving Toilet Tank Repair Kit transforms a standard toilet into a dual flush system that significantly reduces water consumption. Featuring a durable dual flush converter and a leak-proof silicone seal, it installs easily without tools and fits standard 2-inch flush valves. Its dual push-button handle offers precise control over flush volume, helping you save water and prevent leaks with smart calibration and leak detection.


| Color | White |
| Material | Plastic |
| Brand | Danco |
| Item Weight | 0.74 Kilograms |
| Manufacturer | Next by Danco |
| UPC | 188670000442 |
| Global Trade Identification Number | 00188670000442 |
| Part Number | HYR460 |
| Item Weight | 1.63 pounds |
| Product Dimensions | 7.2 x 3.5 x 12.6 inches |
| Item model number | HYR460 |
| Is Discontinued By Manufacturer | No |
| Size | Pack of 1 |
| Style | Push Button Handle |
| Pattern | Toilet Repair Kit |
| Item Package Quantity | 1 |
| Number of Handles | 1 |
| Included Components | Flush Valve |
| Batteries Included? | No |
| Batteries Required? | No |
| Warranty Description | 1 year limited warranty |
Trustpilot
2 weeks ago
3 weeks ago


