🛠️ Mix, Match & Master Your Hardscape Joints Like a Pro!
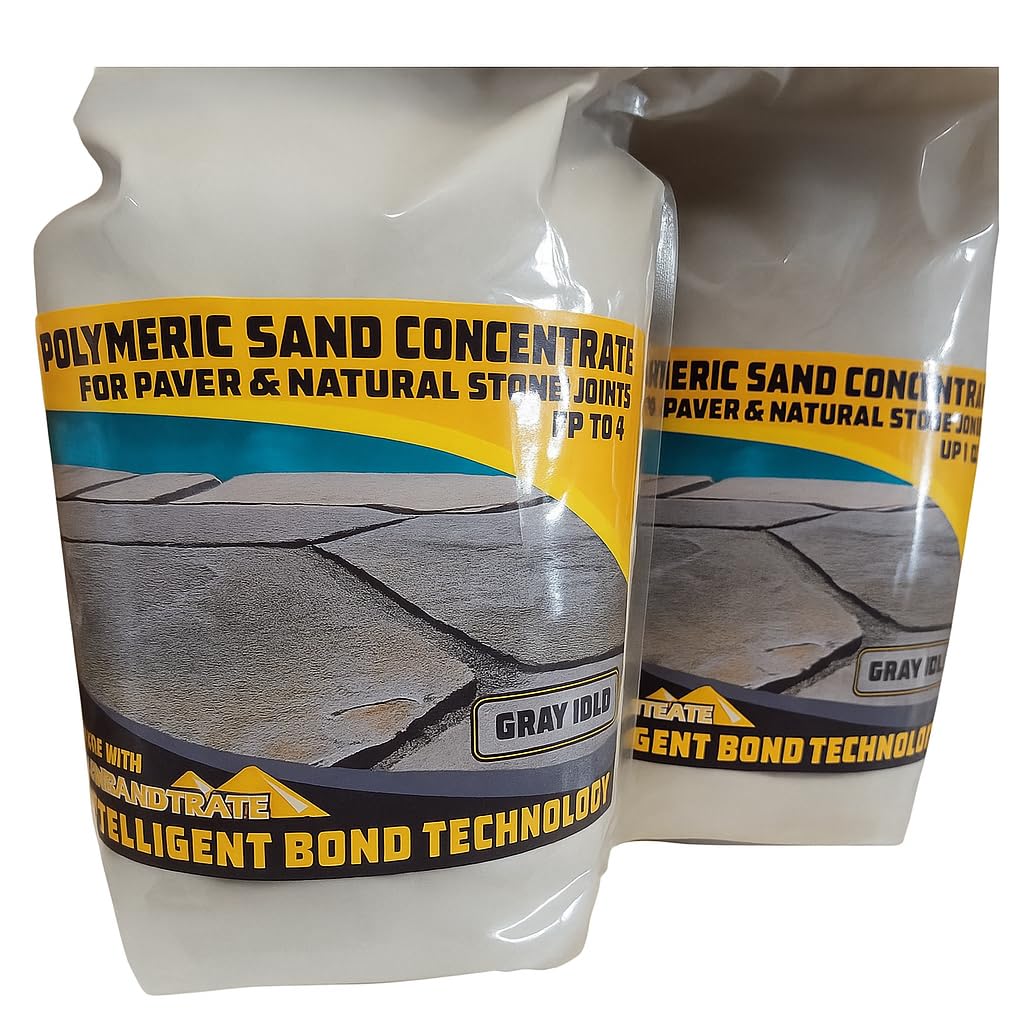
ConSANDtrate is a 20 lb. polymeric sand concentrate designed for professional and DIY use, allowing you to mix up to 200 lbs. of custom polymeric sand by blending with local sand. Its flexible mixing ratios enable tailored strength for various applications, from standard paver joints to crack filling. This concentrate offers cost savings, color customization, and a durable, weather-resistant finish that expands and contracts with temperature changes, making it ideal for long-lasting outdoor hardscape projects.
| Best Sellers Rank | #437,350 in Patio, Lawn & Garden ( See Top 100 in Patio, Lawn & Garden ) #914 in Outdoor Decorative Stones |
| Brand | ConSANDtrate |
| Customer Reviews | 3.7 out of 5 stars 16 Reviews |
| Item Weight | 20 Pounds |
| Style | Custom |
| UPC | 027132726264 |
M**L
Used this for our large stone firepit/patio--Looks good so far
So we had a problem with a patio we had installed a few years ago with a firepit in the back yard in that the grey filler material that looked like some sort of grey cement type mixture given to us by the contractor to fill in between the large flat rocks over time was supposed to harden and "become like cement" in the words of the contractor. I suppose I am a bit embarassed that I actually listened to the contractor. Needless to say, the filler material always washed out. Every time it rained, the rain drops would splash the filler material onto the bottoms of the nice chairs we put out there and make a complete mess. What to do. I did a little research and found this product. Basically, it is used to create polymeric sand--its just you have to mix it with the sand rather than buying tubs of the stuff premixed. It was a LOT less expensive as a result--we just bought 3 bags of play sand for about $12 and we were good to go. This stuff was the grey colored stuff. The gaps I had to cover were very large in some places--ranging from 1/4 inch to 5 or 6 inches depending on the layout of the patio. I figured this stuff was probably not meant for gaps this large, but it could not do any worse than the material the contractor gave to us. Note that the manufacturer of this product would not likely recommend this product for gaps as large as we had--they have to CYA after all--but I figured it was worth a try. First--to prepare the gaps, we had to remove the old material. This was done with a screwdriver to agitate the material and a shop vac to suck the dirt and material out of the gaps. I figured purchasing a shop vac for 70 bucks would do the job and that this was a lot less expensive than getting a contractor to come out and put some ineffective solution in place. We decided to mix the polymeric material sold here in a 5 to 1 ratio with sand (5 sand for 1 polymeric material) so that hopefully it would solidify better in the big gaps. I wasn't too worried it if broke up over time, just as long as it would not splash up and make a mess on the chairs and the patio slabs. I figured I would make an extra batch when I was done to use to fill in any cracks or other problems over time--fill it in and spritz with a water bottle. We mixed the material in the 5 to 1 ratio, but then had a problem--the grey color was way to light. To address this problem, we needed some sort of black powder pigment. Fortunately, my neighbor is a chemist that works for a company that does industrial floor coatings. He suggested I crush charcoal which is basically graphite--a common pigment--to create black powder pigment. I bought a small bag of charcoal (NOT THE SELF LIGHTING KIND) and crushed it up. Note that we had some charcoal for a green egg that was in the shape of pieces of wood and we had the good old fashioned Kingston little briquettes. I think the Kingston briquettes crushed up into a nice fine dust a little easier so I would use that in the future. We used the top of a sledge hammer to do the crushing and put the mixture through a relatively fine strainer--it gave us a nice charcoal dust to use as a darkening pigment. We kept adding the powder charcoal to the sand/polymeric mixture until the color seemed better. It wasn't perfect, but close enough to the garbage grey material the contractor had left. To make sure to mix effectively, we used an augur type mixer you attach to a drill--which worked well. We cut a hole in the center of the lid of the 5 gallon bucket we used to mix to put the shaft of the mixing bit through because it kicked up a lot of dust which was generally kept in the bucket by the lid. Also to mix, we put another lid on the bucket and made sure it was tight, wrapped a rope around the bucket, and pulled it around the yard unravelling the rope as we went--which helped preserve our backs. Next we poured the our polymeric sand/charcoal mixture in the cracks. We used tin pans normally used for baking so you could bend them to create a spout to pour the polymeric sand/charcoal mixture and control the amount flowing into the cracks. This approach worked well. We were concerned about getting the mixture on the patio rocks themselves. There is a lot of information on the internet about how grey spots are formed from the polymeric material that stick to the rock/pavers that might ruin the look. However, we found that if you poured the mixture carefully, you could use a quality paint brush (pictured) to brush off anything that sat on the edges of the rock. Frankly, our flat patio rocks are multicolored--so it might not have made much of a difference if the spots appeared anyway. I am not sure what might happen if our patio was made of uniform pavers--that might be a different story. However, if you have large flat rocks like our patio (see photos), there was no problem with spots showing up when we sprinkled the water if we used the paint brushes to clean any mixture that fell onto the rock slabs. If the paintbrush you use is high quality, you can effectively brush off any of the material that lands on the rocks. We had a couple of areas where there were accidental "dumps" of material on the rocks and we were able to clean those off effectively. I will note that when we cleaned the gaps with the shop vac initially, we kept sucking up quarter sized rocks. These rocks help keep the slaps stable next to each other. We placed these rocks back into the gaps. However, be careful not to put too many little stones in the gaps such that the mixture does fill in all of the gaps and air pockets are formed. With the gift of hindsight, I think after we put the dry mixture in the gaps, we should have considered using a tamper to make sure the mixture was fully settled in the gaps. Something to consider--however be careful not to damage your slab rocks. Finally, we watered the gaps filled with the sand/polymeric sand/charcoal mixture. I found just pointing the shower function on the hose straight up and letting it fall down like rain seemed to be the best approach. We put a little bit of water on at a time taking care not to let it pool up too much. After the patio dried in the sun, we seemed to have pretty good results. The material feels like hardened rubber with sand in it. I could press down on it with my fingers with most of my weight and it seemed to stand up well. I added a video so you can hear what it sounds like when you knock on it a little bit. My neighbor suggested that the fact that it was not rock hard--that it had a rubbery feel to it--was probably good as it would expand and contract instead of cracking up from variation in outdoor temperatures. We live in the Atlanta area so we probably will be in good shape when it comes to freezing. I suspect there will be degradation over time, we shall see how it goes. Again, it can't be any worse that what we had before. So the above describes our patio gap filling experiement with this product. Admittedly this product was not designed to be used in this the way so we can't hold the manufacturer responsible if ultimately this turns out to be a failure. However, initially the results seem very promising. I will try to circle back in a few months to report on how things are holding up. Cheers.
A**T
Works well, follow instructions
Works well if you follow the instructions exactly right. I had some questions and Dave the “sand man” answered it with tips. Try experimenting on a small scale using a bottle cap with 10:1, 9:1 and 8:1 and max up-to 5:1 as every sand consistency is different. After spraying a light mist using a bug sprayer to set it, you have to check 24 hours later by putting the caps in water to see how it holds up. I found that 9:1 worked best when I used it with play sand from Lowe’s. The patio came out very nice and since you use it only in the top 1/2 inch it saved money. In addition the Sacrete product used in previous patios was not as good and expensive and no longer available. I am glad I tried this
T**Y
Very good paver sealer sand
I installed close to 10,000 pavers in my backyard with a Fire pit. I bought buckets of premixed Polymeric sand from Big box store very expensive. I'm on my 3rd order of this mix now. Save tremendous amount of money by buying and mixing with Sand. The key to this is to completely and I mean completely mix very much (I can't say enough) all the sand and mix together with the proper ratio of 10 to 1. It is great at saving money if mixed well. I have a long wooden box poured everything together. Poured sand and mix and my workers moved it around for 15 minutes sticks like glue when applied and water is misted on top not sprayed. About to order another bag I hope to finish my project with this last bag. Good luck Mix it very well you'll have good results.
D**1
Great product
This is a great product, does the job well. Remember to test different ratios 1:5 to 1:10 with play sand (by weight, not by volume) and use the one that you like. I got the stiffness I liked at 1:9 ratio, and it holds the sand pretty well.
J**Y
Didn't stand up to rain
After the first rain, it started to wash away. I followed the ratio directions. Maybe you need more of the polymer per sand. Don't know but now I have to to pressure wash the rest out of the joints and start all over with something else on 1800 sq. foot paver patio. Ugh.
J**M
Great product
Ordered this to complete my flagstone patio. I actually mixed it with decomposed granite instead of sand. Worked great!!!
H**S
Stabilizes sand in my pavers
Holds well and doesn't wash out after set.
Trustpilot
2 months ago
3 weeks ago


