Desert Online General Trading LLC
Dubai, United Arab Emirates
Desert Online General Trading LLC
Dubai, United Arab Emirates


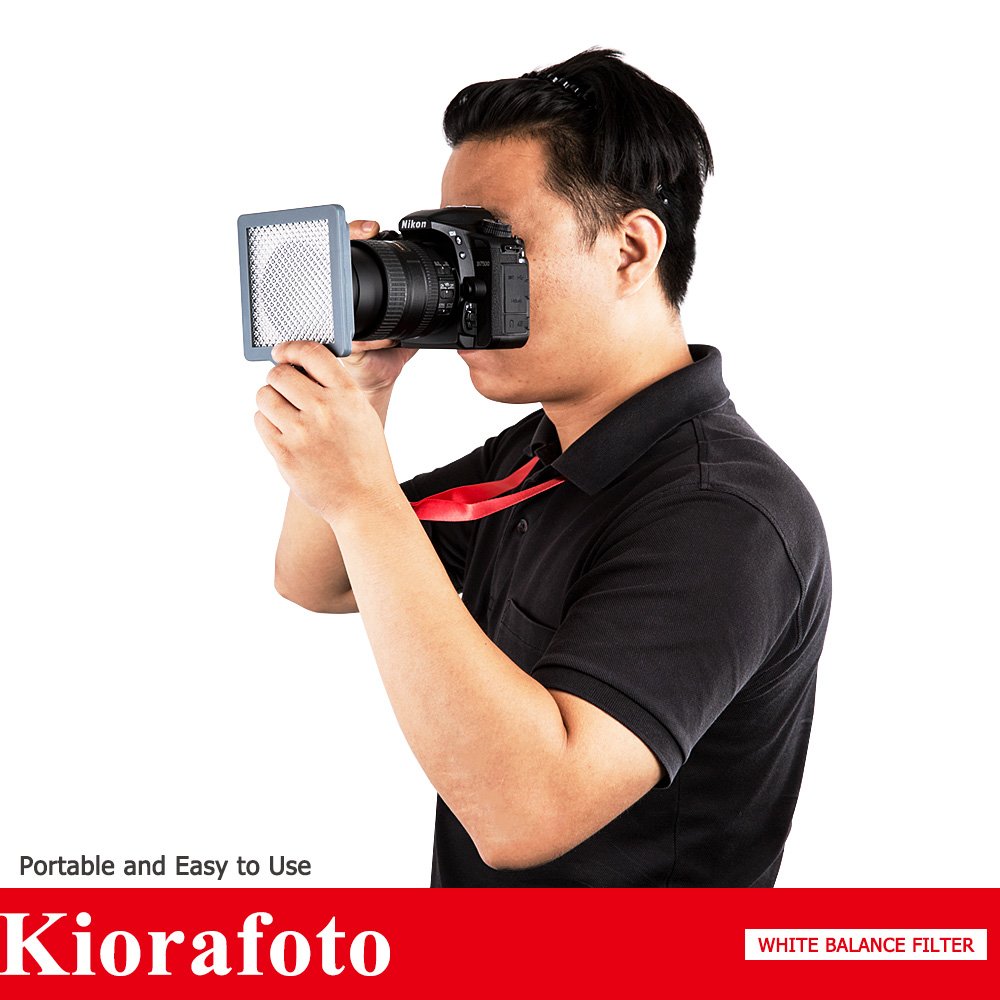
🎨 Elevate Your Shots with Perfect Color Balance!
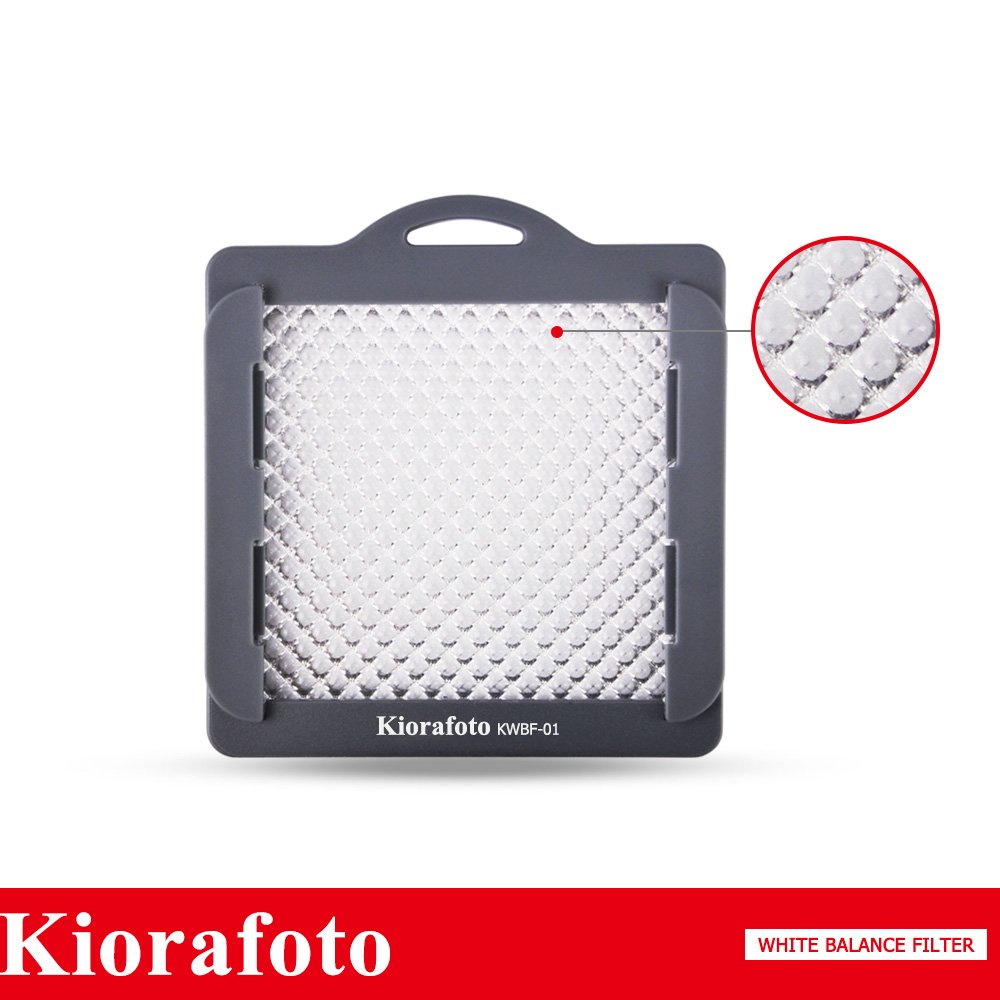
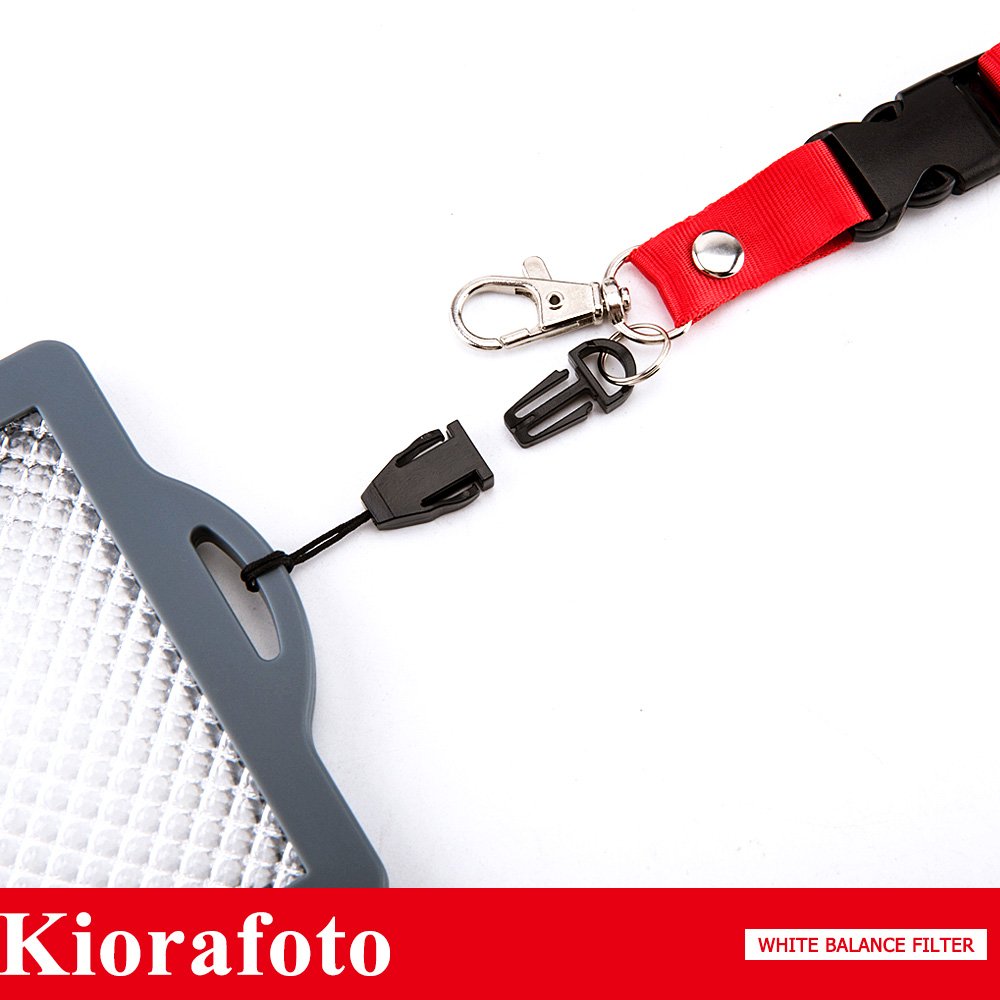
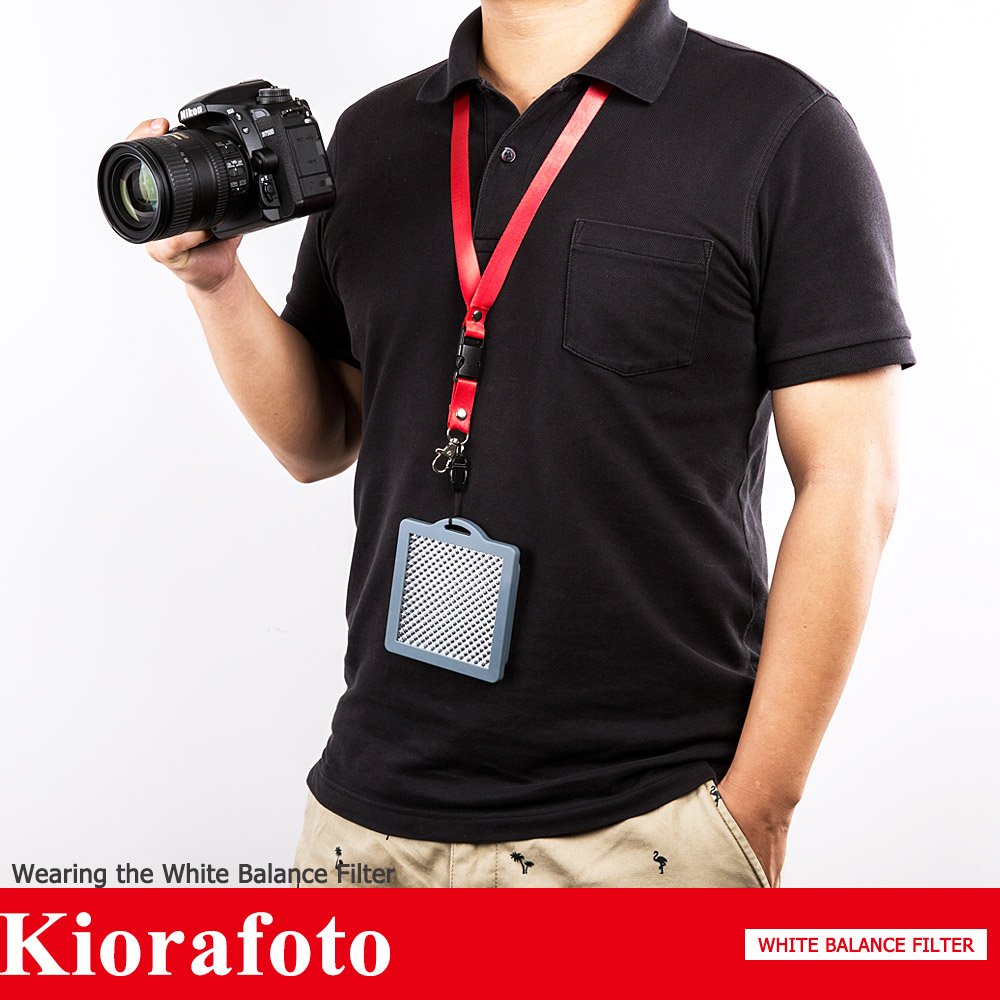
The Kiorafoto 3"x3" Easy Carry Professional Camera White Balance Card is an essential tool for photographers and videographers seeking precise color correction. Designed for lenses up to 82mm, this durable ABS filter allows for quick custom white balance settings, ensuring your images are always true to life. With its portable design and included neck strap, you can easily take it anywhere your creativity leads.


T**B
This filter saves you grief in obtaining proper white balance
Received this White Balance tool today. Limited use thus far, but from what I see, it does the job.First impressions:* The filter part looks like what you would see in a opaque fluorescent light diffuser* The insert looks cut down to fit inside the plastic surround holder* The filter is completely surrounded by a plastic housing* An accompanying lanyard to place around your neck while in use* A cloth filter holder is also included.* Overall, the filter size is 4" X 4"* The insert size is 3" X 3" (plus a 1/16" or so)* The holder has slots on one side to insert a sheet filter to warm or cool the corrected White Balance to achieve the desired effect* Warming and cooling the subject photographed is an artistic touch the photographer can apply to achieve different end product resultsMy test equipment and photo conditions used:* Canon Rebel T5 (1200D) camera* Canon 18-55MM IS II kit lens -- Image Stabilization was on* All light measurements were either performed or checked against my Sekonic L-478D light meter in incident mode* NO flash was used* ISO 800, F5.6 @ 1/4 second exposure (since Amazon strips EXIF info from all pictures posted)* The test shots were handheld, auto focus enabled in Live View mode* Kiorafoto White Balance filter -- used manual focus at the time of filter use (picture #3)* The color temperature of the ambient light used was approx 2700K mixed between LED and florescent lighting* All photos were Canon RAW (CR2 file) converted to JPEG with NO post processing performed on the RAW picturesIn this controlled environment, I took three test shots. They are as follows:* The first picture was taken using full AWB using Aperture Priority shutter exposure checked against the Sekonic light meter* The second was taken using manual exposure and in-camera custom white balance correction with this filter* The last is the picture taken to set the custom white balance inside your camera -- this is what the camera seesI also used the DxO Optics Pro Elite 9.5 Canon Raw conversion program to analyze and give me an accurate value of the white balance temperature in each shot.As you can see, the subject of choice was of mixed colors on my DVD shelf. The first picture, the more yellowish color picture was the in-camera Automatic White Balance (AWB) exposure. The camera analyzing the overall pre-shot scene of the first photo and automatically set the AWB color temperature at about 5500K -- daylight/outdoor temperature range. The second picture, the Custom White Balance corrected temperature was about 2710K, far closer to the ambient light color temperature and producing a much better and more accurate result.Which of the two DVD shelf pictures are more pleasing to you?The third picture was of the filter as the camera sees it when the picture is taken with the filter in the correct installed position. You can see this filter fills the entire frame. When you see this result in your photo capture, you have performed the filter placement properly.Color temperature of this filter varies between areas of the picture, but on the whole, the actual averaged color temperature is balanced to the overall light source striking the filter. It seems to work correctly, but I will not know more until I take more pictures in varied lighting conditions.One point, when you take the filtered picture with this filter installed, you need to disable auto focus (switch to manual focus mode) or your camera will go crazy trying to focus on the filter and cannot. Remember to switch auto focus back on when you are done setting the Custom White Balance.I read others were having problems in using this filter. I did the first time until I reread my Custom White Balance section of the owners manual. Once I did, everything worked fine. On my Canon, it is a multi-step process, flipping in and out of menus. With practice, you will get the steps down cold. I'm better now, but it will take more mistakes until I get it right each time.Overall, I'm pleased with this filter. Once I have more time with it in the field, I will supplement my review.
D**7
Works very well
I used a gray card for decades (see behind lens cap in photo). But this doo dad is far more compact and gives the same result. I compared my gray card and this Kiorafoto in post and they both obtain the same exact results each time. I also got the white balance lens cap (seen behind the Kiorafoto in the photo) but it gives really bad results. I am not talking about just looking at the picture and making a judgement call. I am saying that in post you can look up the white balance settings and compare all three solutions (card/lens cap/Kiorafoto) and it is easy to see that the Kiorafoto and the gray card always have the same numbers.For example, I just did a photo shoot and compared both with each other, they both returned with a temperature of 5428K and a tint of 0.991. The white balance lens cap is always way off from these two.I highly recommend this white balance tool! It is quick easy and way smaller than a gray card.
K**R
As i shoot more and have a more definitive assessment I can't really say anything good or bad about it
Seems okay. I was looking for a more cost sensible alternative to the expodisc. Unfortunately, I haven't tried the expodisc to compare it to. It's a fair approximation of a normal white balance I'd get with a gray card. It is certainly faster but if it wasn't for the inconvenience of a normal smooth gray card, I'd probably still just use the card itself. I've only used it a couple of times with mixed results and it does not seem to be as consistent as a traditional gray card. As i shoot more and have a more definitive assessment I can't really say anything good or bad about it. It's simply okay. Maybe I'll be able to afford an expodisc someday to compare it to.
C**L
Set your exposure before setting white balance, and you're good to go
I was very happy with this. To get accurate results, you still need to have your exposure set properly BEFORE you set your white balance. You stand in the location you're about to shoot (not in the spot you intend to stand, but in the spot you will be photographing), set your camera to manual focus, put the filter over the lens, and point towards where the camera will be. Take your picture, then remember to put your camera back to auto focus (or you'll be mad at yourself in a few moments!). Set custom white balance according to your camera's directions using the photo you just took. Then make sure you apply the custom white balance and go back and start your shoot. It sounds like a lot, but it's actually surprisingly quick after you do it a few times. I actually watched a couple Expodisc videos to figure it out since it's the same concept.Technically, you should set the white balance each time you move locations as the lighting can change. However, I did a session on a cloudy day that involved four separate locations with fairly similar lighting and didn't reset it from the first location, and the whole session still worked out great. It would be a big deal if you were going from pretty different lighting situations like bright open sun and into the shade as the light on your subject would be different. If it's relatively uniform lighting, however, it's up to you if you want to bother changing it more than once.If that seems like too much and you are going to edit it after the fact, you may be able to just take the shot (in manual focus, switching back to auto focus after you take it) and not apply it but just use that photo in post production to set your gray sample when color correcting.The photos attached were taken on the same day when it was hot and sunny; both are unadjusted from straight out of the camera. I thought my daughter's skin tone looked much less flat and more natural with the filter. Also, when I bought this, it was called "Kora" rather than "Kiorafoto" (for whatever reason, it's the same product).
Trustpilot
1 day ago
2 days ago

![Lightdow 12 x 12 Inch (30 x 30 cm) White Balance 18% Gray Reference Reflector Grey Card with Carry Bag [Folded Version]](https://images-na.ssl-images-amazon.com/images/I/616NhxHaV1L._AC_UL116_SR116,116_.jpg)